


WebView Apps Vs Native Apps with Real-world Examples
Published on:
14 May, 2026

You have a great product idea. Now you require a mobile app. But at the time you begin searching, multiple options appear, and you get confused about which to choose. Mention the options as well. Either a developer, a business owner, or a freelancer reads multiple articles and gathers different opinions. But think thrice before choosing, as one wrong approach can lead to a waste of development time and higher budgets in months, and at last you won’t get the desired output either.
Many people only realize this after the damage is done. There is no answer for this situation.
This guide breaks down everything about WebView and native apps, their functionality, advantages, disadvantages, real examples, and a detailed comparison. So, by the end of this guide, you will find the right approach to reach your target audience.
What are WebView apps?
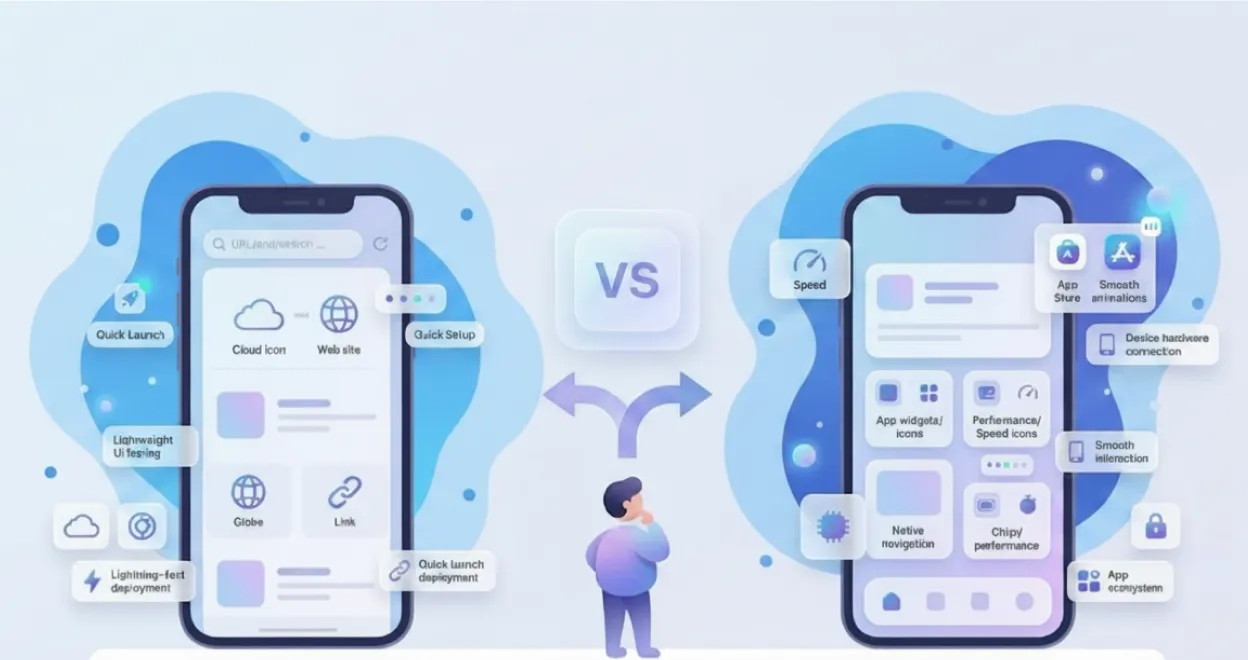
A WebView app is a mobile app that wraps your existing website content, such as HTML, CSS, and JavaScript, inside a native app shell. Instead of developing the mobile app from scratch, the app uses an embedded web browser component called a WebView to display your website content directly within the mobile interface. It works as a middleman between a website and a native app.
Your website runs inside an app. Users download it from the App Store or the Play Store. In reality, what they see is your website displayed on their mobile screens without any browser user interface or address bars.
Types of WebView Apps
There are two primary types of WebView apps: Rendering-based and Syncing-based WebView apps.
1. Rendering-based WebView Apps
WebView apps load your existing website in real-time. Any changes you make to your website are automatically reflected in the mobile app without a new App Store submission required. This is one of the most common ways used by many website-to-app platforms.
2. Syncing-based WebView Apps
WebView apps fetch data from your existing website working on the browser through APIs to develop a user interface inside the mobile app. Your website must be synchronized with your mobile app for a smoother user experience.
Real-World Examples
-
Instagram In-App Browser: When you click on the link inside the Instagram app, it does not open in the browser. Instagram opens the link inside its own built-in WebView browser. Facebook's in-app browser works exactly the same as Instagram's.
-
Uber and Ola: Both of the platforms load their Help Center and support assistance using a WebView app inside their native apps. The content lives on their website and is displayed inside the mobile app using WebView.
How do WebView apps work?
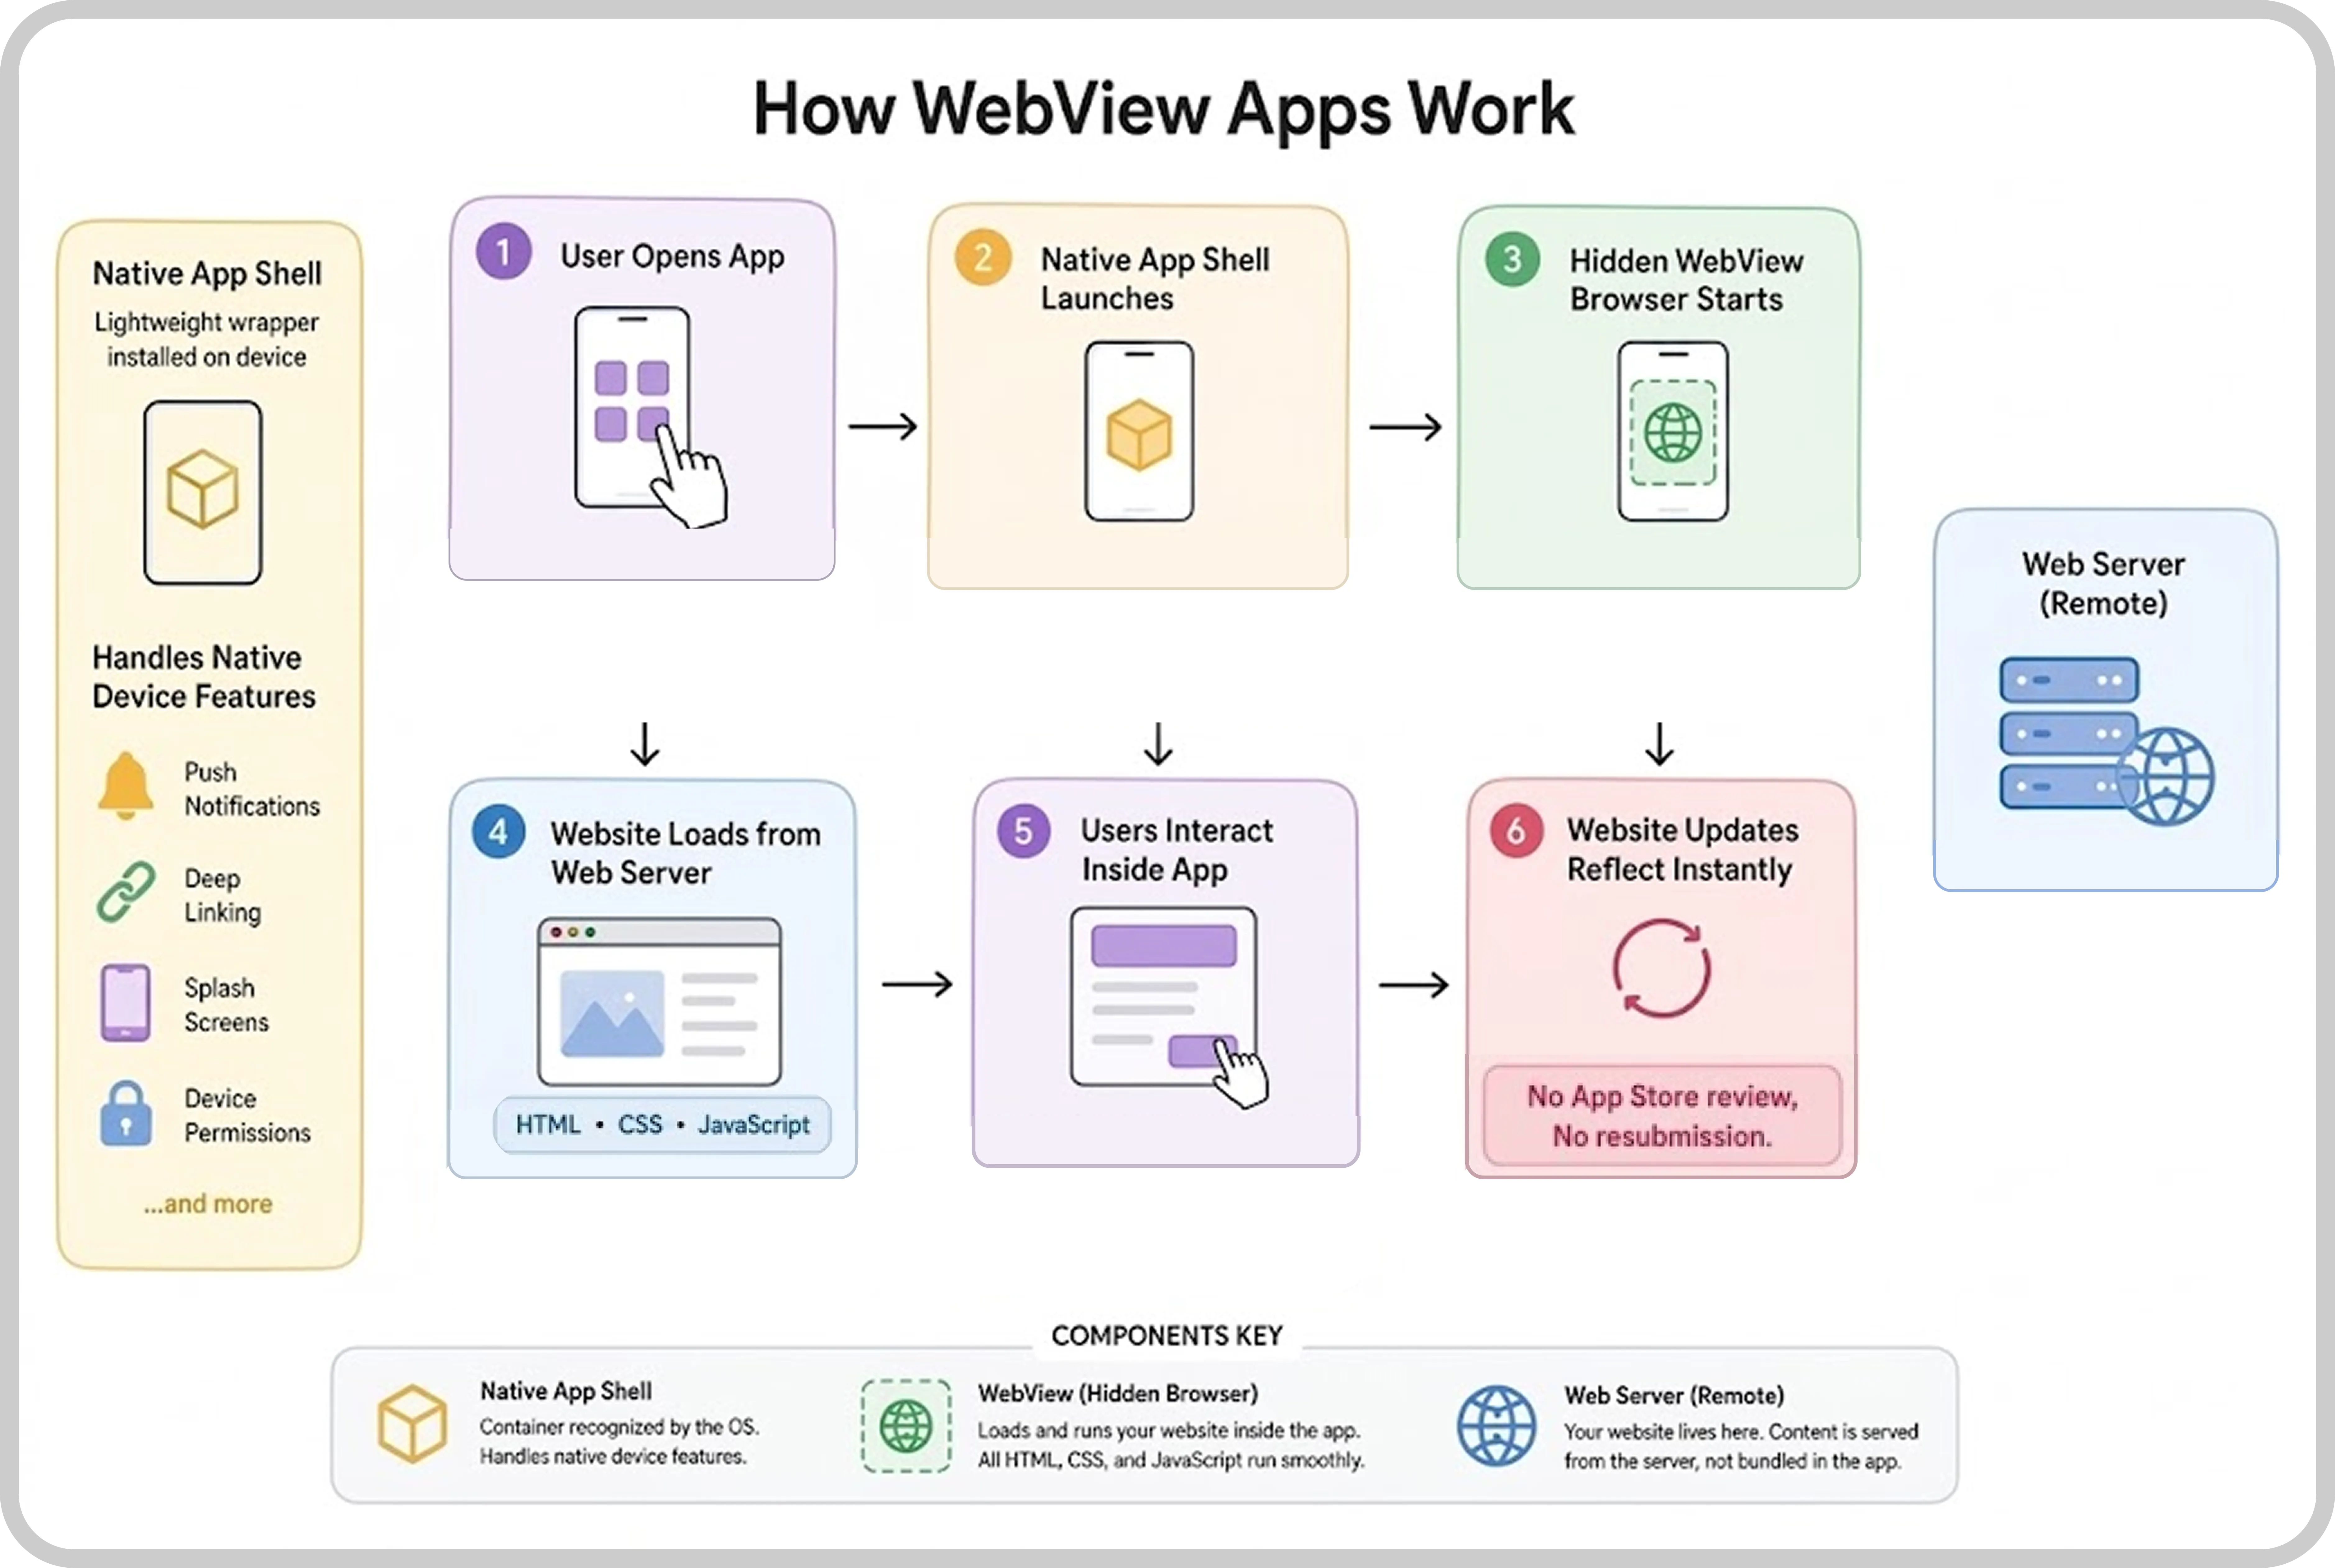
When a user opens a WebView app for the first time, the native app shell launches on the user’s mobile device. The shell is a lightweight wrapper. It is the container recognized by the operating system as a properly installed application.
Inside this shell functions a WebView component, which is a hidden browser running inside the mobile app. It loads your website in the background without a visible browser. Your website functions completely. All your HTML, CSS, and JavaScript run smoothly, delivering the same experience to the user while browsing your website on a web browser.
The app shell supports native device features such as push notifications, deep linking, and splash screens, even though the entire content is operated from your web server. While the content exists remotely, any updates on the website are reflected inside the app in real time without any review process or app store submission. This differentiation is what makes WebView apps more powerful.
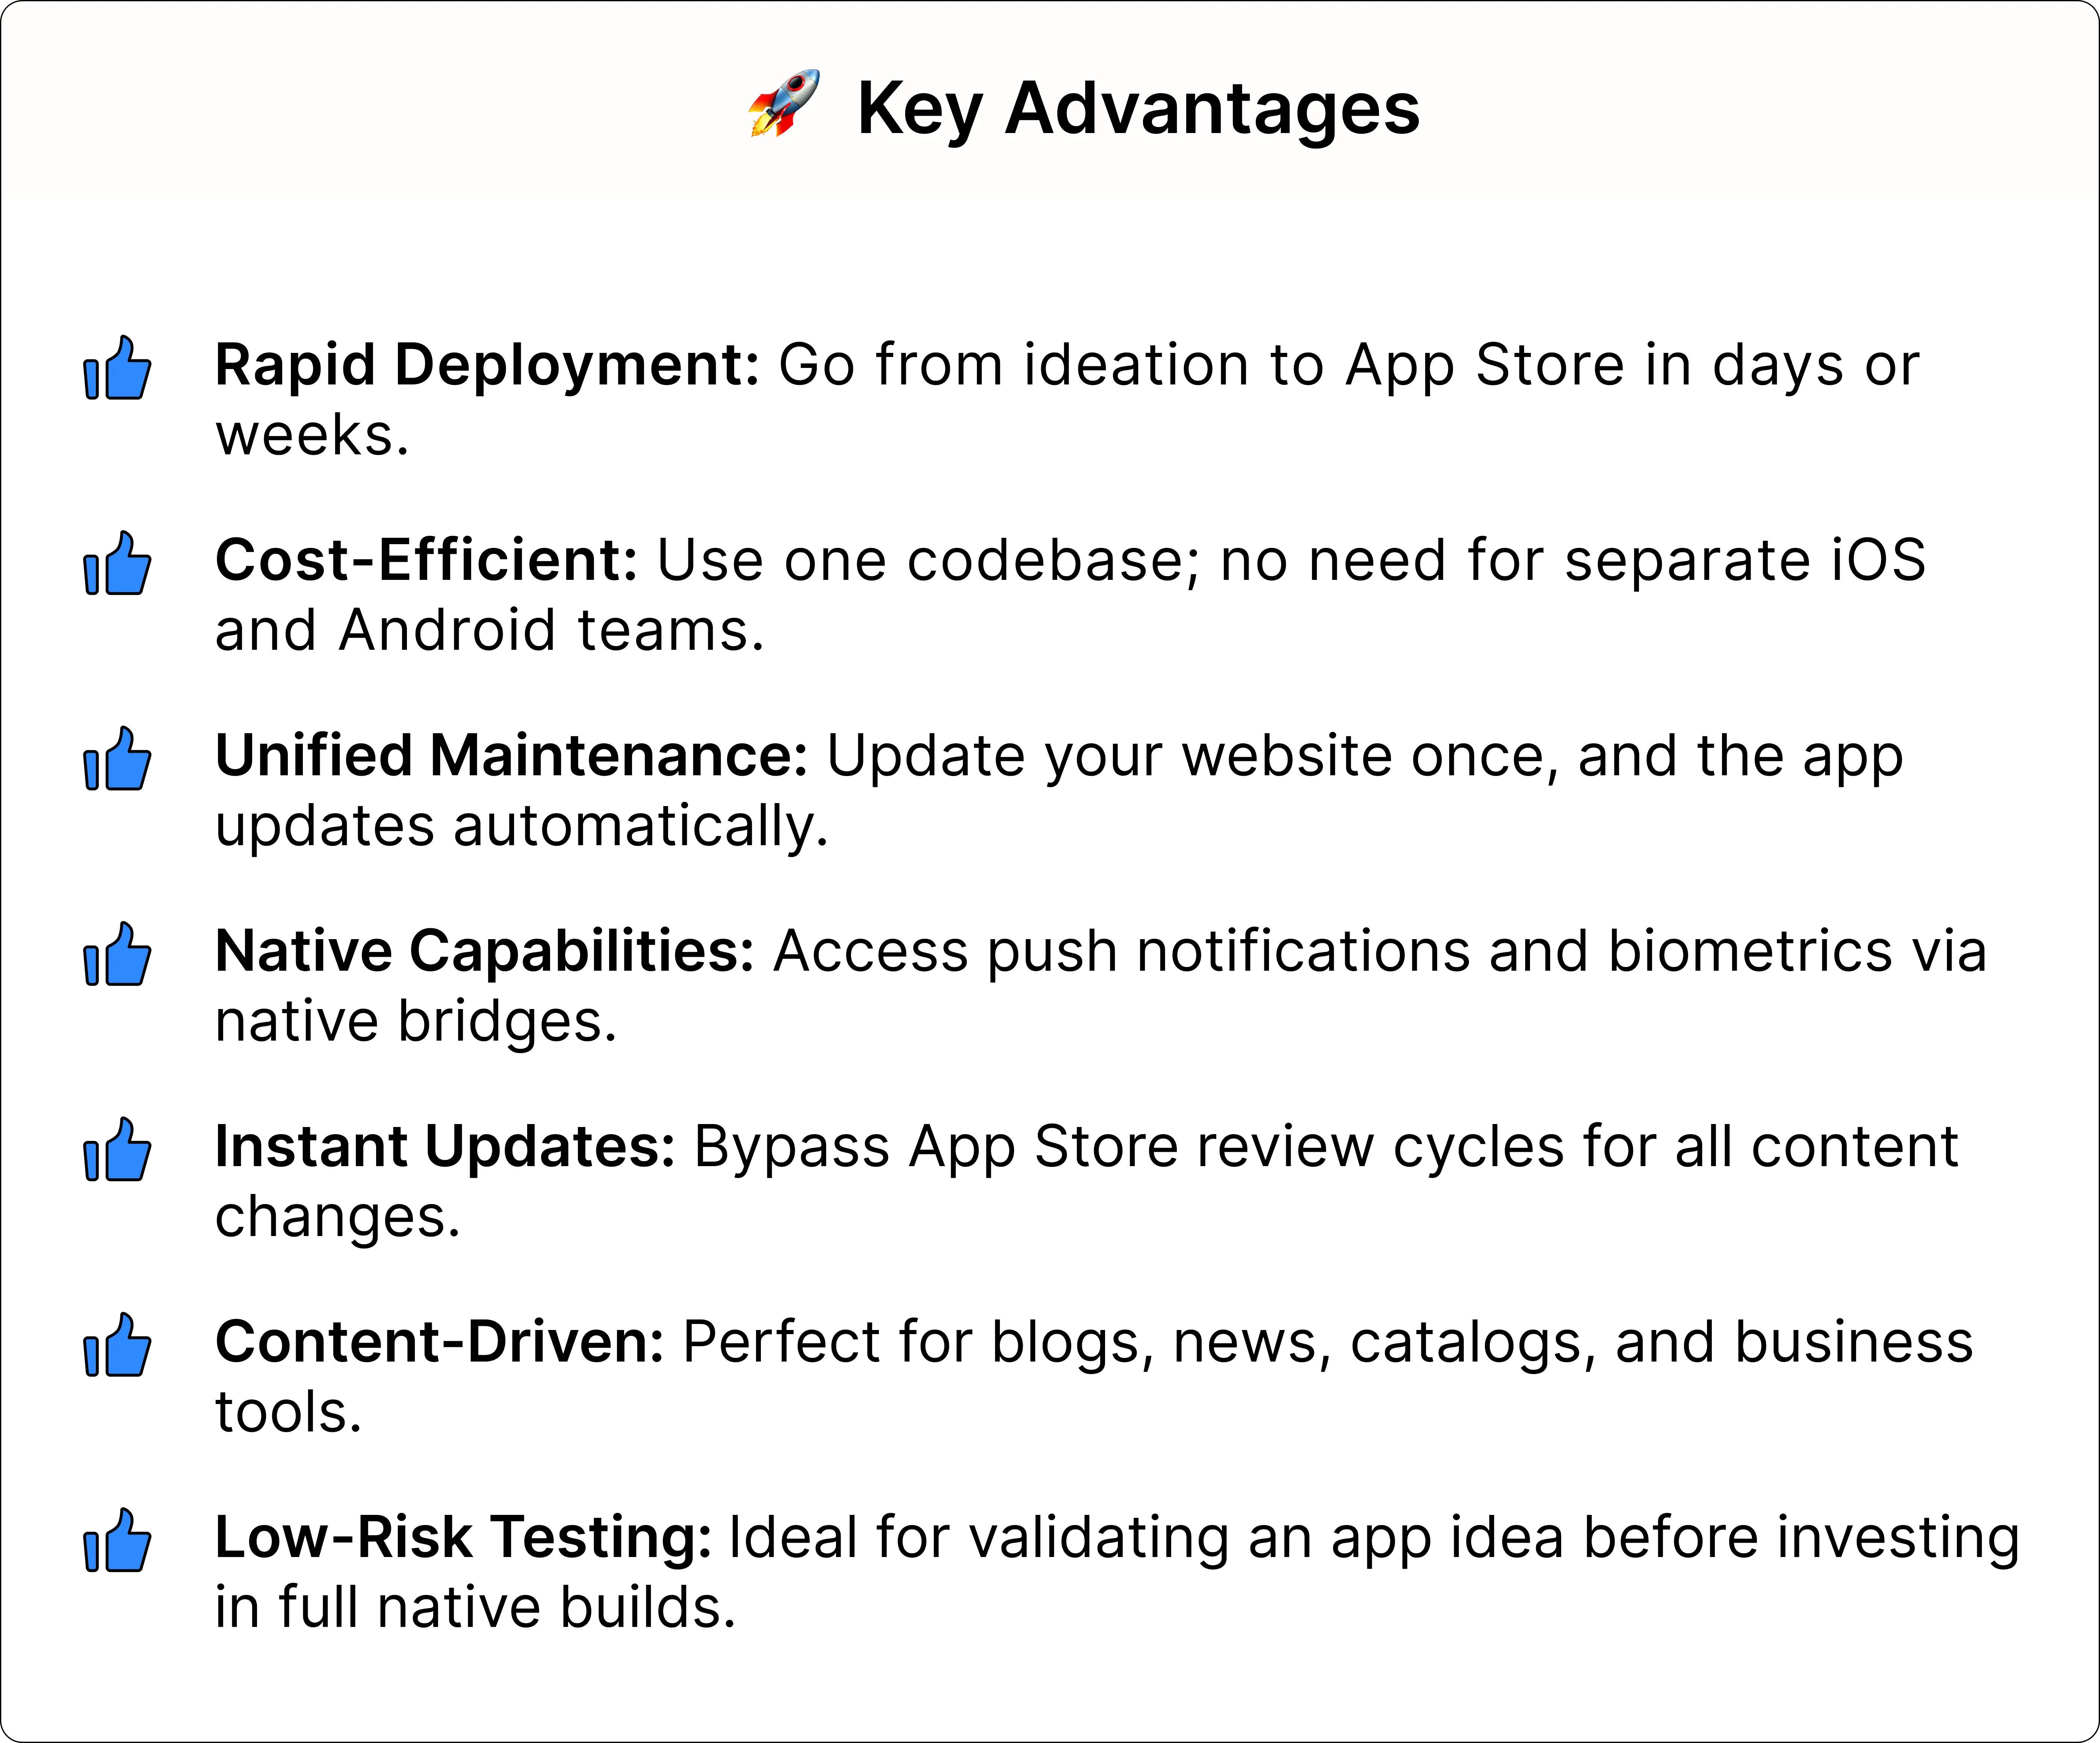
7 Key Advantages of WebView Apps
-
Building and launching WebView apps is fast and effective. Most of the apps can go from ideation to publishing in a few days or weeks.
-
There is no requirement to hire separate developers for Android and iOS. This makes it lower in cost and budget-friendly.
-
You update your existing website, and the app reflects it automatically with a single codebase.
-
No dedicated mobile development team is required. They can still support push notifications, biometric login, deep linking, and essential device features using native bridges.
-
Any updates on the website level go live in the app instantly without waiting for app approval or submission of the new app version to the App Store.
-
WebView apps are ideal for content-heavy apps such as news platforms, catalogs, blogs, and business tools.
-
These apps have a lower risk, making them a secure option for testing before switching to a full native build.
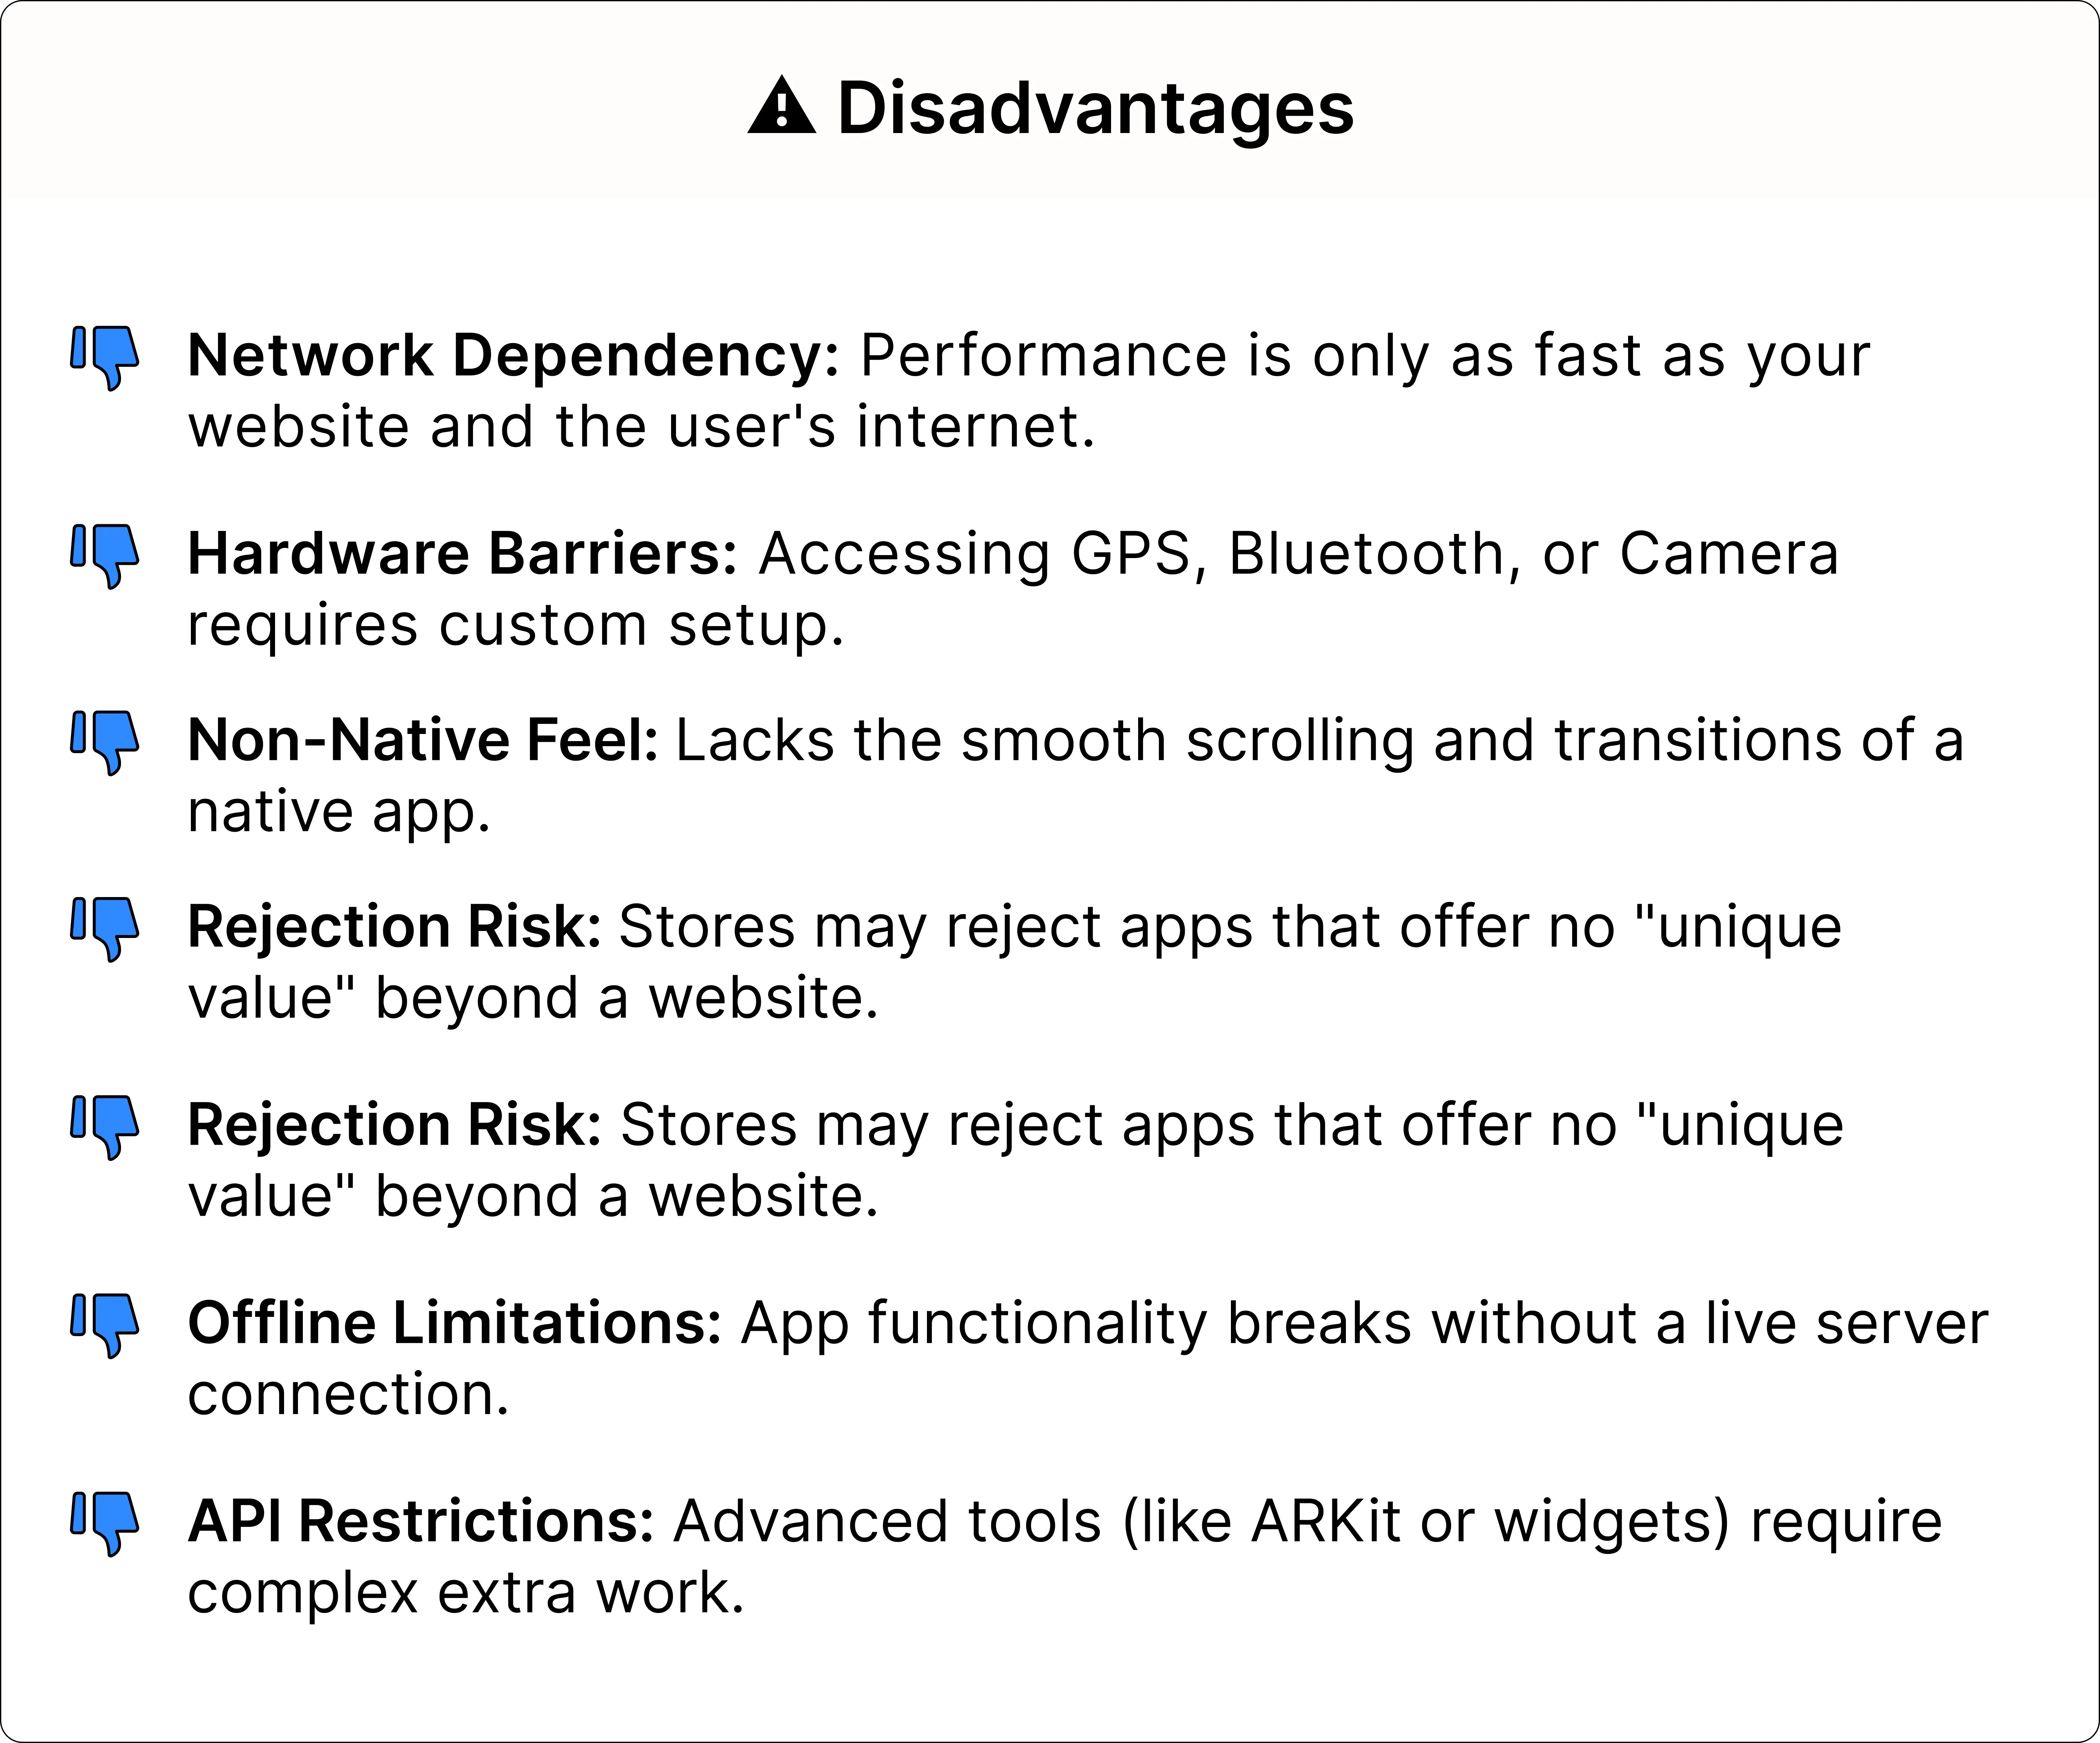
6 Disadvantages of WebView Apps
-
Performance is completely dependent on the existing website quality and the user’s network speed. A slow-loading website leads to a slow-loading app.
-
Limited access to device hardware such as camera, Bluetooth, GPS, and more. If you want extra plugins or native bridges, setup is required.
-
The app experience is not completely native because of scroll behavior, transitions, or animations that give the feeling of a browser instead of a mobile app.
-
Higher App Store rejection risk, as the Google Play Store and Apple App Store have strict guidelines that can easily lead to rejection. A website wrapped inside a native shell without anything unique or meaningful will surely result in rejection.
-
Offline functionality is very limited since content depends on the live server connection.
-
Unable to access platform-driven APIs such as ARKit, Android widgets, and Face ID depth data without any extra work.
When to choose WebView apps?
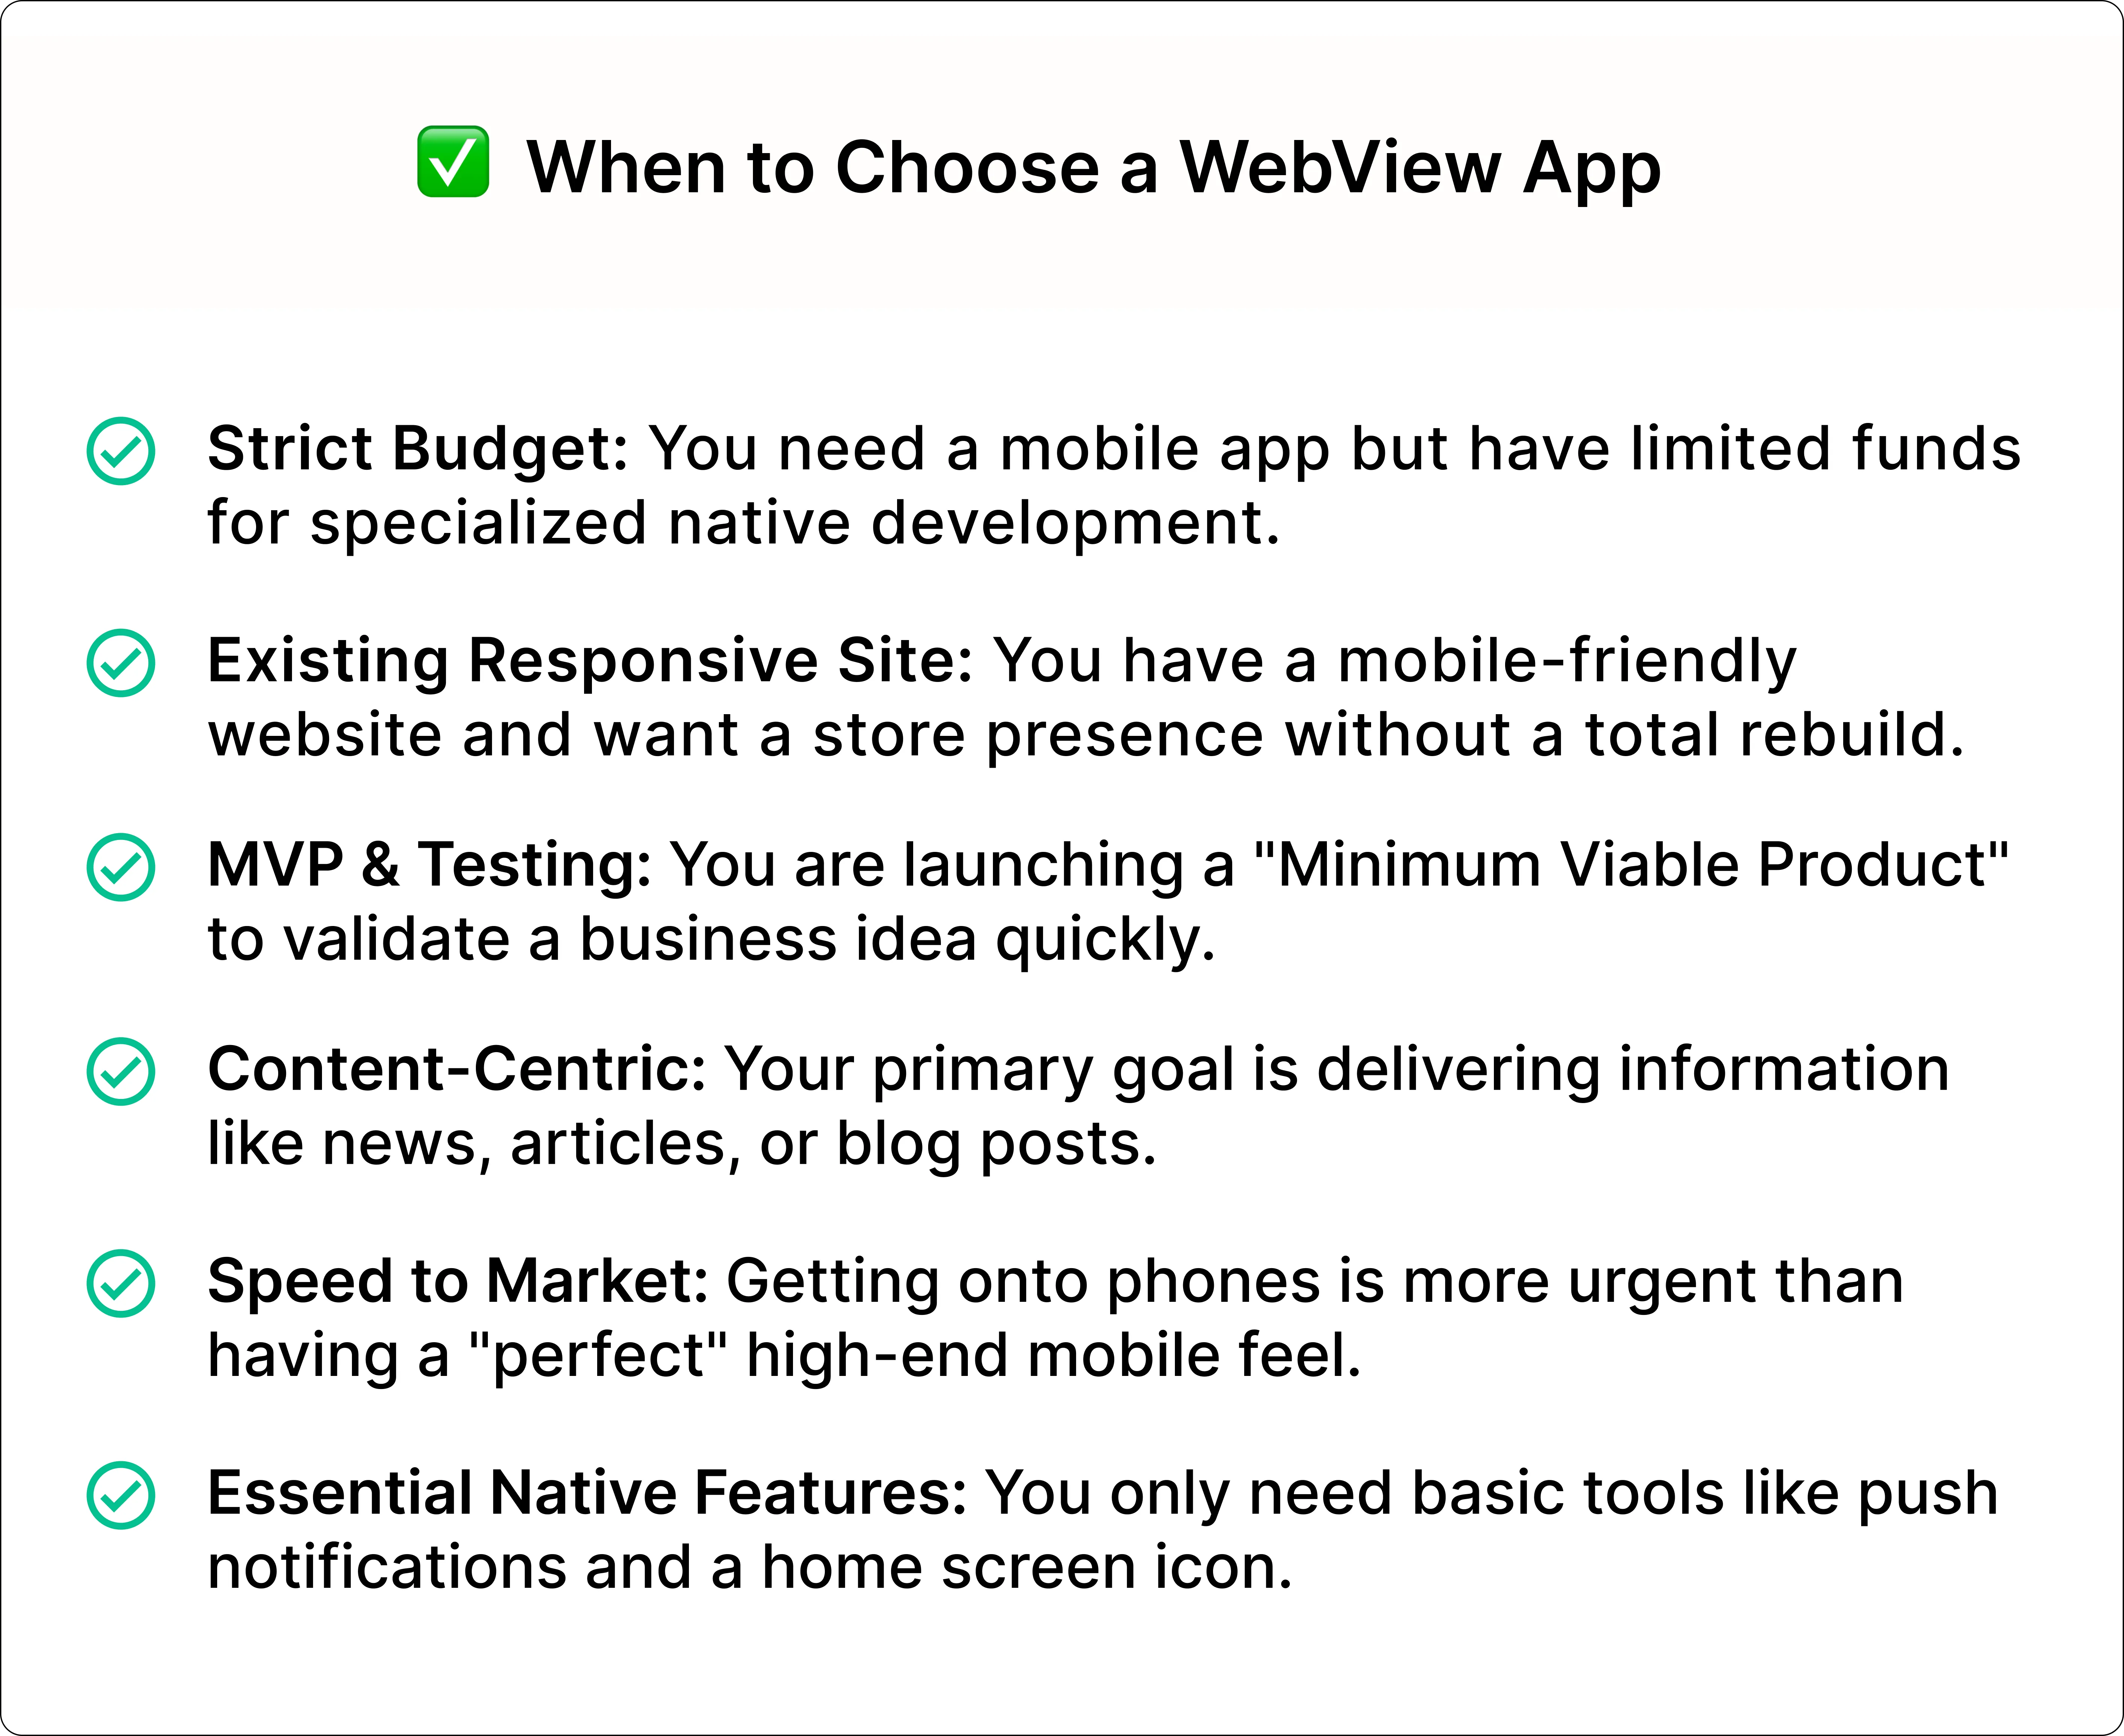
A WebView app is the ideal choice when:
-
When you already have a mobile-responsive website and require a mobile presence without rebuilding from scratch.
-
You have a tight budget to develop an entire native app.
-
You are testing a product idea or building an MVP (Minimum Viable Product) to verify its existence before spending more.
-
Your app is completely content-focused, such as news, articles, service information, or blogs.
-
Time to market is a higher priority than delivering an effective mobile app experience.
-
You want to deliver push notifications and maintain a home screen visibility but don’t require complex device features.
If your website is already mobile-friendly, take advantage of a platform like WebToNative that instantly transforms your website into a publish-ready mobile app with all the native essential features without any technical knowledge.
What are Native apps?
Native apps are mobile applications built specifically for a platform, either Android or iOS. It is built using the platform’s own programming language and tools. Android apps are built with Kotlin or Java. iOS apps are built with Objective-C or Swift.
These apps run directly on the device and communicate with the operating system through official SDKs and APIs, giving them direct access to all device hardware and other capabilities.
3 Types of Native Apps
There are three types of Native apps:
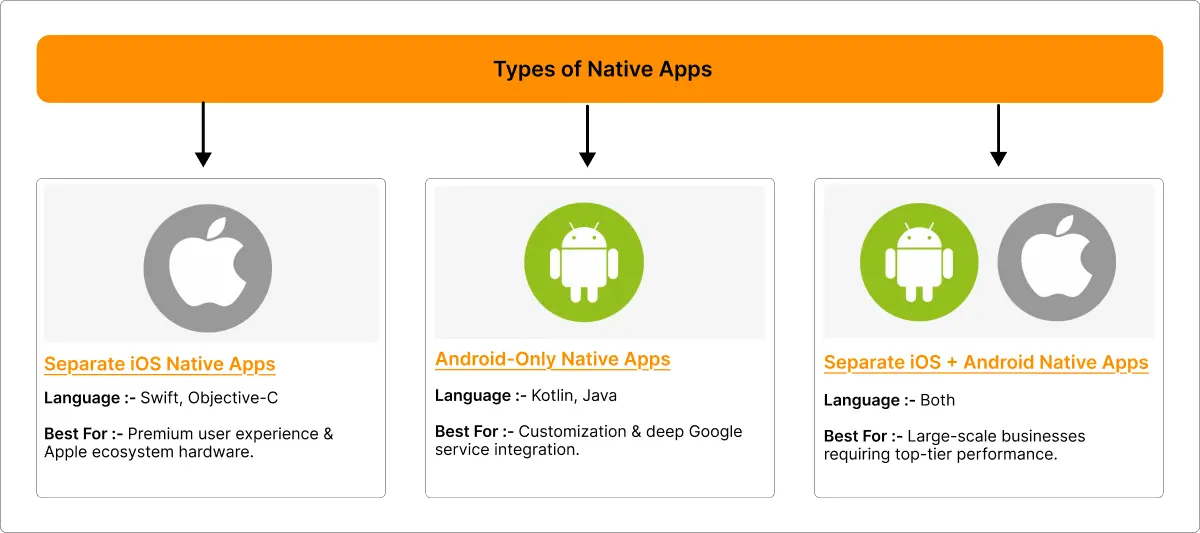
1. iOS-Only Native Apps
It is built exclusively for Apple devices using Swift or Objective-C. These apps adhere to Apple’s Human Interface Guidelines and are fully optimized for iPhone or iPad. It is common for apps that rely on Face ID, Apple Pay, or ARKit.
2. Separate iOS + Android Native Apps
Many businesses build two separate native apps for each platform. This is one of the expensive approaches, but it offers a consistent performance and experience on both.
3. Android-Only Native Apps
It is built especially for Android devices using Kotlin or Java. These apps follow Google’s Material Design guidelines and might use Android-specific features such as widgets and deeper Google services integration.
Real-World Examples
Most apps you use are native apps:
-
Instagram: It delivers native rendering capabilities that a WebView cannot match, such as real-time camera filters, Reels playback, story transitions, and more.
-
Uber: The constant background GPS tracking, payment processing, real-time updates, and information are trustworthy through native OS-level access.
-
Healthcare Apps: Heart rate calculators, motion tracking, blood pressure rates, and HealthKit integration are only the native capabilities needed.
-
Mobile Banking Apps: These apps require secure and deep native integration for biometric authentication using Face ID, fingerprint sensors, sensitive user details, and access to the device’s secure area.
-
Mobile Games: It requires heavy graphics and real-time physics running at the same time, which needs direct access to the device’s GPU (Graphics Processing Unit). This is only possible with native coding.
How Do Native Apps Work?
Native apps are built into machine-level code that is optimized especially for their targeted platform, either Android or iOS. When you open an app, the app runs directly on your device’s processor without a browser. Everything happens smoothly and immediately.
The animations, screens, and buttons you see are built using the mobile’s own design system, which is why everything appears natural and responsive in real-time. Essential native features like camera, Bluetooth, Face ID, GPS, downloads, and uploads are accessed directly by the app without any extra tools or alternatives.
Native apps work effortlessly even without an internet connection because everything is built and stored on the device itself. This direct and deep connection with your mobile phone’s hardware makes native apps faster, stronger, and more reliable.
5 Advantages of Native Apps
-
Native apps deliver the premium app performance since the UI appears directly on the device with no dependency on network speed.
-
These apps provide complete and unrestricted access to all device hardware and operating system features.
-
They function properly offline with local data storage implementation.
-
Native apps have a stronger presence on the Apple App Store and Google Play Store. They are eligible for editorial features such as App of the Day and curated collections that boost organic app downloads.
-
Native apps adhere to the official design systems of each platform: Material Design on Android and Human Interface Guidelines on iOS. Gestures, navigation, and buttons work the way users expect, making the app easily accessible from the very first interaction.
NOTE: Web apps and Progressive Web Apps (PWAs) don’t qualify for these editorial features.
5 Disadvantages of Native Apps
-
Native apps have higher development costs than WebView apps. Building separate builds for Android and iOS means two budgets, two projects, and two teams of highly skilled developers.
-
These apps take a longer time to reach the market. Approximately, a well-designed native app takes three to six months minimum.
-
Each update or a small bug fix requires a new App Store submission with Google's or Apple’s approval, which takes 3 to 5 business days.
-
Native apps must have specialized developers for each platform: Swift or Objective-C for iOS and Kotlin & Java for Android.
-
They are more complex to manage, with both platforms' codebases at the same time. They both must synchronize with each other and with operating system updates.
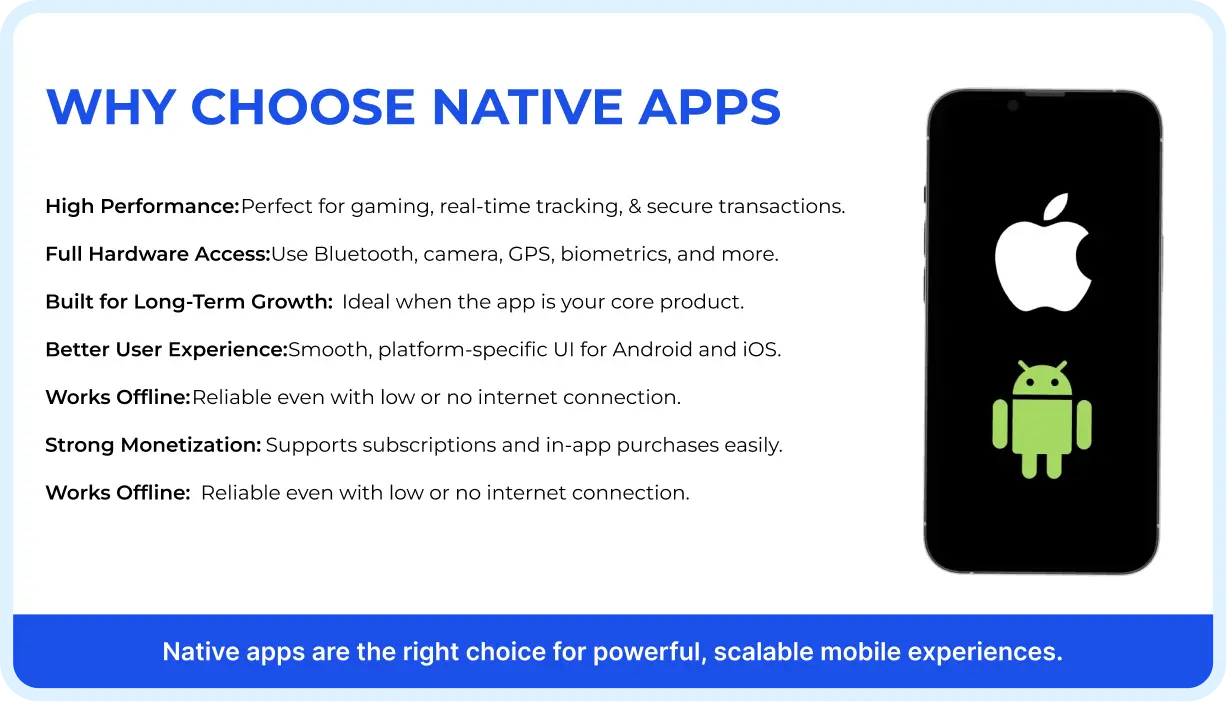
6 Reasons why you should choose native apps
Native apps are the right choice when:
-
Mobile apps like gaming, real-time tracking, or financial transactions cannot afford to lag in between.
-
Your native app requires complete access to hardware features like Bluetooth devices, camera controls, background GPS, system health data, or biometric sensors.
-
The native app is the core product whose growth depends on the long-term mobile experience it delivers to users.
-
You require an intuitive and platform-specific user interface that feels completely natural for both Android and iOS.
-
Offline functionality of the native app is essential for users. They might require your app in a low or no-internet connection.
-
You want to generate revenue through subscriptions and in-app purchases.
If you want any of these, a native app is a practical option for your product.
WebView Apps Vs Native Apps—A Detailed Comparison
| FEATURE | WebView App | Native App |
|---|---|---|
| Performance | Depends on website speed and network | Compiled to machine code |
| Device Hardware Access | Limited (requires plugin setup for more access) | Full and direct access to hardware and OS APIs |
| Offline Support | Very Limited (Needed live server connection) | Complete offline capabilities with local storage |
| User Interface & Animations | Browser-driven and transitions might feel slow | Fully native components (responsive and smooth) |
| Push Notifications | Supported through native bridges | Complete support natively |
| Biometric Authentication | Possible with native bridge plugins (Ex, fingerprint login through WebToNative’s biometric add-on) | Supported natively |
| Development Cost | Low (no- or low-code app builder platforms) | Higher (separate builds for Android and iOS) |
| Deep Linking | Supported with the right tools | Full native support |
| App Store Approval | Higher rejection risk if there is no uniqueness in the app | Lower if guidelines are followed properly |
| Time to Market | Days to Weeks | Weeks to months |
| Maintenance | Easier, as website updates are reflected inside the WebView apps instantly | Complex, as separate updates are required on the two platforms |
| Offline Functionality | Very Limited | Complete with proper implementation |
| Team Required | Not for a no-code or low-code mobile app builder; basic skills for a custom app | Dedicated iOS and Android developers |
| Deployment | Instant website updates and app updates automatically | Requires approval and submission to App Store |
| Monetization | Limited | In-app purchases or subscriptions |
| Security | Depends on the website’s security | Stronger as OS-level data protection |
| Scalability | Good for content-driven websites with limited features | Excellent and scales any product complexity |
| Best For | MVPs, content apps, SMBs, Blogs, and catalogs | Fintech, health, e-commerce, games, and productivity |
What about Hybrid apps?
If you want faster WebView app development with more native capabilities, Hybrid Apps are the solution. Frameworks such as React Native and Flutter allow you to write a line of code that compiles into native-like apps for both Android and iOS.
Basically, hybrid apps perform better than WebView apps and cost less than Native apps. They are a practical and useful choice when it comes to cross-platform support with a reasonable budget and improved performance.
How Do Hybrid Apps Work?
Hybrid apps are built using cross-platform compatibility. The most popular of them are Flutter and React Native frameworks.
-
React Native translates JavaScript code into actual native user interface components at runtime. So that text, buttons, and scrolling appear to be real in Android and iOS.
-
Flutter compiles Dart code into native ARM machine code and renders everything using its own high-performance graphics, delivering a consistent user interface across both platforms.
-
Both frameworks can access device hardware, such as the camera, push notifications, and GPS, through plugins.
-
A codebase is managed by one team and deployed to both Android and iOS at the same time, reducing maintenance and development costs.
This results in an app that appears native, costs less, and is more capable than a website wrapper.
FAQs
Q1. What is the key difference between a WebView and a Native app?
A. A WebView app loads your current website into a native shell. A Native app is built from scratch using platform-specific code. Native apps work better and have complete access to the device. While WebView apps have enhanced speed, depending on the website, and a lower cost to build.
Q2. Can a WebView app get rejected from the App Store?
A. Yes. Google Play Store and Apple App Store might reject your WebView app. The most common reasons: no unique value, no additional features, just a website inside a mobile app.
Q3. Are WebView apps cheaper than Native apps?
A. Yes. Native app costs begin from $20,000 and go up to $150,000, depending on the complexity and different platforms' requirements.
Q4. Should I begin with the WebView app and later switch to Native apps?
A. This is the most common approach to start with a WebView app to test an idea and grow your user base. Once you have grown the app's reach and audience, then switch to native or hybrid apps for a long-term experience.
Q5. How are hybrid apps different from WebView apps?
A. Hybrid apps don't wrap your website. They offer native user interface components to improve performance and device access features.
Q6. Can I send push notifications in WebView apps?
A. Yes. Using third-party platforms like WebToNative. You have to set up this feature inside the WebView app to send notifications.
Q7. Do WebView apps work offline?
A. No, the WebView app depends on the website loading in the browser, which requires an internet connection to work. Limited offline functionality is possible through progressive web app features.
Conclusion
WebView and native apps are mobile app developers. WebView is the perfect choice if the business requires speed & cost and has an existing website. Native apps are a great investment choice when businesses demand hardware access, performance, and long-term growth. A smart approach is to start with a WebView app, learn from real users' feedback, and scale when the business is growing.
Similar Blogs