


Firebase Push Notifications: Custom Sound Setup for Android and iOS
Published on:
23 April, 2026

Imagine your app sends a push notification, but it sounds exactly like every other app on the phone. The users quickly check the screen, see nothing new, and move on. That's the notification that you sent with the purpose of engaging them but they ignored it.
This is the problem WebToNative’s custom notification sound feature solves. With its new feature, your app can play a unique sound when a notification is pushed, so users instantly know it's your app’s notification without looking at their mobile screen.
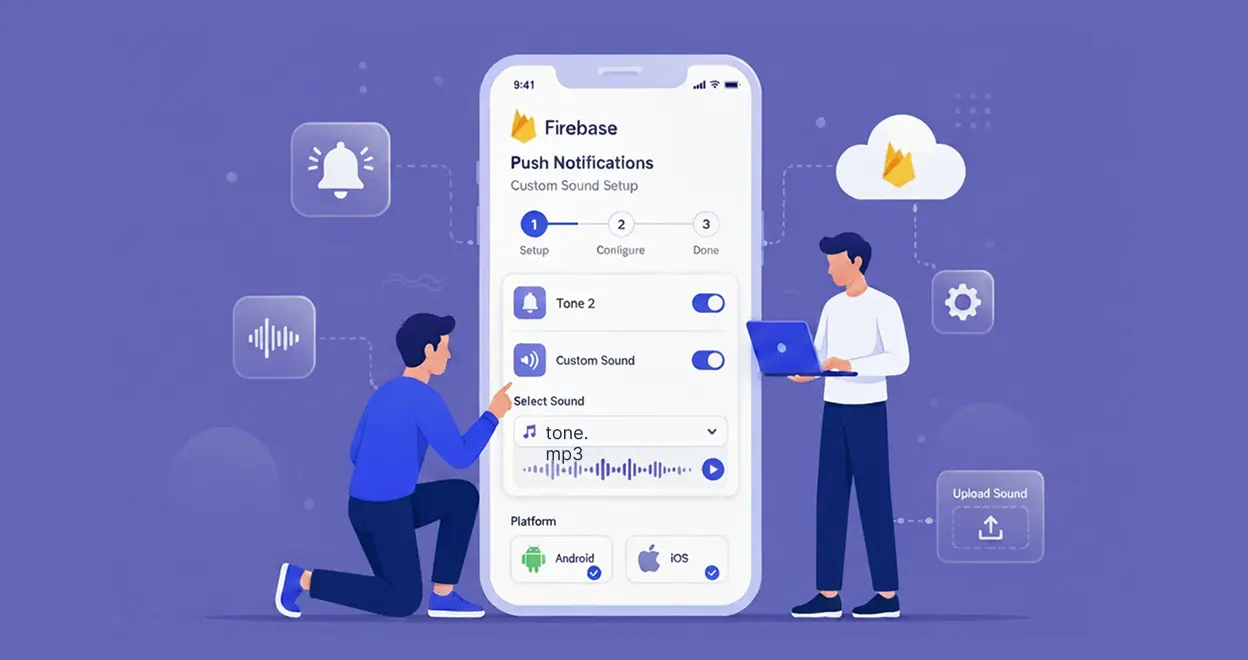
In this blog, we will walk you through the process of setting up custom sound notifications using Firebase Push Notifications for Android and iOS through WebToNative. The setup is streamlined with a few critical rules to keep in mind to work your notification smoothly.
Why Do Custom Notification Sounds Actually Matter?
Most apps use the same default notification sound system. After a while, users usually turn off these notifications altogether. The custom notification sound changes this completely.
When your app has a different and recognizable sound, users hear it and immediately think of your app. The benefits are real. Users are more likely to open the notification. It signals that your app is polished, creating a presence that goes beyond visuals.
WebToNative makes this possible with a clean and simplified payload configuration.
The One Guiding Rule That Can Break
Always use the data tag. Never include a notification tag.
When a notification block is present in your push payload, the operating system takes control of how the notification is displayed and played. It overrides your custom settings and falls back to the default system sound. Your data tag configuration gets ignored entirely.
In WebToNative, custom notification sounds work only when the payload is delivered through the data tag without a notification block in the payload. This rule applies to both iOS and Android.
There is also an important testing implication that follows: You cannot test custom sounds through the Firebase Console. When testing from the Firebase dashboard, your custom sound will never play because the dashboard automatically adds a notification tag to every notification message it sends. You must test by sending the payload directly through the FCM HTTP API, where you have full control over what gets sent.
Setting Up Custom Notification Sounds on Android
Android requires two fields inside your data object to make the custom sounds work:
| Tag | Description | Example |
|---|---|---|
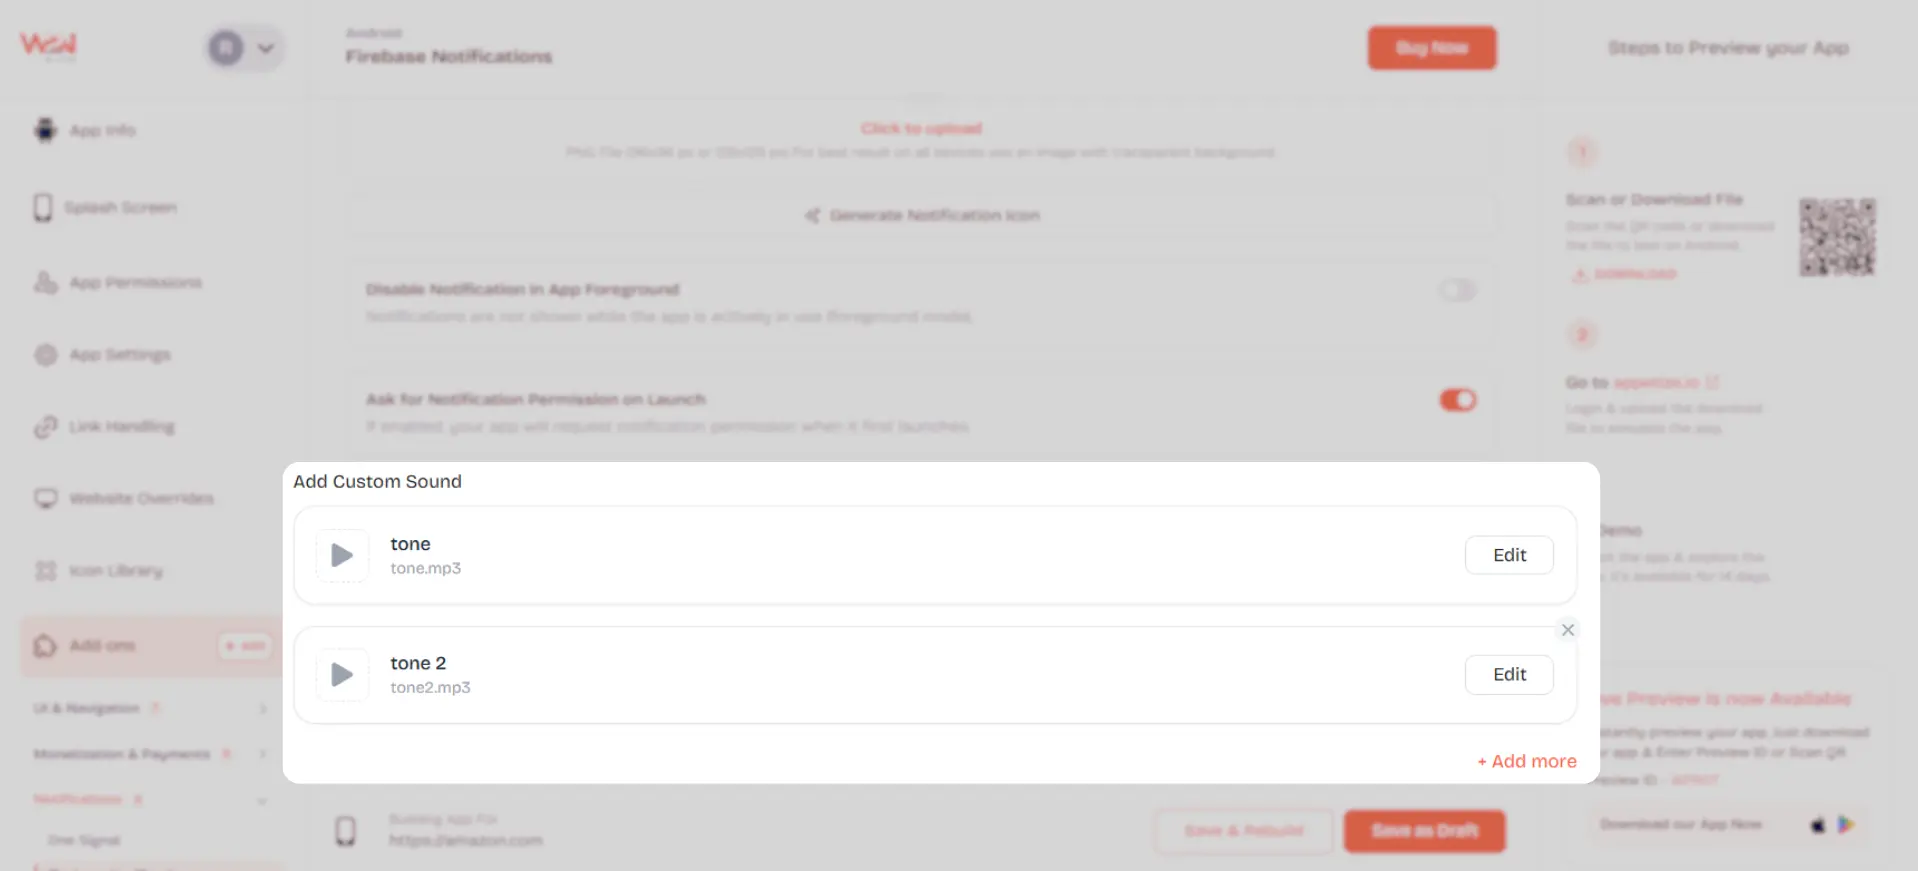
| sound | It specifies which sound to play. Their values are case sensitive, all lowercase, and have no variations. | tone,tone2,tone3,tone4,tone5 |
| channel_id | It is Android-specific and works differently from what you might expect. It has to be set to any string. | “hello”, “order-alerts”,”messages” |
Sample Android Payload
{
  "data": {
    "sound": "tone2",
    "channel_id": "hello",
    "title": "New Message",
    "body": "You have a new message."
  }
}
Understanding Android Notification Channels
The first time Android receives a notification with a particular channel_id, it creates a notification channel on the device. It permanently attaches that channel to the specific sound in that first payload. Once created, the terms cannot be changed.
If you send channel_id: "hello" with sound: "tone", Android creates a channel called "hello" that is linked to tone forever. Later, send the same channel_id: "hello" but with sound: "tone2", nothing changes. The channel already exists, so the sound is locked. Android simply ignores your new sound value and continues playing the earlier sound. If you want to push a new sound, you have to create a new channel with a fresh sound.
There is one exception worth learning: if the actual sound file after a sound name gets updated, meaning the file for "tone" is replaced with new audio, that new audio will play automatically without needing to create a new channel ID
RECOMMENDATION: Name your channel IDs that reflect the sound they carry. Something like "alerts-tone1" or "updates-tone2" makes it obvious which sound each channel uses and prevents confusion.
Setting Up Custom Notification Sounds for iOS
iOS is simpler than Android. There are no channels to manage. You just needed one field inside your data object. That field is sound.
Sample iOS Payload
{
  "data": {
    "sound": "tone",
    "title": "New Message",
    "body": "You have a new message."
  }
}
You just have to place the sound field inside the data object. Don't forget to leave the notification block, and your custom sound will play in iOS.
Common Mistakes to Avoid Custom Sound Failure
1. Including a notification tag
It doesn't matter how perfectly your data payload is completed. If a notification block is present anywhere, the custom sound will not play on both platforms.
2. Testing through Firebase Console
It will always mislead the custom sound setups because the dashboard automatically includes a notification tag. You must only use the FCM HTTP API for testing.
3. Using an invalid sound name
For example, you use sounds such as "beep", "alarm", or "tone6" will cause the custom sound to fail silently.
4. Reusing an Android channel ID for a different sound
A mistake that's easy to make and hard to debug. If the channel already exists on the device, the sound will never change, even if you put it in the payload.
Conclusion
Custom notification sounds in WebToNative are powered entirely through the data tag on iOS and Android. The notification tag must be absent from every payload. iOS needs only a sound field. Android needs sound and a channel_id. Testing must always happen through the FCM HTTP API.
If you're using OneSignal instead of Firebase, the implementation process is slightly different. We’ve covered the complete setup in our detailed guide on How to Set Up Custom Notification Sound in OneSignal --- Android &iOS Guide.
Similar Blogs