


How to Publish a Lovable App to the Apple App Store and Google Play Store
Published on:
22 September, 2026

By Chavi Chandani
Technical Content Writer
Table of contents
Your app is built and live on Lovable. Now you want to make it available on the App Store and Google Play. Here's what that actually takes.
Lovable creates web apps, not native iOS or Android apps. So, a web app published through Lovable can be accessed by any user through a direct link. To publish your web app on an app store, you will need to take additional steps.
You might be worried that you will have to create your app from the beginning. We will walk you through how to make your Lovable app ready for mobile and test & submit it to the App Store and Google Play Store.
Why Can't You Publish a Lovable App Directly to the App Store?
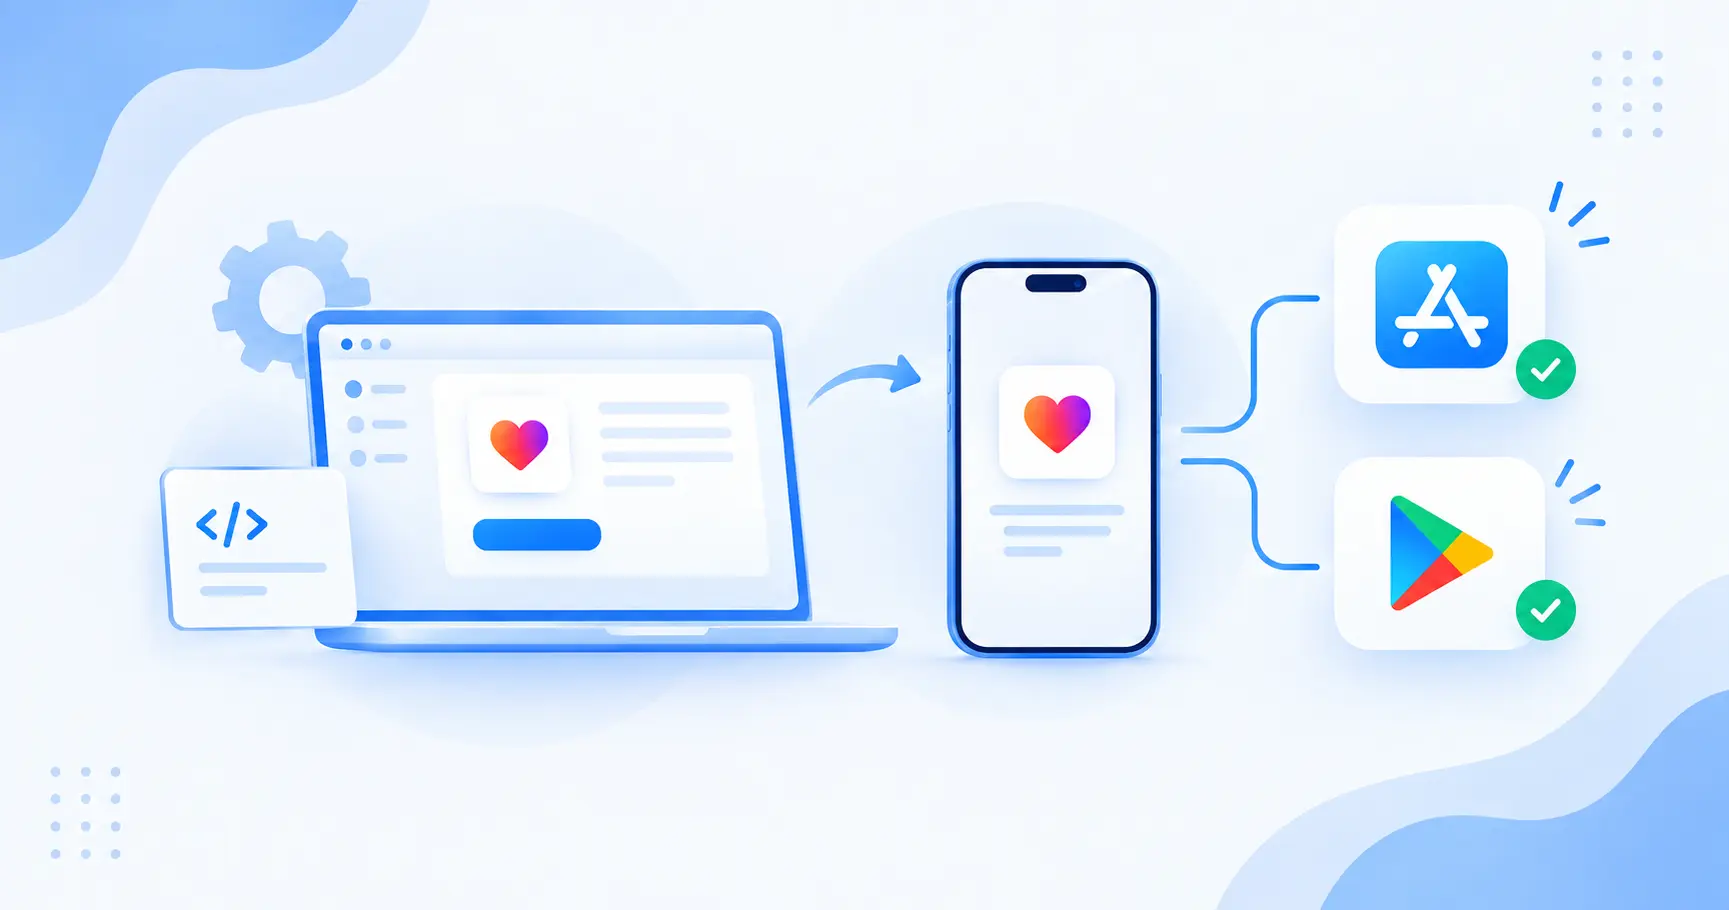
A Lovable app is published as a web app. Web apps are not mobile apps. To get your Lovable mobile app to the Apple App Store or Google Play, you need to do the following.
- Change your web app to a mobile app.
- Create a store-ready app build, which is the packaged version submitted to Apple or Google.
- Upload the iOS app package to Apple and the Android app package to Google.
- Finish the app listings and tests, and wait for approval from the App Stores.
Lovable takes care of publishing your project as a web app, but app stores require a separate mobile app build. So, if you want to publish your Lovable app to the App Store or Google Play, you first need to convert your web app into a mobile app and then complete the submission process for the store you’re targeting.
Why Bother With an App Store Listing at All?
Mobile sites are a good alternative to native apps, but having your app listed in the App Store and Play Store allows users to access it from their device.
This benefits you by:
-
Allows users to find your app through an app store listing: Users can search the App Store and Play Store for apps they want to download and use. They may not visit your website first, so having an app store listing gives them another way to discover your app.
-
Push notifications: A mobile app has built-in push notification support to send useful updates, reminders, alerts, or other timely information to users.
-
Ratings and reviews: Allows users to rate and review your app. Users of your app may want to let others know how they feel about the app.
-
Built-in payment options: Apple's In-App Purchase system lets users pay with the payment method linked to their Apple Account, with options such as Face ID or Touch ID for authentication. Whether you need to use it depends on what you're selling and your app's payment setup.
An App Store Listing provides all of the above features and more to help users locate, evaluate, download, and use your app.
What Apple and Google Actually Require
Turning your website into a mobile application won't list your application on the iOS App Store or the Google Play Store.
-
Apple's Guideline 4.2 (Minimum Functionality) states that each app must provide a native user experience that is more efficient and reliable than a website. Apple also requires that an app be more than a website wrapped in a native app.
-
Google Play also has similar terms and will remove apps from its store if they provide a poor user experience and limited app functionality.
So, instead of simply wrapping your Lovable URL and calling it done, consider whether your app can make useful use of mobile features such as
- Push notifications for reminders, updates, or alerts
- Biometric login, such as Face ID or fingerprint
- Deep links that open a specific screen in the app
- Offline or low-connection behavior for essential features where it makes sense
- Camera or location when these features are genuinely useful to your app
You don't need to add every feature on this list. The goal is to provide a better and unique experience in comparison to other mobile websites.
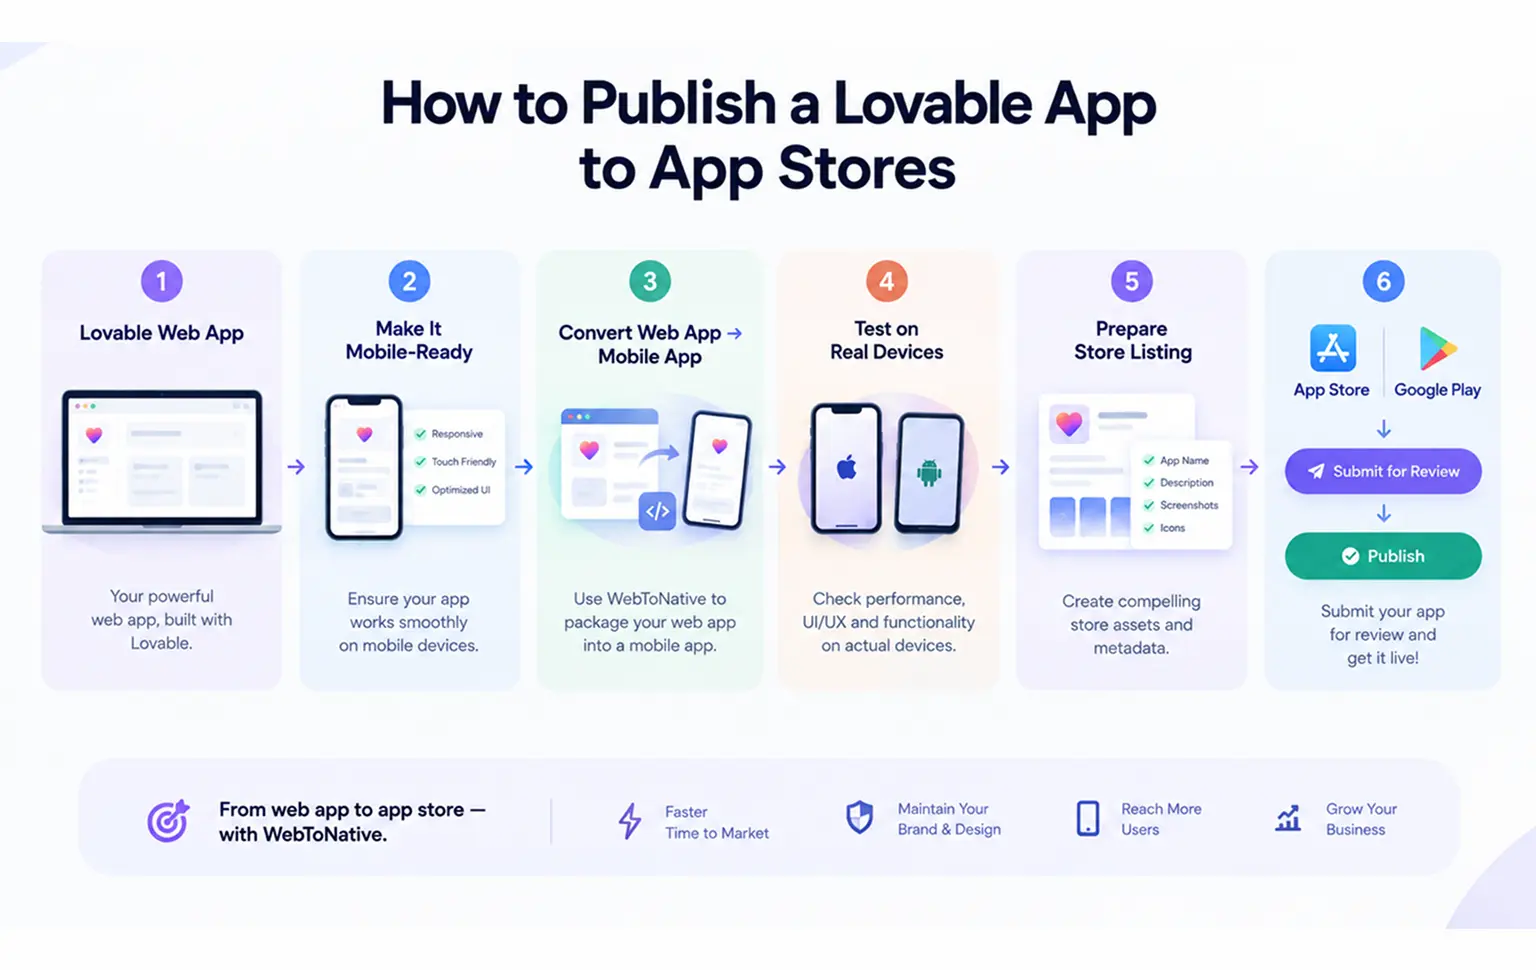
How to Publish a Lovable App to the App Store and Google Play Store
You developed your app in Lovable, and now you want to make it available in app stores. Lovable gives you a live URL for your web app. Turning that web app into a store-ready mobile build is a separate process, and that's what the steps below cover.
Creating a mobile app from Lovable and publishing it to app stores includes a series of steps. We will go over these steps next.
Step 1: Publish Your Lovable Project
-
You need to make your Lovable project publicly available first. In the Lovable Editor, you have to click the Publish button. You will have to review and check a few settings before your project can go live.
-
Once it's live, open the URL and test your app like a real user. Check that login, signup, and password reset work properly. Test your buttons, links, forms, database, and images. Also open the app on a phone to make sure the layout looks good, and everything is easy to use.
-
Finally, check for any placeholder text, broken pages, or unfinished sections. These elements need to be refined before the app can be published to app stores.
Step 2: Make Sure It Works Well on Mobile
Just because your site works on a laptop doesn't mean the design automatically adjusts for a mobile device. To be safe, you should test your application on an actual mobile device to assess both the look and the function of your application.
You should be able to:
- Touch/tap the buttons on the page.
- Read the text on the page without having to zoom.
- Fill out forms (i.e. sign up, sign in, check out, etc.)
- Initiate and/or complete actions on your site (i.e. add to cart, purchase, etc.)
- Navigate to other pages on your site.
- Check that every page loads properly.
All in all, the goal is for your application to be mobile-device friendly, instead of making it feel like a desktop website squeezed onto a small screen.
Step 3: Turn Your Web App Into a Mobile App
Lovable helps build web applications. You’re on your own to turn your web application into a mobile application for the app stores.
There are two options available to you.
Option 1: Use a web-to-app platform
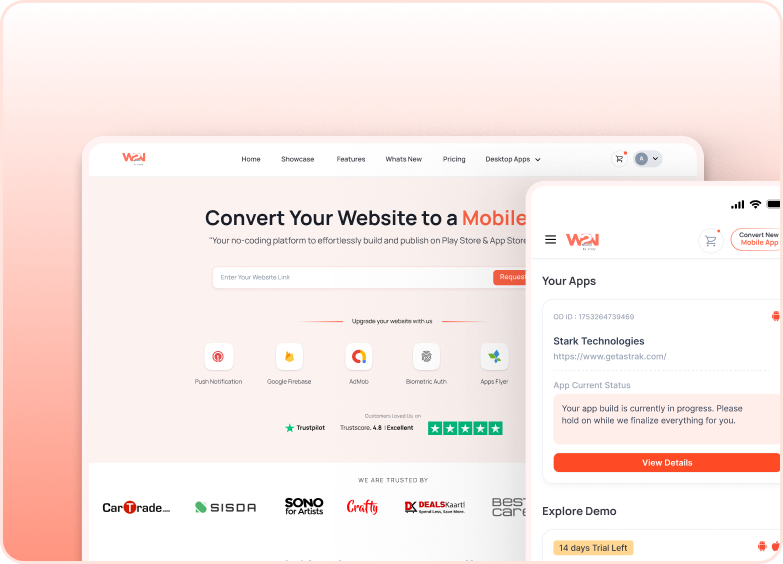
If your web application is hosted on Lovable, you can have it transformed to a native iOS and Android application using a service like WebToNative. You don’t have to write any code to do this. You will have to provide your application’s web address and configure items such as the name of your application, platform icons, and splash screens.
You can also have mobile application features such as biometric and fingerprint authentication, deep links, push notifications, and the ability for your application to interact with the device’s camera and files, among others.
You’re free to choose which mobile features to implement in your application.
Option 2: Build a separate native app
You can use a mobile app development framework to develop the app natively. A native app gives you complete control over the user experience; however, it requires a greater development effort, and you would need to manage a different app development framework and set of tools.
For quick conversion of your app to a mobile app, using web-to-app conversion tools would be a better option.
Step 4: Add Features That Make Sense for Your App
You don't need to add mobile features just for the sake of adding them. Think about what would actually be useful for your users.
For example:
- Push notifications can be used to remind users of workouts to be completed.
- Order notifications can be sent to users to keep them updated on the status of their orders.
- A productivity app can allow users to securely sign in to the app using their device’s biometric sensor.
- Location and camera features can be used by a service app to identify the user’s location and take pictures to be uploaded to the app.
These features can also help make your app feel more like a mobile app instead of simply showing your website inside an app. Apple’s Guideline 4.2 (Minimum Functionality) says apps should offer more than a basic repackaged website, so make sure your app provides a useful mobile experience.
Step 5: Test Everything Before You Submit
Your Lovable app hasn't been developed or tested on real devices, we recommend that you thoroughly test your application on a real device to observe and identify any problems with your application before releasing your application to the public.
The problems you need to test for include:
- Incorrect passwords
- Empty forms
- Slow or no internet
- Broken links
- Denied permissions
- Expired login sessions
- Different screen sizes
- Push notifications and deep links
- Camera or location features, if your app uses them
If your app requires users to log in, make sure you have working test account details ready for the App Store review process. This helps Apple and Google reviewers access and test your app.
Step 6: Set Up Your Apple Developer Account
To publish your Lovable app to the App Store, you need an Apple Developer account, which costs $99 per year. You’ll manage your app through App Store Connect, where you can upload builds, add your app details, test the app with TestFlight, and submit it for review.
Before you submit, keep these details ready:
- App name
- App icon
- App description
- Screenshots
- App category
- Privacy information
- Support contact details
- Age rating
- Login or test account details, if needed
Also, test your app on a real device and make sure there are no crashes, broken links, or placeholder content.
Step 7: Upload and Submit Your iOS App
When your iOS app build is ready, add the app to App Store Connect and upload the build. You can use Xcode or Transporter for upload.
You can also use TestFlight to check the status of your app and address any concerns. You can do this before the app is forwarded to Apple for review.
When everything looks good:
- Select the final build of the app.
- Provide all the required information about the app.
- Add resources such as app screenshots.
- Provide Apple with any review notes or login credentials.
- Once you have submitted the app for review, Apple will notify you of their decision.
If the app is approved, it will be available for purchase through the Apple App Store.
Step 8: Set Up Your Google Play Developer Account
For Android, you'll need a Google Play Developer account and access to Google Play Console. Google currently charges a one-time $25 registration fee.
When setting up your app, you'll need to add details such as:
- App name and language
- Category
- Free or paid status
- Contact email
- App description
- Screenshots
- App icon
- Content and audience information
- Privacy details
Your Android app also needs to be uploaded as an Android App Bundle (.aab) for Google Play.
Step 9: Complete Google Play's Testing Requirement
If you created a personal Google Play Developer account after November 13, 2023, Google requires you to complete a closed test before you can apply for production access.
The testing process requires at least 12 testers to keep the testing enabled for 14 days straight.
This means you shouldn't wait until the last moment to start testing. Get your testers ready once you have a working version of your app, so you have enough time to complete the required testing.
This process also applies to personal developer accounts, not organization accounts.
Also, completing the 12-testers-for-14-days requirement makes you eligible to apply for production access. It does not guarantee approval. Google still reviews your application, including your testing process, tester feedback, and how your app performed during the test.
Step 10: Submit Your App to Google Play
Complete the testing and store listing to move on to submission.
You will need to:
- Create your app in Play Console
- Complete the store listing
- Upload your .aab file
- Finish the testing
- Fill in the required declarations and details
- Apply for production access if required
- Submit your app for review
- Publish your app after approval
Check your app one last time before submission. Make sure all the features work and are described properly. Check that login is working, your store information is correct, and there is no unfinished or example content.
How WebToNative Can Help With a Lovable App
If you've already built your app with Lovable, you don't need to rebuild it from scratch just to create a mobile version. WebToNative lets you use your existing Lovable app URL as the starting point for your mobile app.
The process is simple:
1. Enter your Lovable project URL: Paste the URL of your project on Lovable to begin.
2. Choose your platform: You can develop an iOS app, Android app, or both.
3. Set up your app: Create a basic version of your app by adding an icon, name, splash screen, and colors.
4. Add mobile features: Enable features such as push notifications, biometric login, deep links, camera, file uploads, and more based on your app's needs.
5. Preview and test: Once your app has been developed, you can test its functionality and view its design.
6. Build and publish: Once everything is ready, generate your app builds and move on to the App Store and Google Play publishing process.
It’s also possible to keep your Lovable project as your main source of code and not have to manage two completely separate projects.
People wanting to convert from the Lovable app to a mobile app can use this add-on to achieve that goal while keeping the original web app.
Common Mistakes to Avoid When Publishing a Lovable App
About to publish? There are a few problems you should look out for first.
1. Assuming the Lovable Publish button publishes to the stores
Publishing with Lovable just makes the web app publicly accessible. Developers must create a native app build and submit it to the stores to make the app accessible to users.
2. Not testing in a mobile browser
Just because your app looks good in the web browser doesn't mean it will be the same in the mobile app.
3. Treating the mobile app like a simple website
A mobile app that simply displays your website may not provide enough app-like functionality for the App Store. Apple expects apps to offer features, content, and a user experience that go beyond a repackaged website.
4. Not providing Store assets
Other assets, including a description of the app, screenshots, and metadata, must also be provided when a publisher submits a new app to the stores.
5. Not removing dummy or sample content
Lorem ipsum text, sample products, test data, and unfinished content should be removed before you submit your app. Your store listing and app should show the actual content and experience that users will get after downloading the app.
6. Ignoring testing requirements
If your personal Google Play Developer account was created after November 13, 2023, you need to run a closed test with at least 12 testers who remain opted in continuously for 14 days before you can apply for production access.
Frequently Asked Questions
Q1. Can I publish my Lovable app directly to the App Store without any extra tools?
A. No. Lovable publishes a web app, not a native app file. You need to wrap or rebuild it as a native app before Apple or Google will accept it.
Q2. Do I need to know how to code to publish a Lovable app to the app stores?
A. Not if you use a web-to-app platform like WebToNative. It handles the native wrapping without needing you to touch code. Building a fully separate native app, on the other hand, does need development skills.
Q3. Will my app update automatically if I make changes in Lovable later?
A. Yes, if you're using a web-to-app wrapper, since the app loads your live Lovable URL, most content and feature updates you publish in Lovable show up in the app without needing a new store submission. Bigger changes (like new native features) may still need an updated build.
Q4. How long does the whole process take, roughly?
A. If your developer accounts are already set up and you skip straight to submission, a few days. If you're starting from scratch, especially with Google's 14-day testing requirement and Apple's account verification, plan for a few weeks.
Q5. Do I have to use In-App Purchase for payments?
A. For digital goods and subscriptions, yes. Apple and Google both require you to use their own payment systems. For physical products or real-world services, outside payment links are generally fine.
Conclusion
Once your web app is built in Lovable, publishing it to the app stores will require a little more work. It includes putting your web app through a few UX testing and mobile optimization tasks, fulfilling the publishing requirements for Apple/Google, and lastly, publishing the app.
If you don't want to go through all that for your Lovable project, then WebToNative can help you publish your Lovable project as a mobile app. With WebToNative, you will go through the same process of publishing the mobile app, but with additional steps such as adding mobile features and previewing the app.
To be clear, the goal here is to get your Lovable project as a functioning mobile app on the app stores. Once your app works properly, your store details are ready, and you've completed the required testing, you have everything you need to move from a Lovable app to a mobile app and get it ready for the App Store and Google Play.
Similar Blogs