


App Settings for iOS
The iOS App Settings section is used to configure how your app behaves specifically on Apple devices like iPhone and iPad. It includes iOS-specific controls such as app disable caching, safe area color, disable scroll bounce effect, and much more. These settings help ensure your app feels smooth, consistent, and fully optimized for the iOS ecosystem.
Key Features for Your iOS App
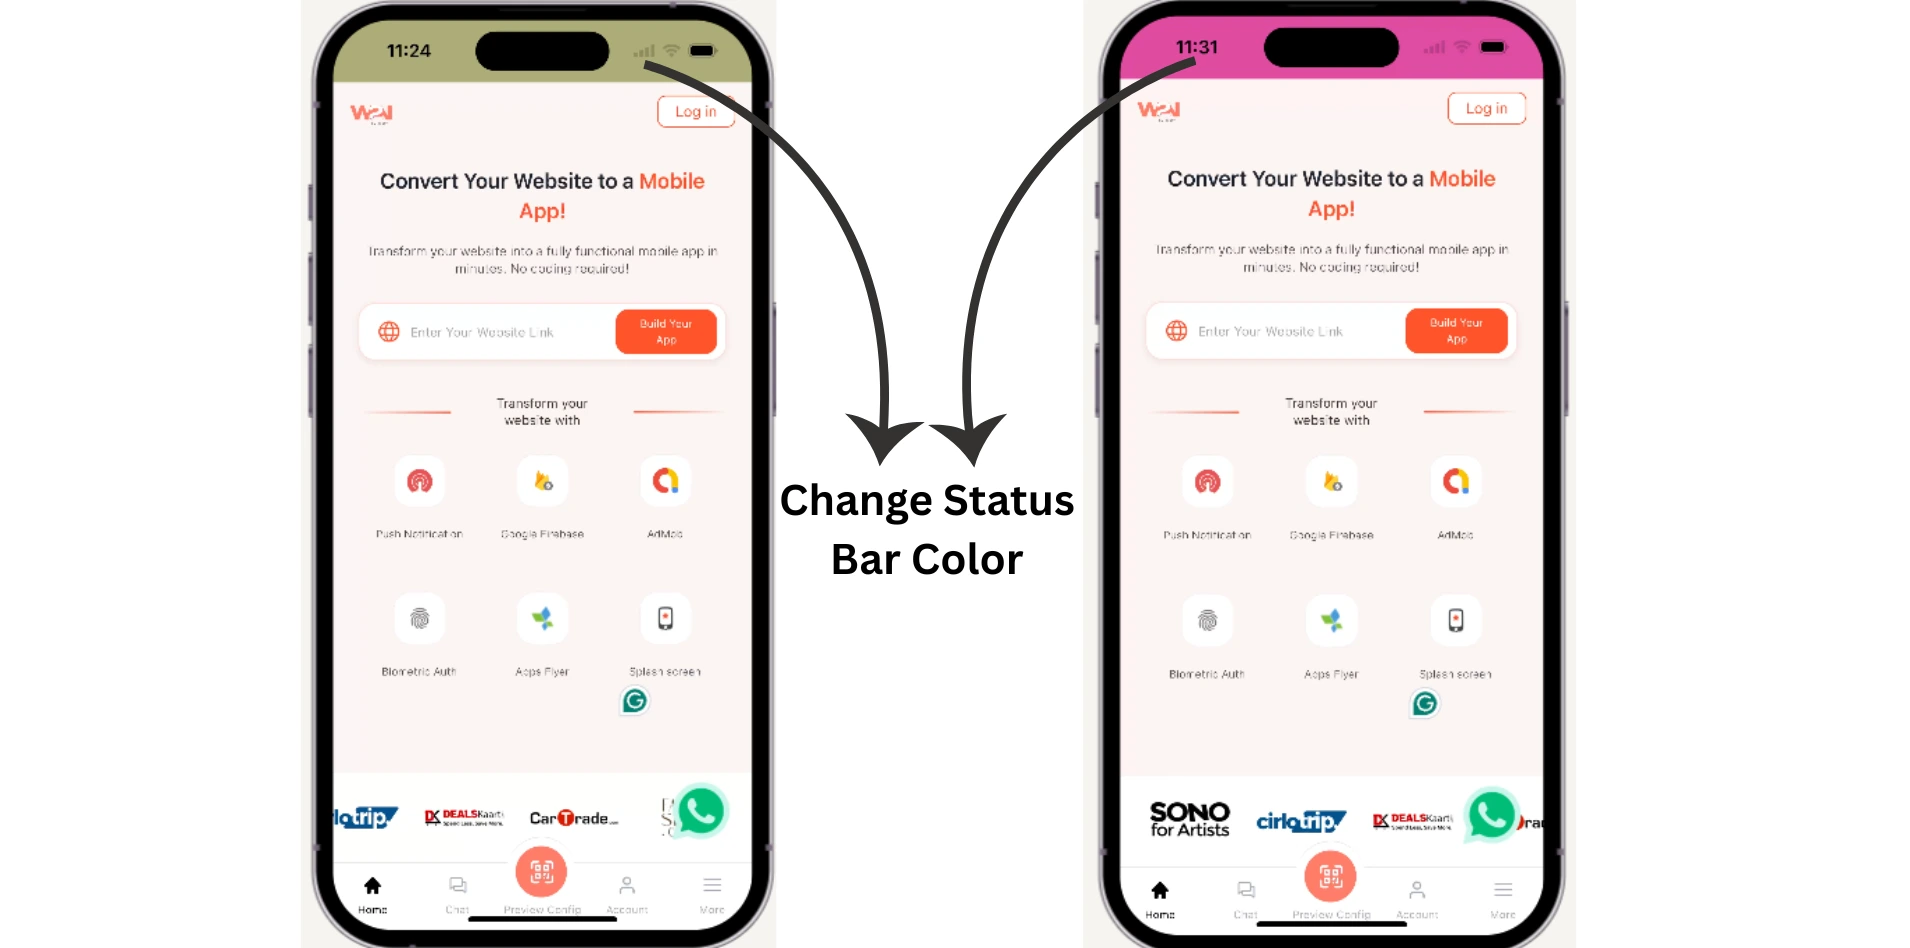
Status Bar Color
You can set the status bar color, which appears at the top of the screen, showing system info like time, battery, and notifications. Use a hexadecimal color code to define the color you want. For example, #000000 is black, and #FF0000 is red.
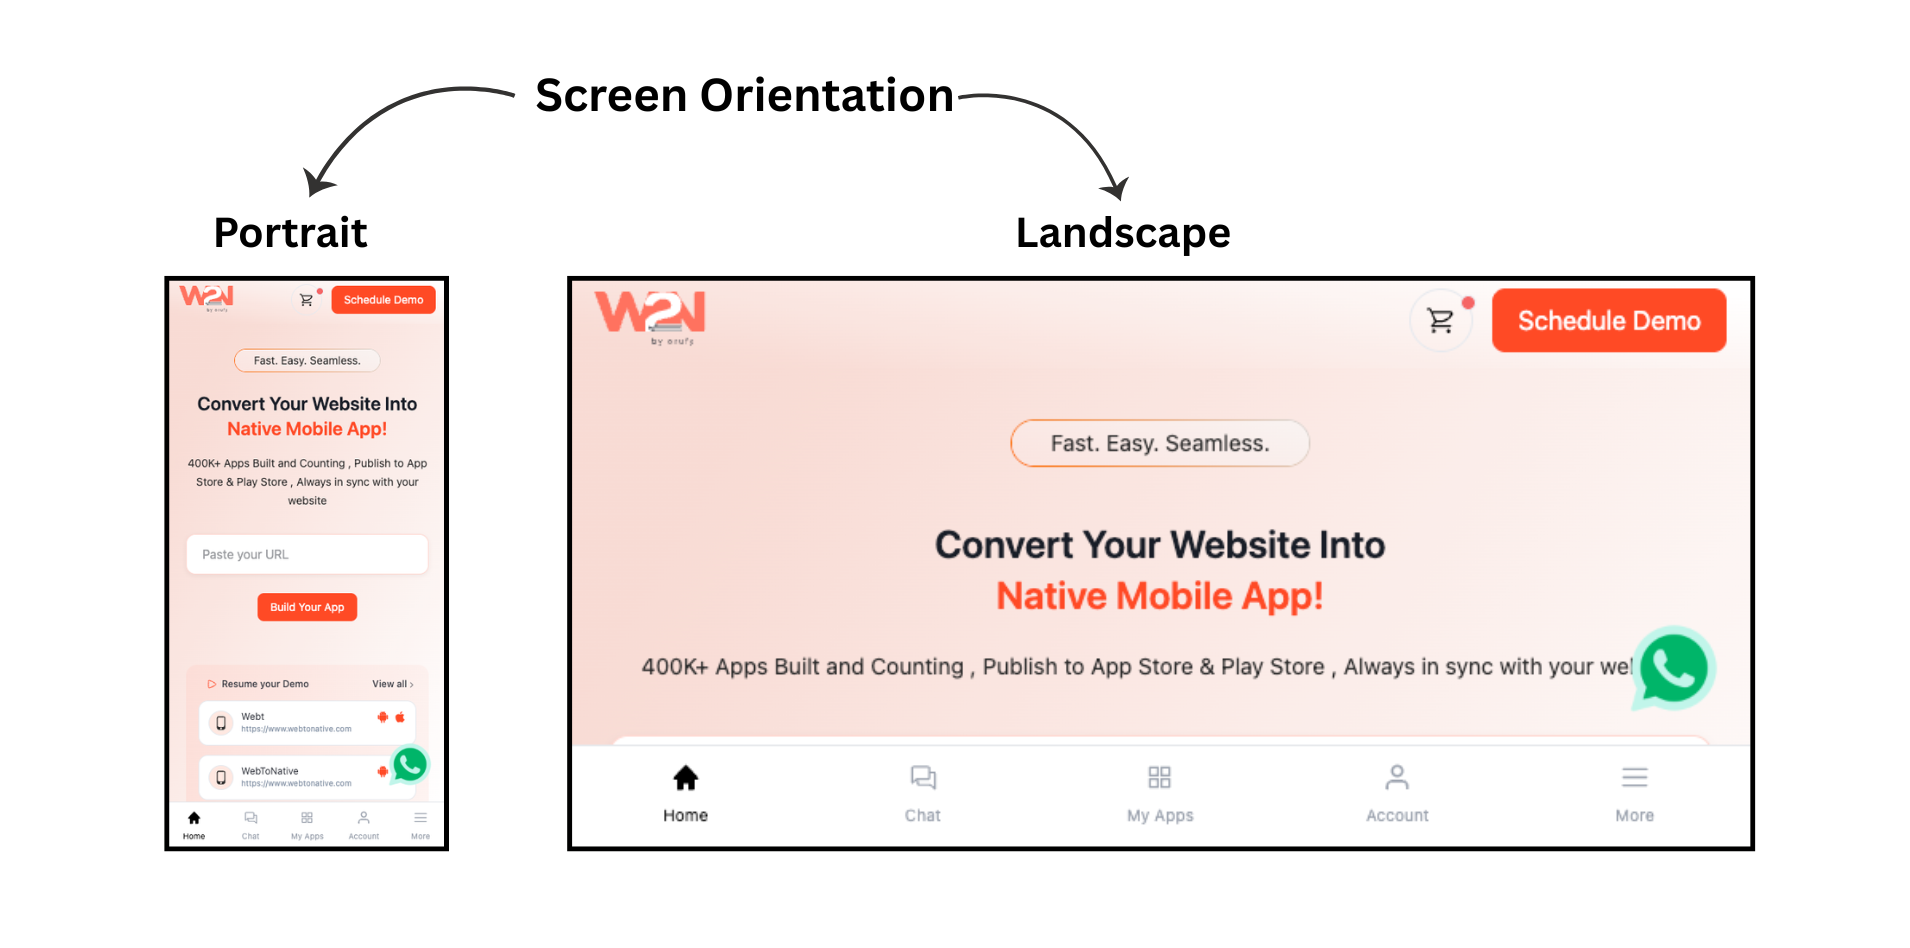
Screen Orientation
It determines how your app is displayed on a device screen. You can choose between Portrait, Landscape, or allow both modes depending on your app design. Portrait locks the app to a vertical view, Landscape fixes it in a horizontal view, while selecting both lets users automatically switch between orientations based on how they hold their device.
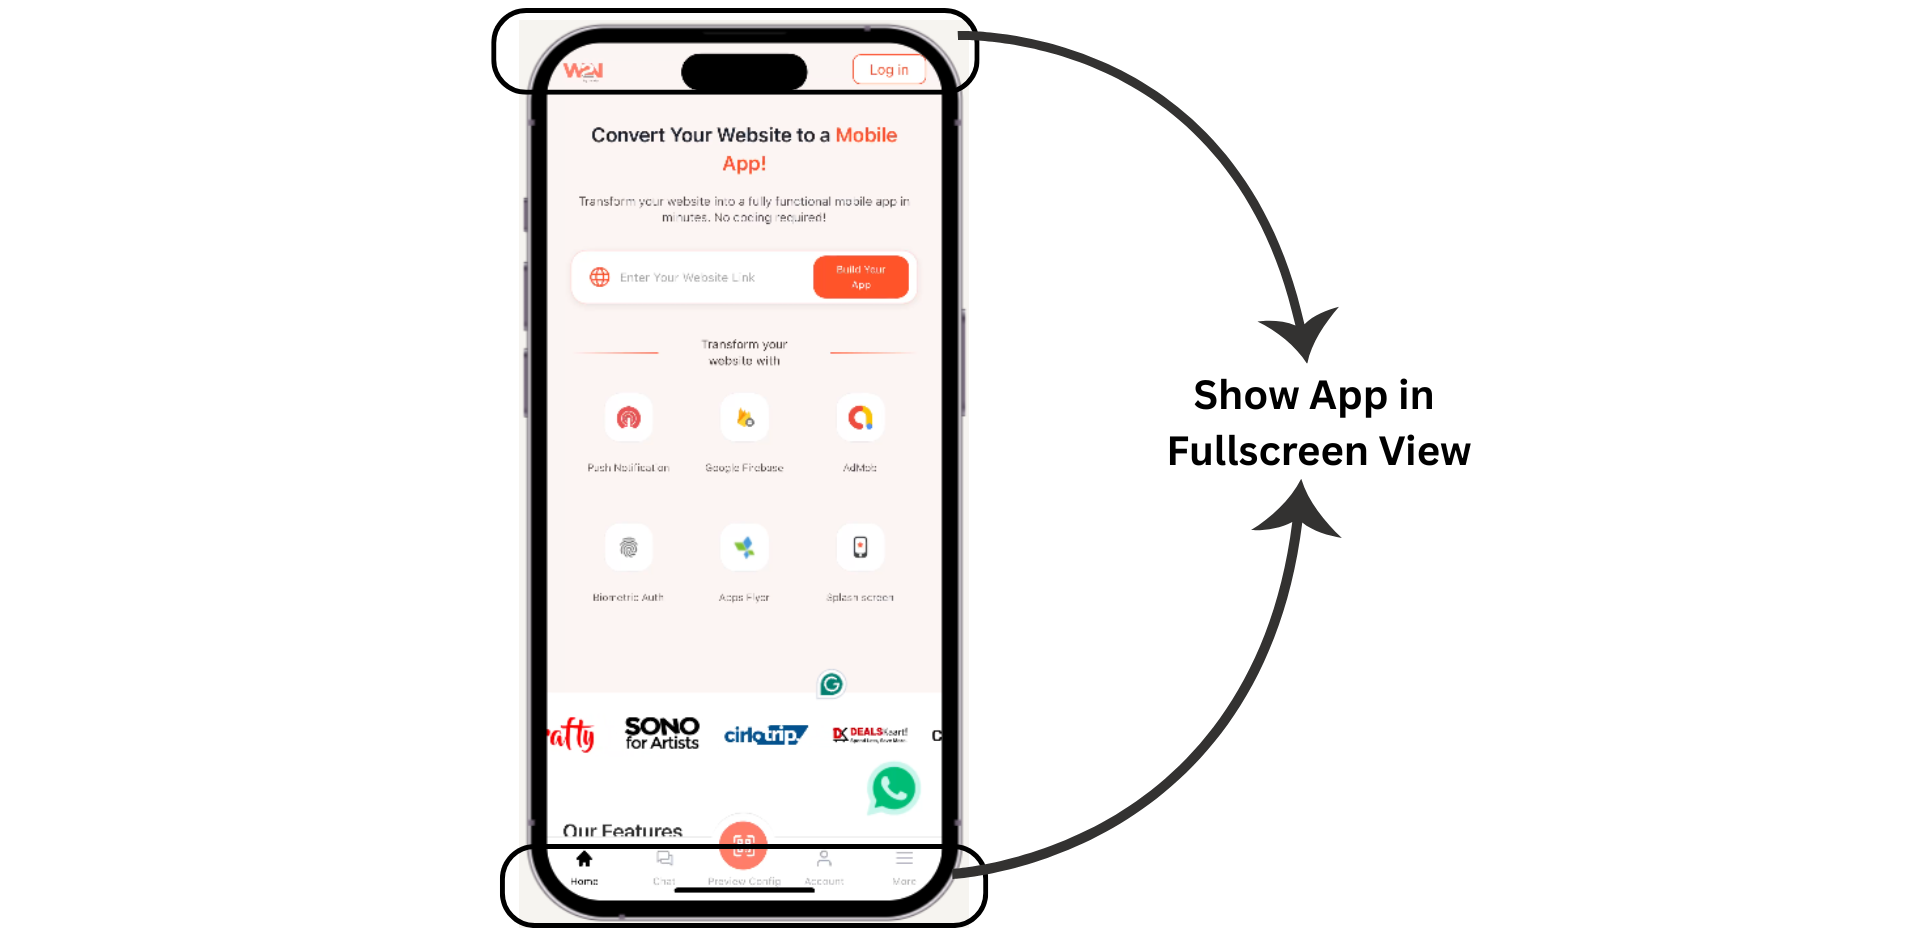
Enable Full Screen
Enable Full Screen allows your app to use the entire screen space by hiding the status bar and navigation buttons. This creates a cleaner and more immersive experience with fewer on-screen distractions.
Show Strip on Safe Area (Bottom notch area)
Once "Show Strip on Safe Area" is on, this lets you pick the exact colour of that strip — so it blends seamlessly with your app's design.
Think of it like painting a skirting board to match your room's wall colour. Without it, the bottom edge looks patchy. With it, everything feels seamless.
For Example If your app's footer is navy blue, set the safe area colour to the same navy. Users won't even notice the notch — the whole screen looks like one clean design.
Do you want app for iPads as well?
Makes your app available and properly usable on iPads — not just iPhones. Without this, your app may look oddly stretched or tiny on a large iPad screen.
An iPhone screen fits in your palm. An iPad is closer to a small laptop. This setting makes sure the layout looks great on both.
Great for e-commerce, dashboards, content-heavy apps — anything users might prefer on a bigger screen.
Do you want to keep screen on always?
Normally, if you leave a phone untouched for a minute, the screen turns off. This setting overrides that — keeping the screen bright and on as long as the app is running.
For Example Your app is a digital menu at a restaurant table. A customer starts reading — then pauses to decide. The screen goes black. Frustrating! With this on, the menu stays visible the whole time.
In-car navigation apps, store kiosk screens, live dashboards, and event information displays are common use cases to keep in mind.
Screen-always-on drains battery faster. Best used on devices that stay plugged in, like a display tablet or kiosk.
Disable Scroll Bounce Effect?
By default on iPhones, if you scroll to the very end of a page and keep pulling, the content stretches and snaps back like a rubber band. This setting turns that off. Everything stays steady and in place — no bouncing when users reach the top or bottom of a page.
For Example You have a checkout form at the bottom of a page. When users scroll to the end and accidentally pull a bit further, the page bounces and shifts — feeling glitchy. Disabling bounce keeps the form solid and in place.
Recommended for apps with fixed layouts, full-screen pages, embedded forms, or any page where bouncing would look unintended.
JS Bridge Access
JS Bridge Access controls which pages in your app can use WebToNative’s JavaScript function. It allows your website pages to connect with native features like the camera, fingerprint scanner, NFC, in-app purchases, and more.
Without enabling this app setting, your web pages and the native features remain separate. By default, this setting is off. You can enable it and select which pages can access it. Keeping things secure while enabling native features only where required.
For example, you have a checkout page that requires an app unlock code for payment confirmation. Only that particular page needs JS Bridge access. You have to grant permission to that one specific URL, leaving the rest the same.
If a page is not listed in your JS Bridge Access settings, WebToNative’s JS function called for that page will fail silently, even if the code is perfectly written.
Think of it like an electricity connection in a building. You must have all the right wiring with appliances, but if you haven’t switched on the power for that room, nothing will turn on. JS Bridge Access works as the switch and decides which rooms → pages get power.
You can control access using four options.

All Pages
Every page in your mobile app can use WebToNative’s JS function. Ideal for apps where native features are used across devices.

Exact URL
Only one particular page gets access. Perfect for a single page that requires WebToNative JS functions.

Start with URL
You can give access to all the pages that begin with the same URL. Perfect for section-based control.
For example, this setting (yoursite.com/dashboard) gives all pages under that path, such as /dashboard/home and /dashboard/settings, JS Bridge access.
Custom Regex
You have to write a regular expression to match specific URL patterns to have complete control over which pages get access. It is useful when your URL structure is complex or doesn’t follow a simple prefix.
Why Is Your JS Function Not Working?
The most common reason for the WebToNative JS function to stop working is that the page calling them is not listed in the JS Bridge Access settings. Check your current URL against your JS Bridge setting. It must match exactly or fit the pattern you have set.
Add Callback on App Resume
This feature allows your app to run an action automatically whenever the user reopens or returns to the app after leaving it. This can be useful for refreshing content, syncing data, or updating information instantly when the app becomes active again.
For Example Apps showing live updates like stock prices, delivery tracking, or news feeds can automatically load the latest information instead of displaying old data.
To make this work, your website must include a function named appResumeCallback. Once added by your developer, it will automatically run every time the app comes back into focus.
Disable Caching
When this setting is enabled, the app fetches fresh content directly from your website every time instead of loading previously stored cached data. This helps ensure users always see the most recent information available.
It is especially useful for apps with frequently changing content, such as live updates, pricing, news feeds, inventory, or personalized user data, where showing outdated information can cause issues.
If your website content rarely changes, keeping cache enabled is recommended because it improves loading speed and reduces data usage.
Disable Scroll Bounce Effect
Disabling the scroll bounce effect prevents the screen from bouncing when the user’s scroll goes beyond the edge. Once the setting is enabled, the mobile app screen does not shake or jump when users reach the top or bottom of the screen. It makes the user’s navigation inside the app smoother, more controlled, and cleaner across all screens.
Disable Back Button
Blocks the Android back button on selected screens to avoid unwanted navigation or accidental exits. This is useful for sensitive pages like payments, form submissions, login flows, or restricted screens where going back could interrupt the process or create errors. It will open up an advanced settings option.