


Splash Screen with Logo Image
A Splash Screen with your logo appears while the app is loading, giving users a consistent branded experience from the start. It keeps the screen consistent while the app is starting and avoids showing a blank loading screen. This makes the launch feel smoother and more professional.
1. Icon-Based Startup Screen
Tap on Click to upload to add your App Icon. The app icon should be 1024 × 1024 pixels in size.
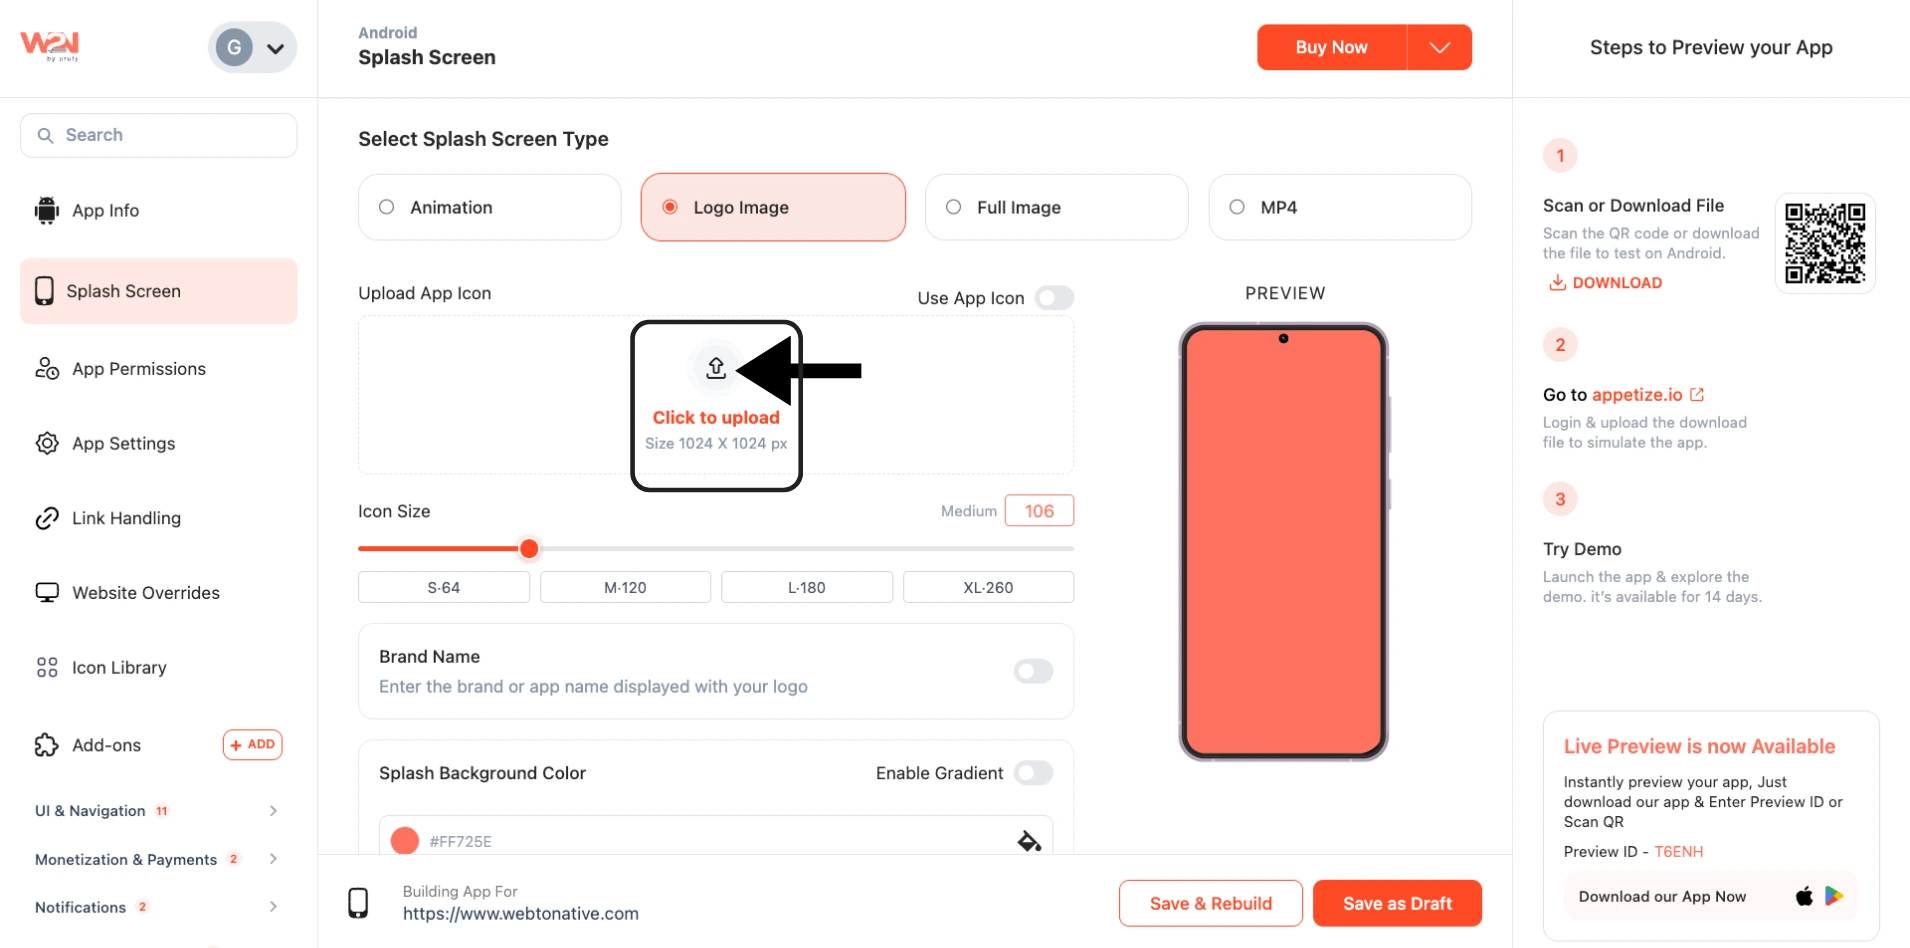
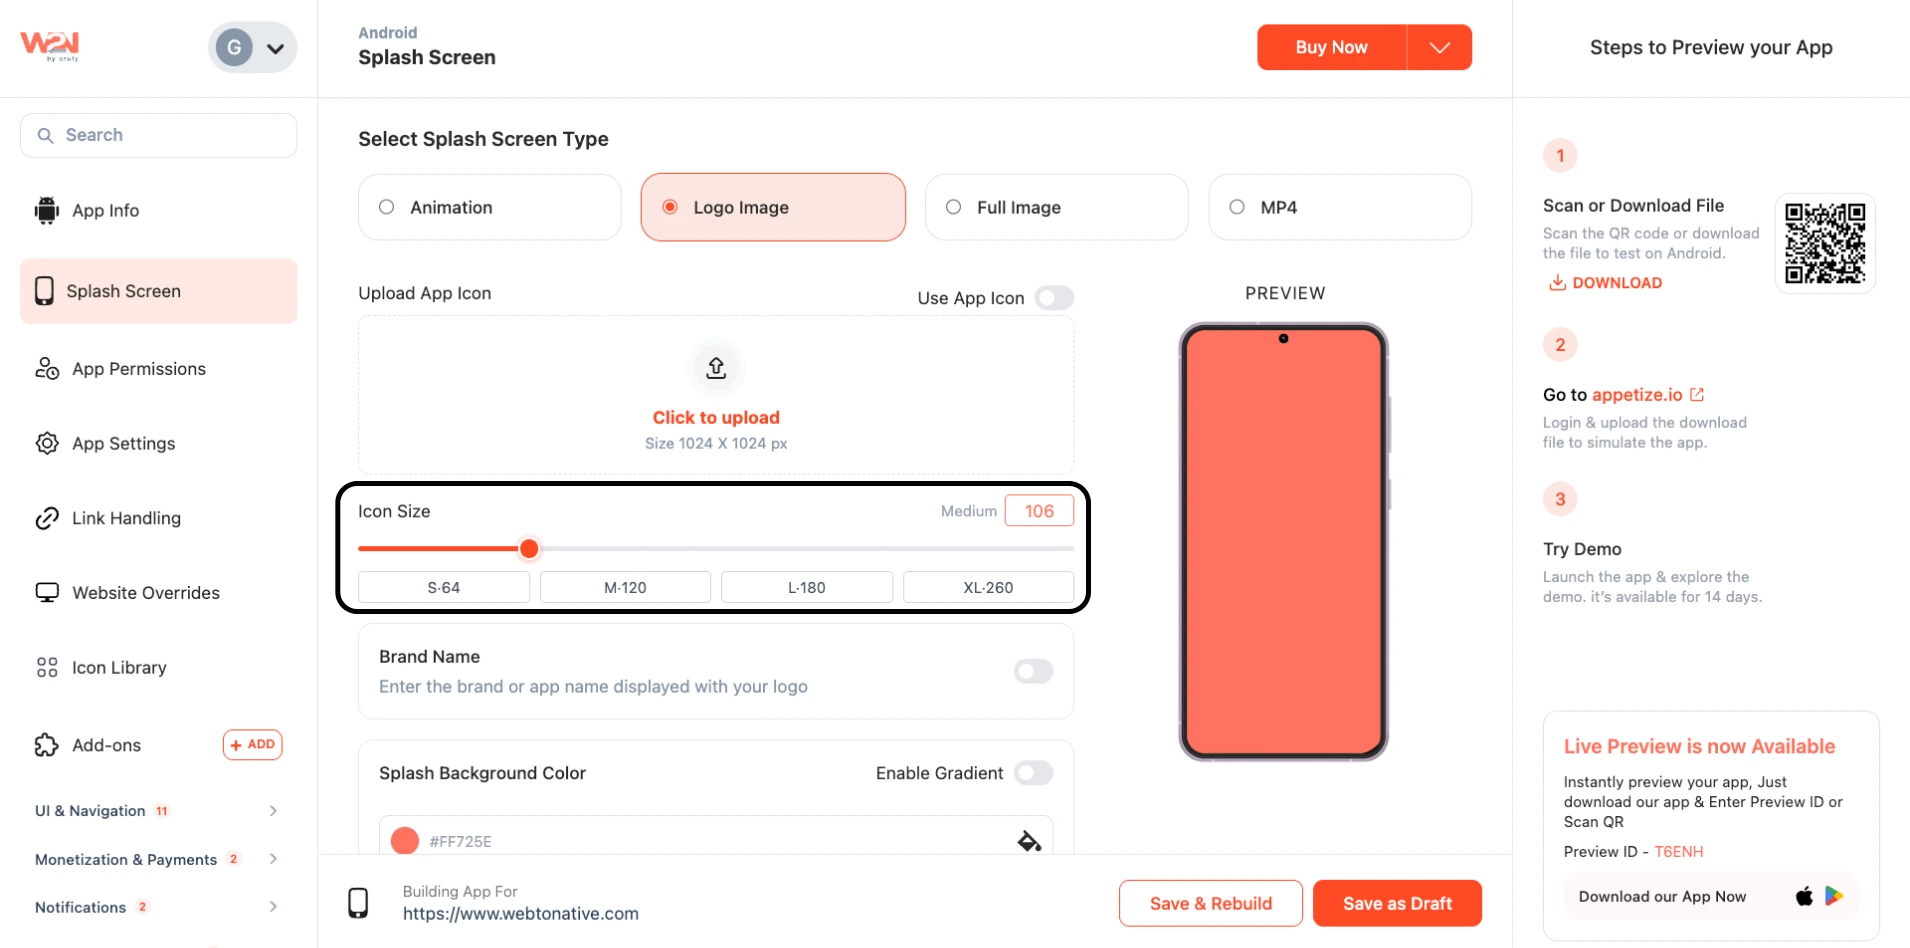
Set Icon Size
Select the icon size S-64, M-120, L-180, and XL-260.
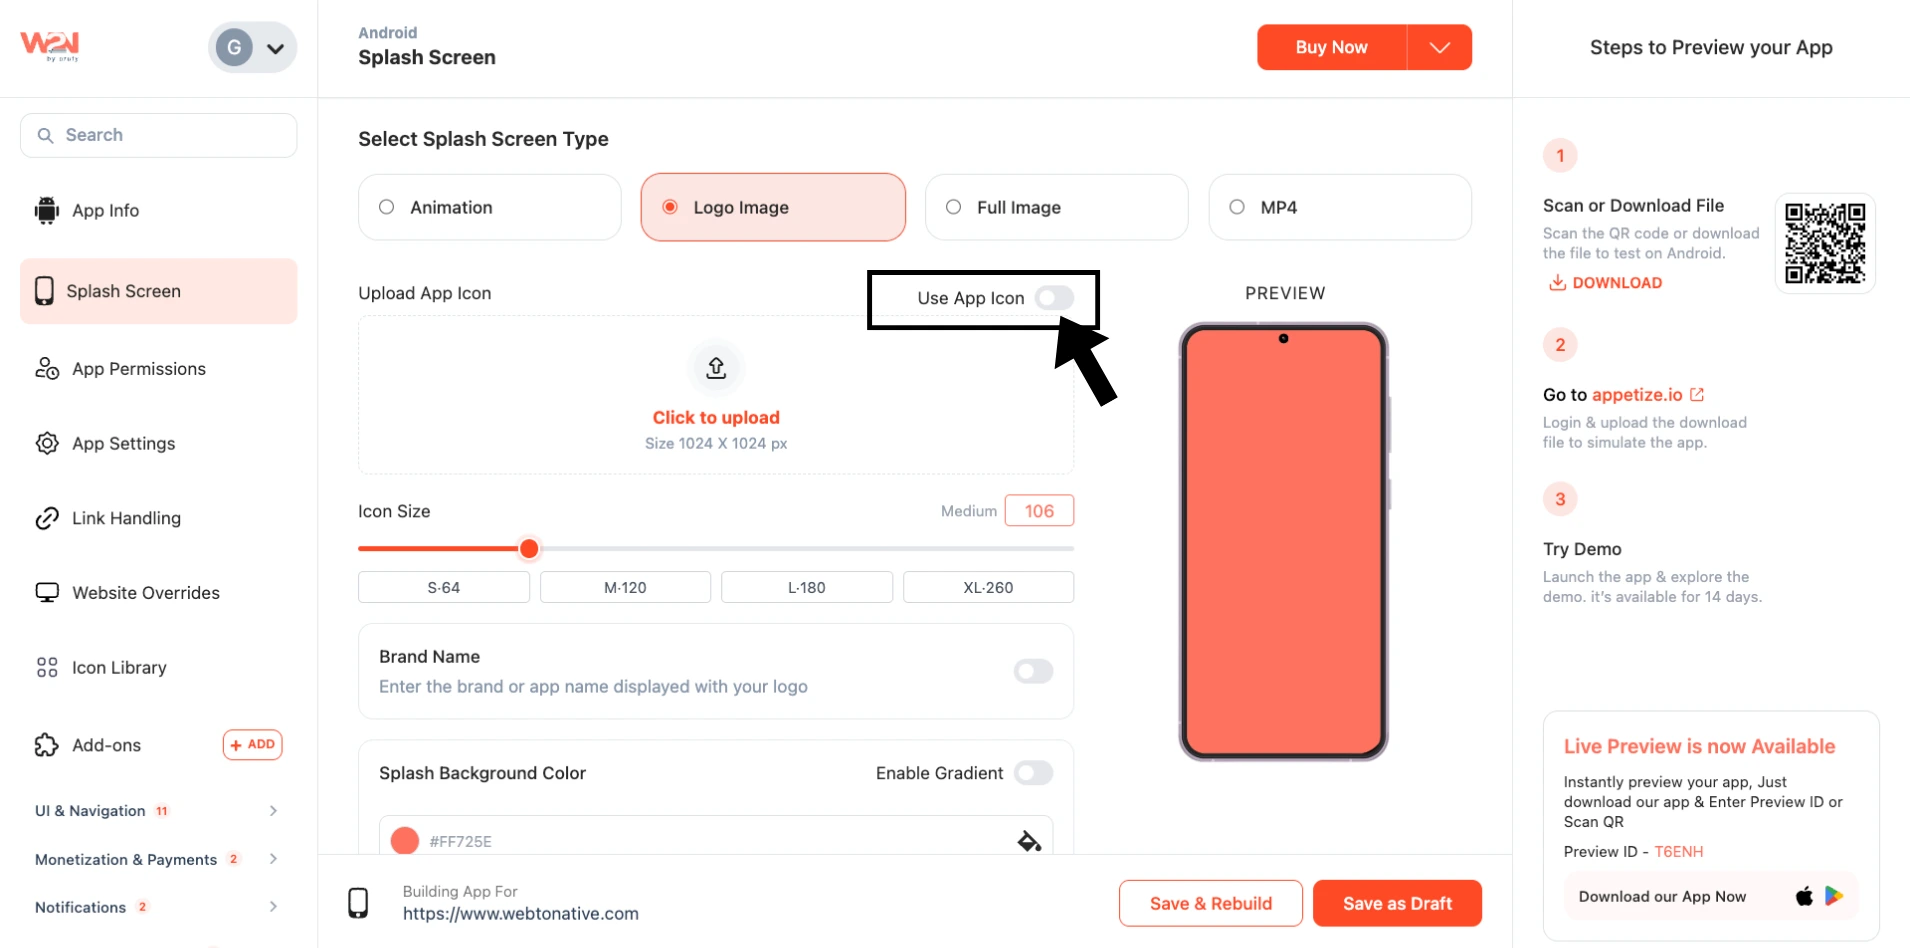
Use App Icon
Use App Icon allows you to appear and disappear the app icon
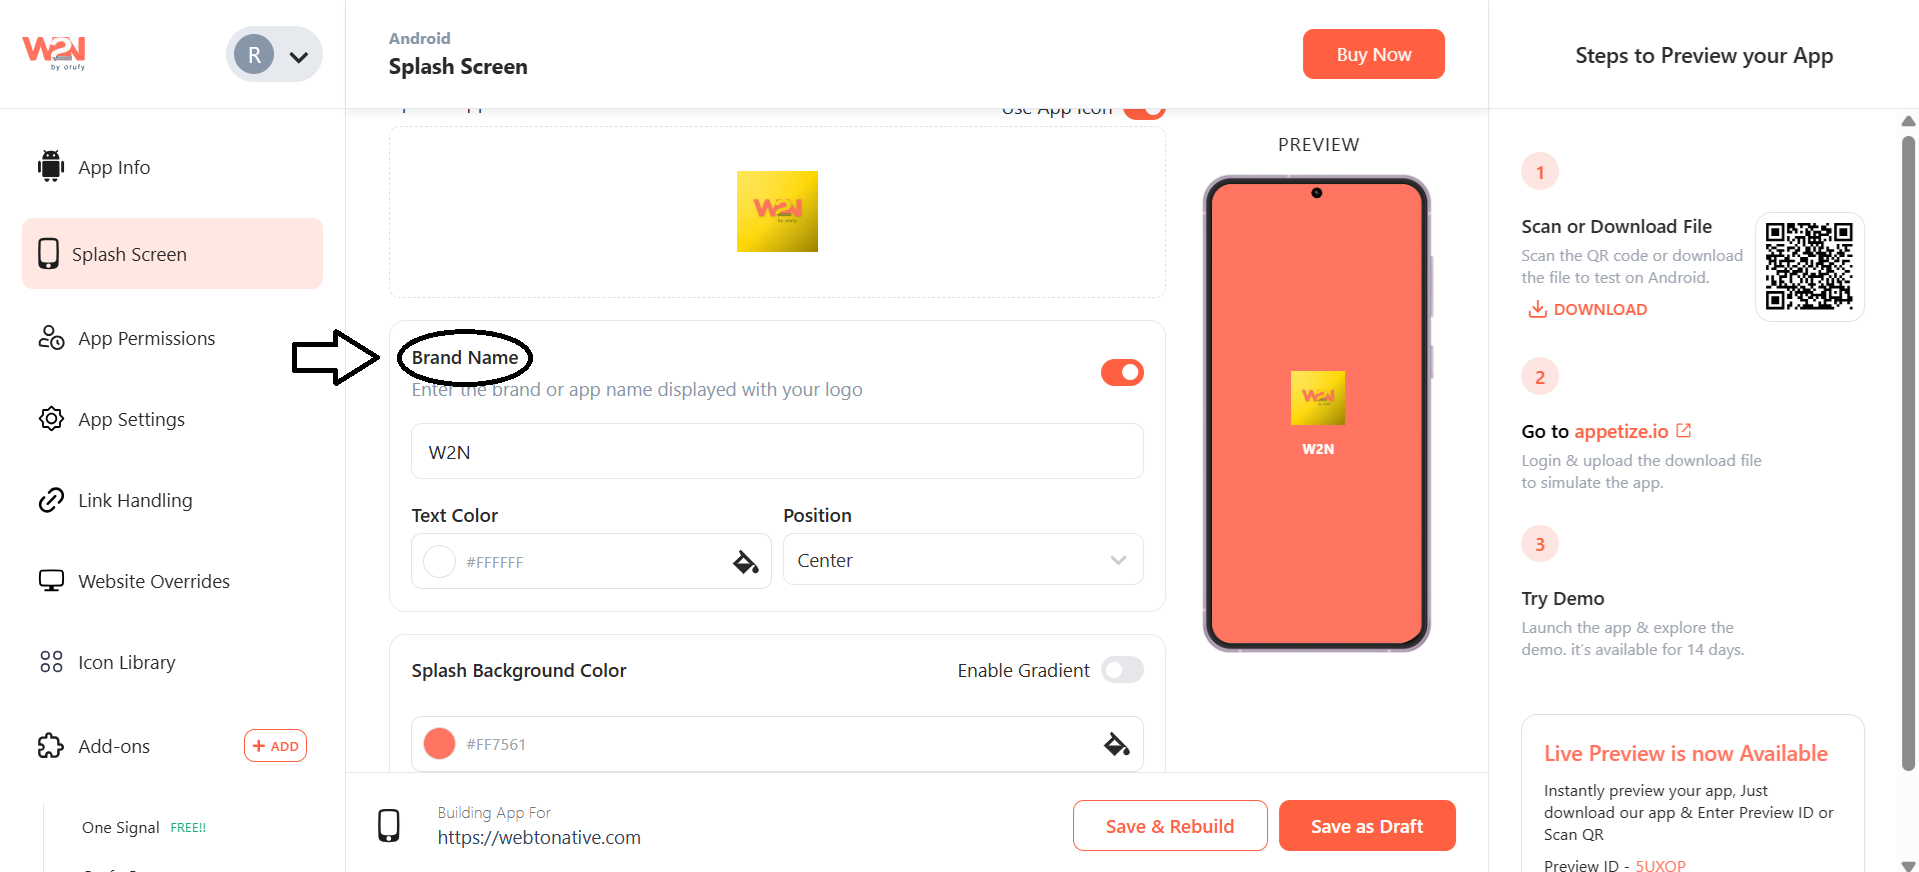
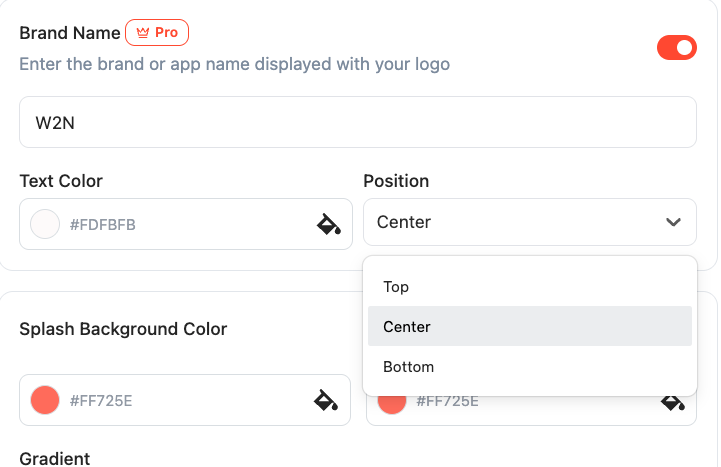
Enter Brand Name Using the Toggle- Only Accessible to Pro Users
Enter your app name and select the text color, position, and background color. The position support includes the top, center, and bottom.
Choose a perfect background color for the app's splash screen.