


Social Login
This procedure will help you integrate social login functionality into your app using native SDKs for Facebook and Google. Additionally, it covers the use of the WordPress and Shopify plugins for smooth integration.
Key Features
1. Native SDK Integration: Uses respective native SDKs for login instead of webview.
2. Supports Facebook and Google Logins: Apple login is supported only on iOS.
3. Plugins Available: WordPress and Shopify plugins are available for easy integration.
Configuring Social Login
1. Add Social Login
Click on "Add" button to add Social Login. Once you add, it will appear in Add-ons menu.

2. Social Login Configuration
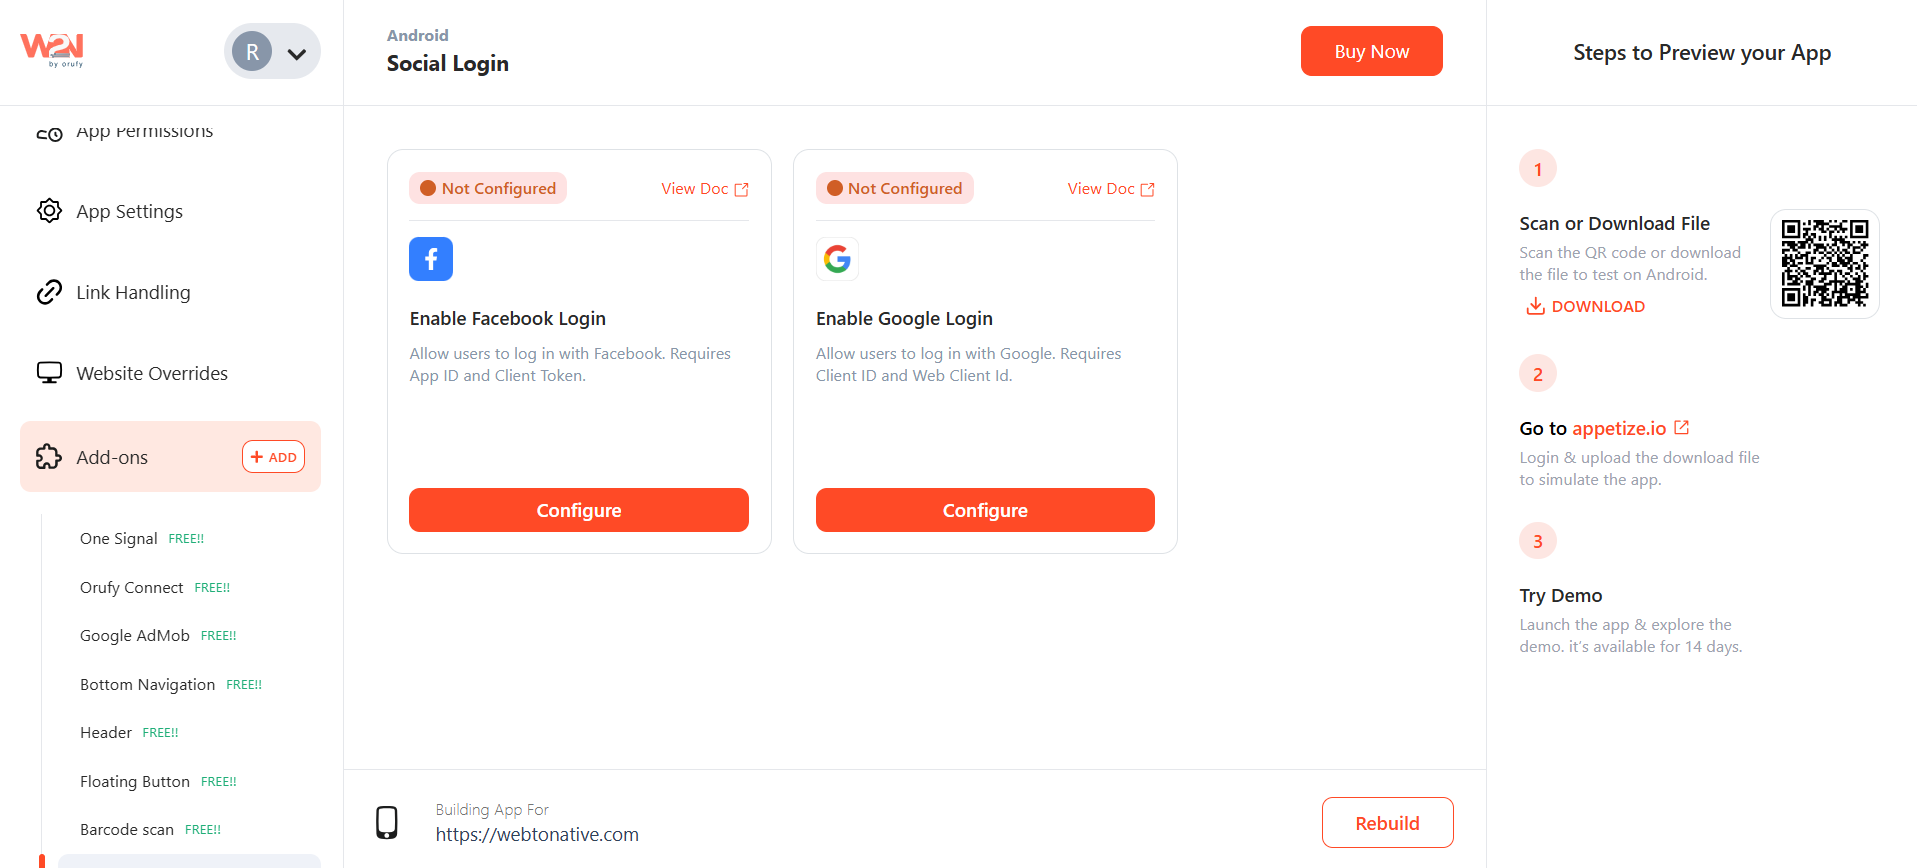
Click on "Configure" for either Facebook or Google.
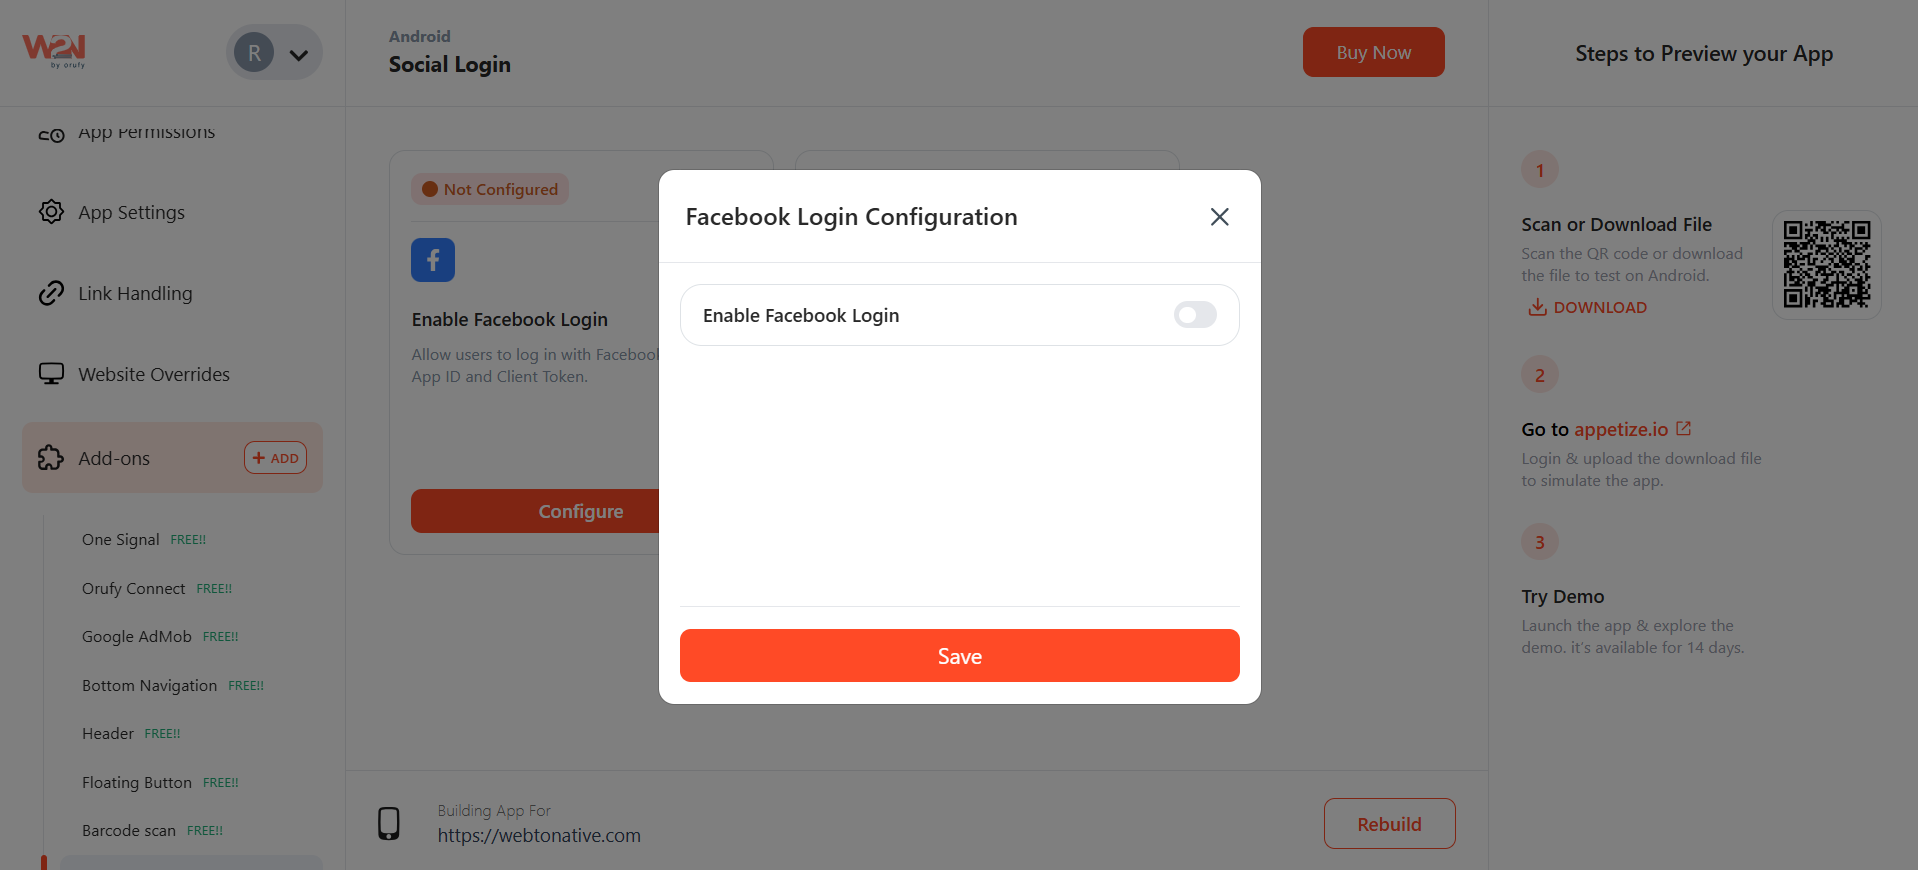
1. Configure Facebook Login
As you will click on Configure, A pop will open to Enable facebook Login.
- After enabling the facebook login, you have to fill App ID and Client Token.
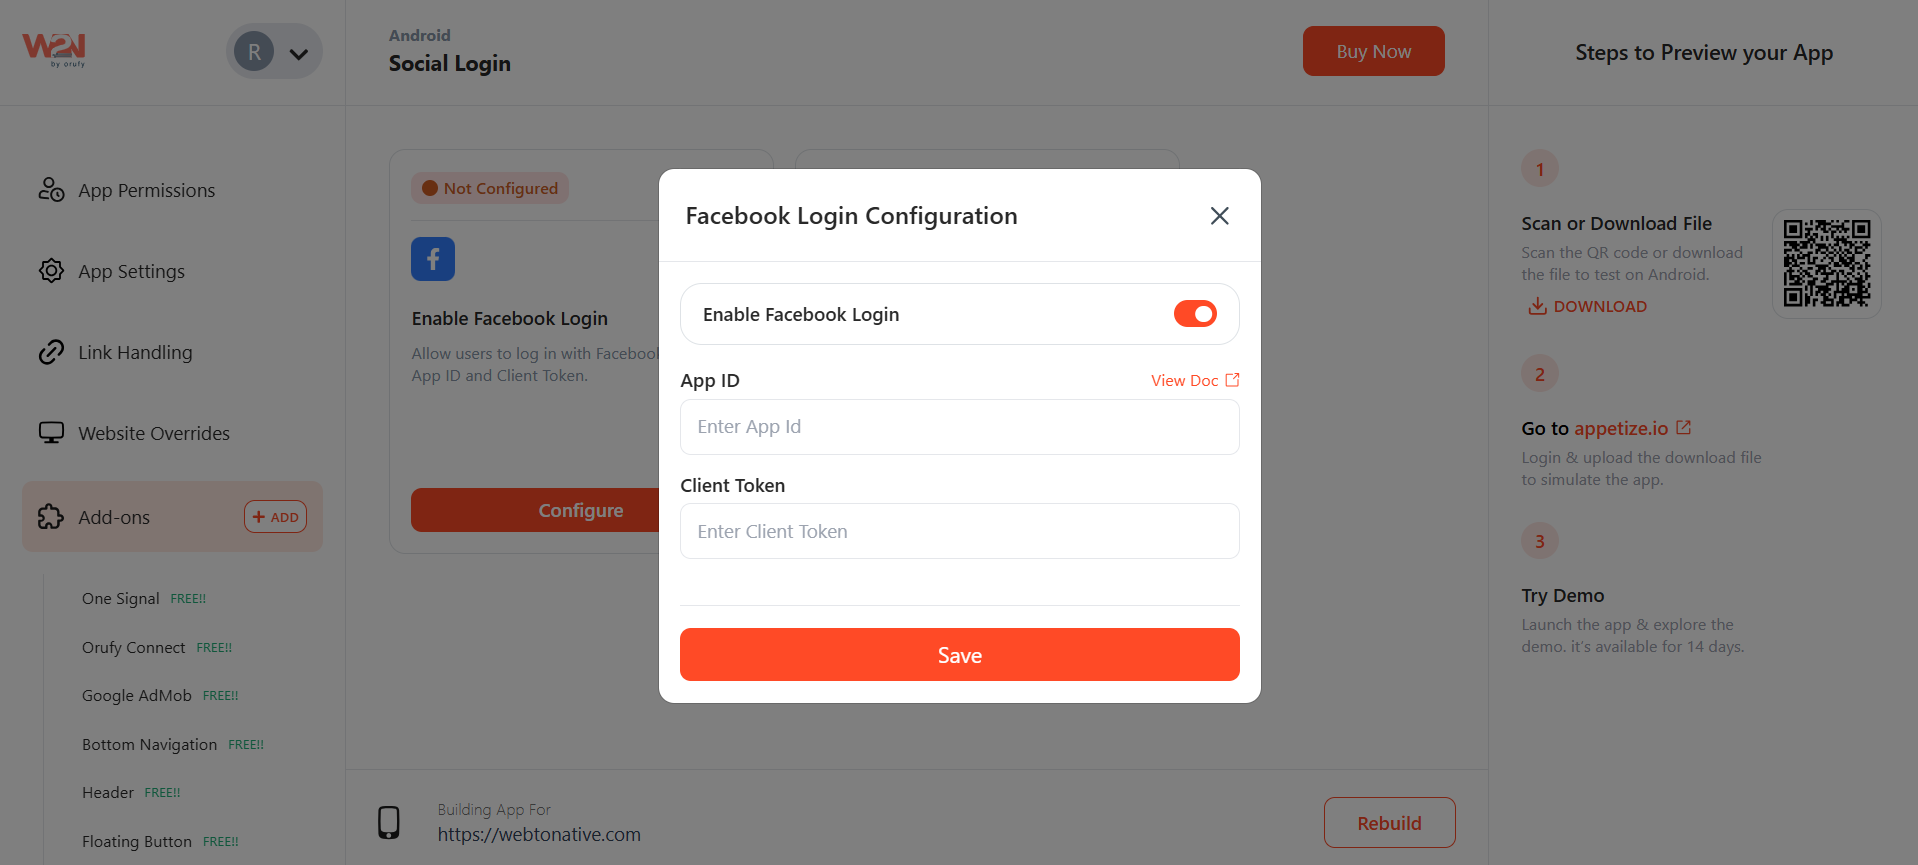
- Go to the link https://docs.webtonative.com/social-login-integrations/facebook-login-configuration (opens in a new tab), if the App ID and Client Token are not generated.
2. Configure Google Login As you will click on Configure, A pop will open to Enable Google Login.
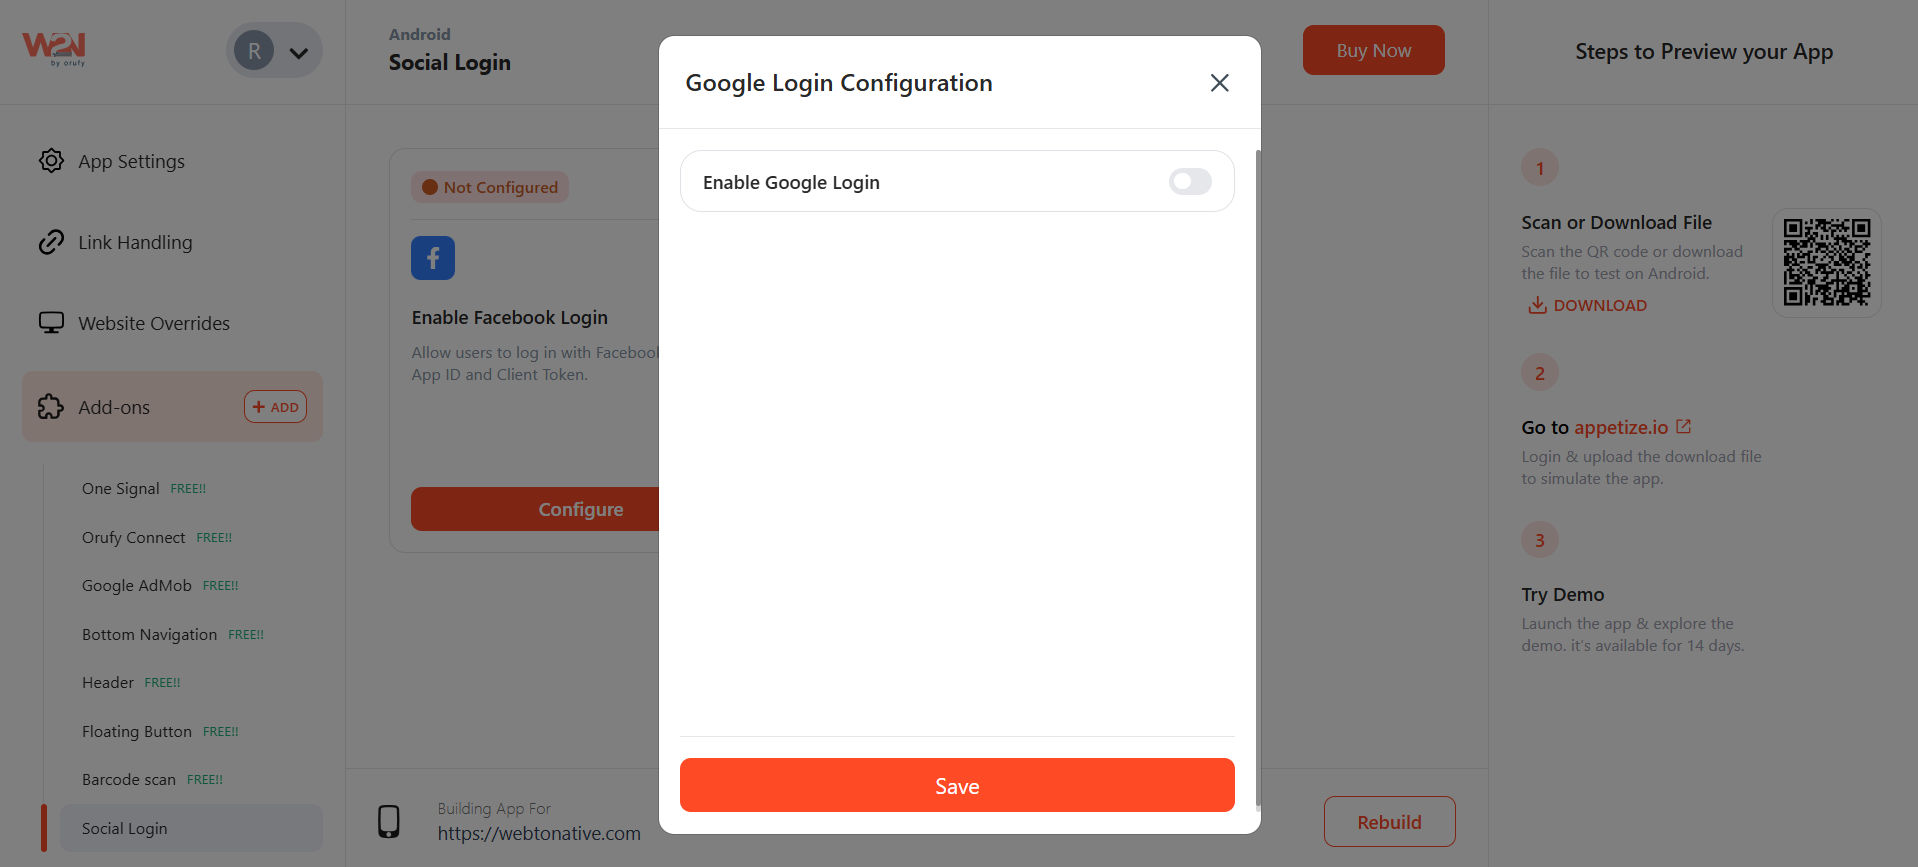
- After enabling the Google Login, you have to fill in the Client ID, Web Client ID, and Logout URL (optional).

- Go to the link, if the Client ID is not created, https://docs.webtonative.com/social-login-integrations/create-google-oauth-client-id (opens in a new tab)
For Advanced Implementation of Social Login, Go to the Link, https://docs.webtonative.com/javascript-apis/social-login (opens in a new tab).
Save your changes and Rebuild your app to see the changes are in action, after configuring the Social Login settings and integrating the necessary code. This ensures all configurations are applied correctly and the social login functions as expected.