


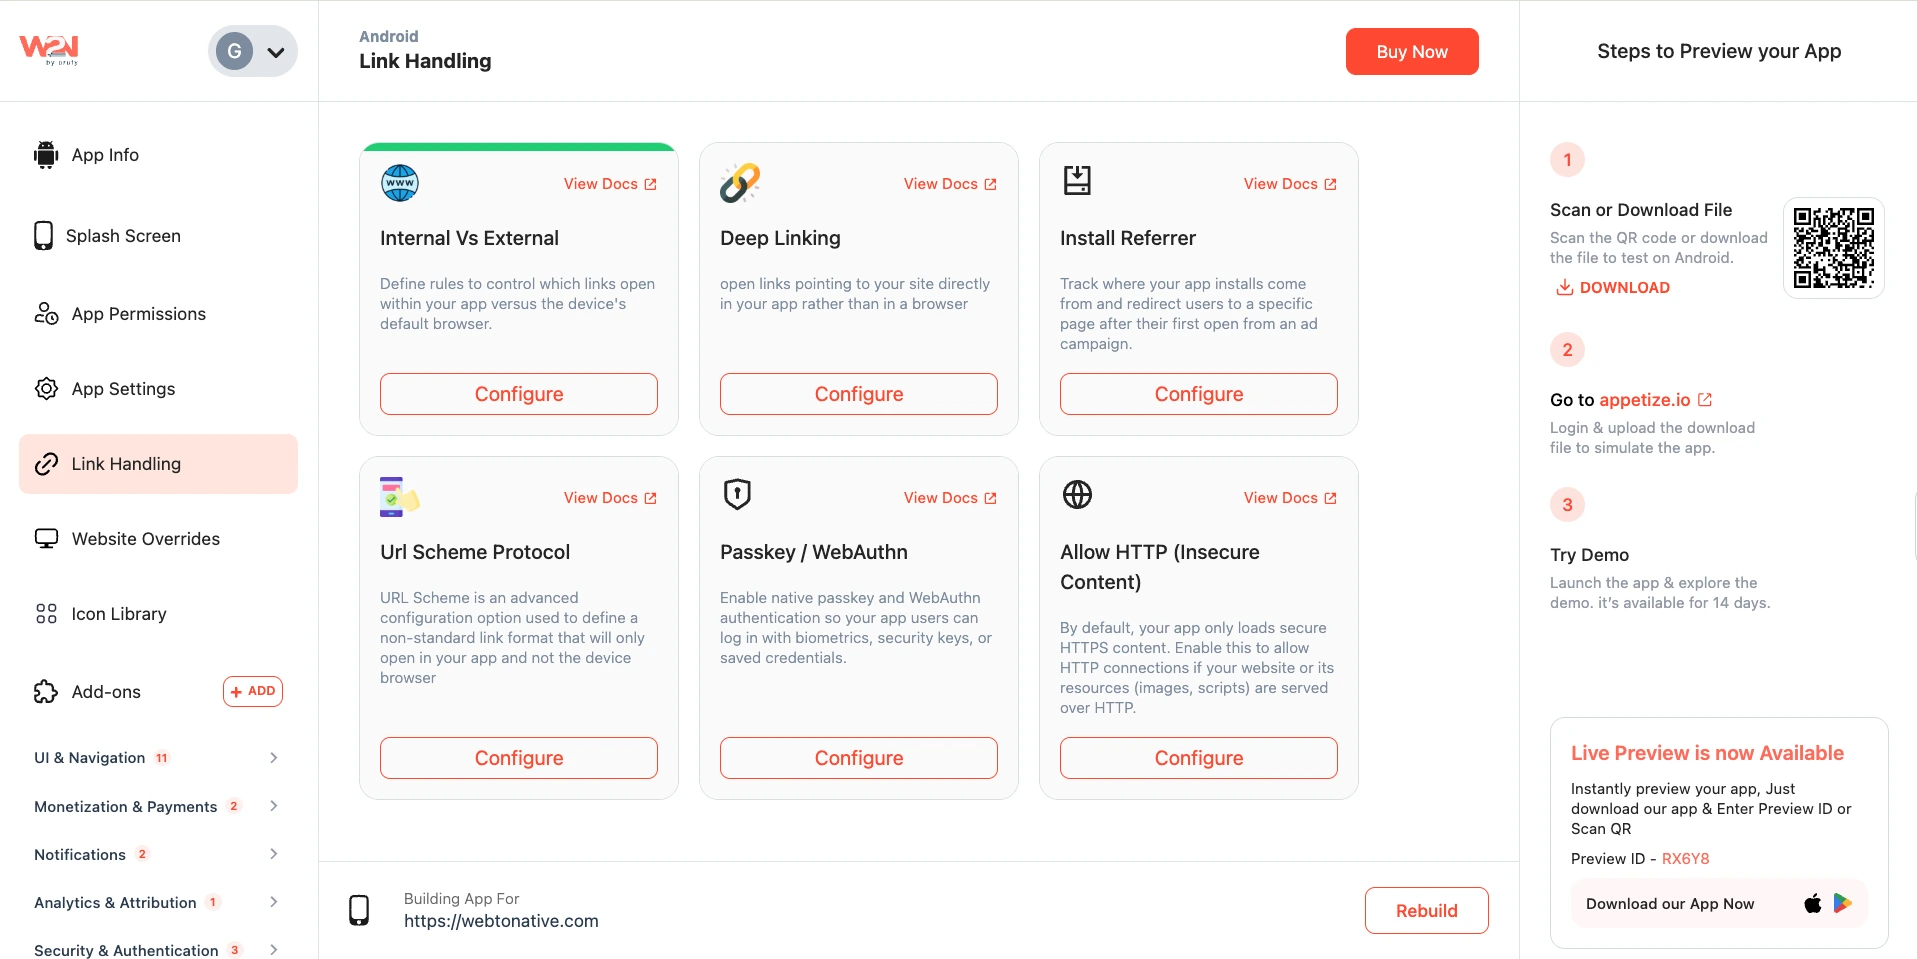
Deep Linking
Deep Linking provides a smooth user experience by opening specific pages inside your app when users click matching links. It ensures that http:// or https:// links from a specified domain open within the app instead of the default mobile browser. It is recommended to add your hostname both with and without the www prefix. Addtionally, read this guide carefully to connect web links to app screens. (opens in a new tab)
Before vs After - What the User Experience

Without Deep Linking
- User gets a WhatsApp message with a link to yoursite.com/offer. They tap the link - it opens in Chrome or Safari. They have to manually switch to the app and find the offer page themselves Most users give up. Opportunity lost.

With Deep Linking
User gets a WhatsApp message with a link to yoursite.com/offer They tap the link - the phone detects it’s your domain. Your app opens directly on the exact offer page. Seamless User exactly where they need to be Conversion.
Link Handling
Navigate to Deep Linking and click on Configure.
Insert Your URL
Now, add a URL that matches a specified domain to open the link within your app instead of the default mobile browser.
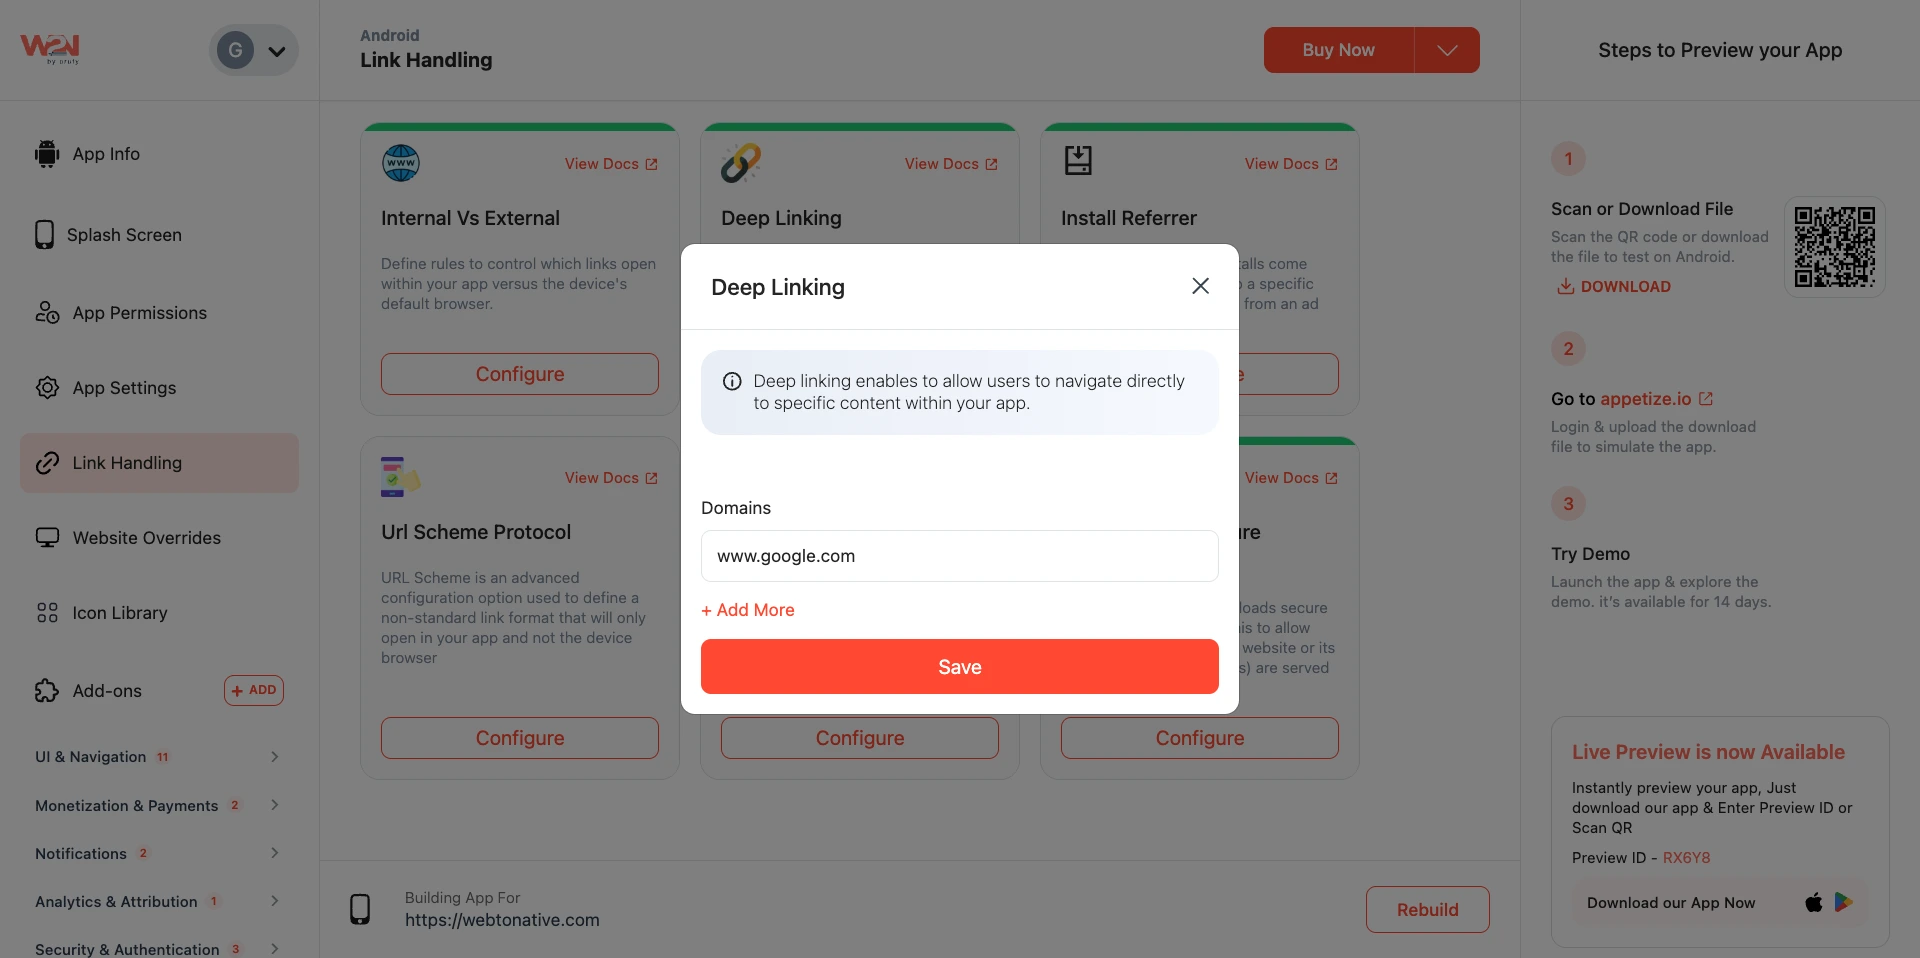
NOTE: Keep in mind that your domain should not contain http:// or https:// prefixes.
Android Configuration
Default Behavior:
- In Android, Deep Linking usually display a disambiguation dialog, to prompt users to select either to open the link in your app or in a default mobile browser.
App Link Verification:
- Enable App Link Verification, To bypass the disambiguation dialog prompt and open links directly in your app. This requires adding a configuration file to your website at "/.well-known/assetlinks.json" to prove you control the reference domain.
Steps for Configuration
1 Create the Assetlinks File
Create a file named assetlinks.json and place it at /.well-known/assetlinks.json on your website. This file verifies that your Android app is authorized to open links from your domain.
Google Play Console can generate the required JSON content for you in the Deep Links section:
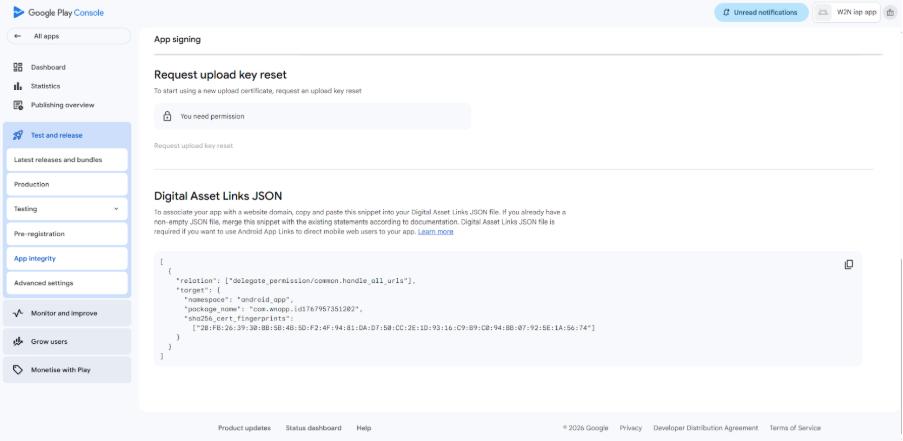
- Add a /.well-known/assetlinks.json file to your website. This file should reference your app's package name and include a SHA-256 fingerprint of your app's signing certificate.
Example of assetlinks.json:
[  {    "relation": ["delegate_permission/common.handle_all_urls"],    "target": {      "namespace": "android_app",      "package_name": "com.example.yourapp",      "sha256_cert_fingerprints": ["<your_sha256_fingerprint>"]    }  }]
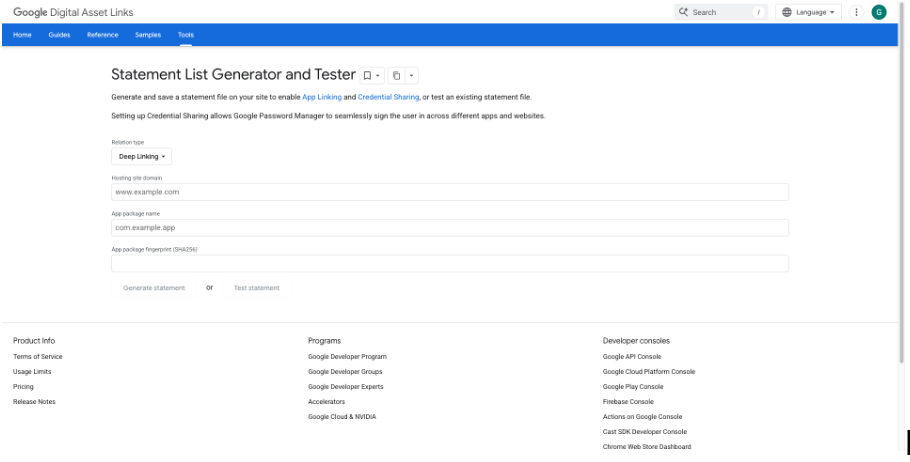
2. Verify Configuration
-
Visit Google’s Statement List Generator and Tester (opens in a new tab).
-
Enter your app package name and the SHA-256 fingerprint from the assetlinks.json, then click "Test Statement" to ensure it's configured correctly.
3. Repeat for each Hostname:
Perform the above steps for each hostname you intend to use.
iOS Configuration
Default Behavior
- iOS always presents a confirmation screen when a user clicks a Deep Link.
Requirements
1. Provisioning Profile In the provisioning profile associated with your app ID, add "Associated Domains" under App Services.
2. Configuration File Add an "/.well-known/apple-app-site-association" file to your website. This file must include your TEAMID from your Apple Developer account.
Steps for Configuration
Create the apple-app-site-association file
Create a file called apple-app-site-association (no .json extension) and host it at /.well-known/apple-app-site-association on your website.
We provide you with a JSON file for iOS in Webtonative > Deeplinking
- Place the
/.well-known/apple-app-site-associationfile on your website to prove domain ownership.
Example of apple-app-site-association:
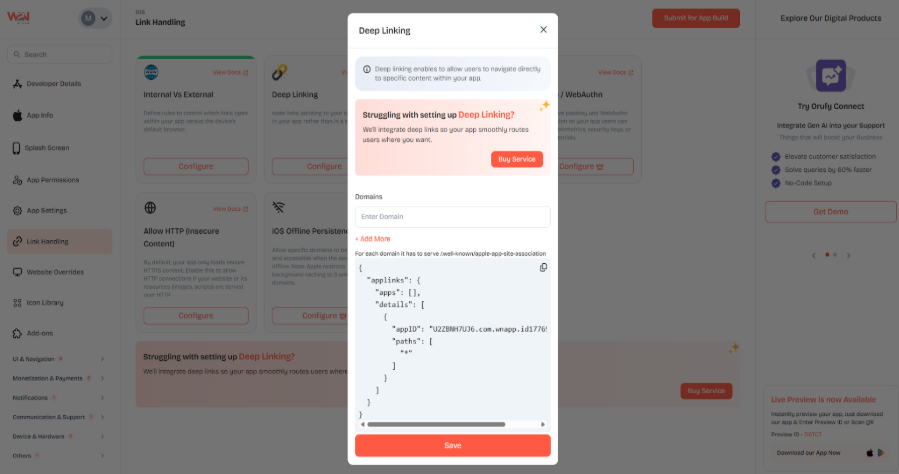
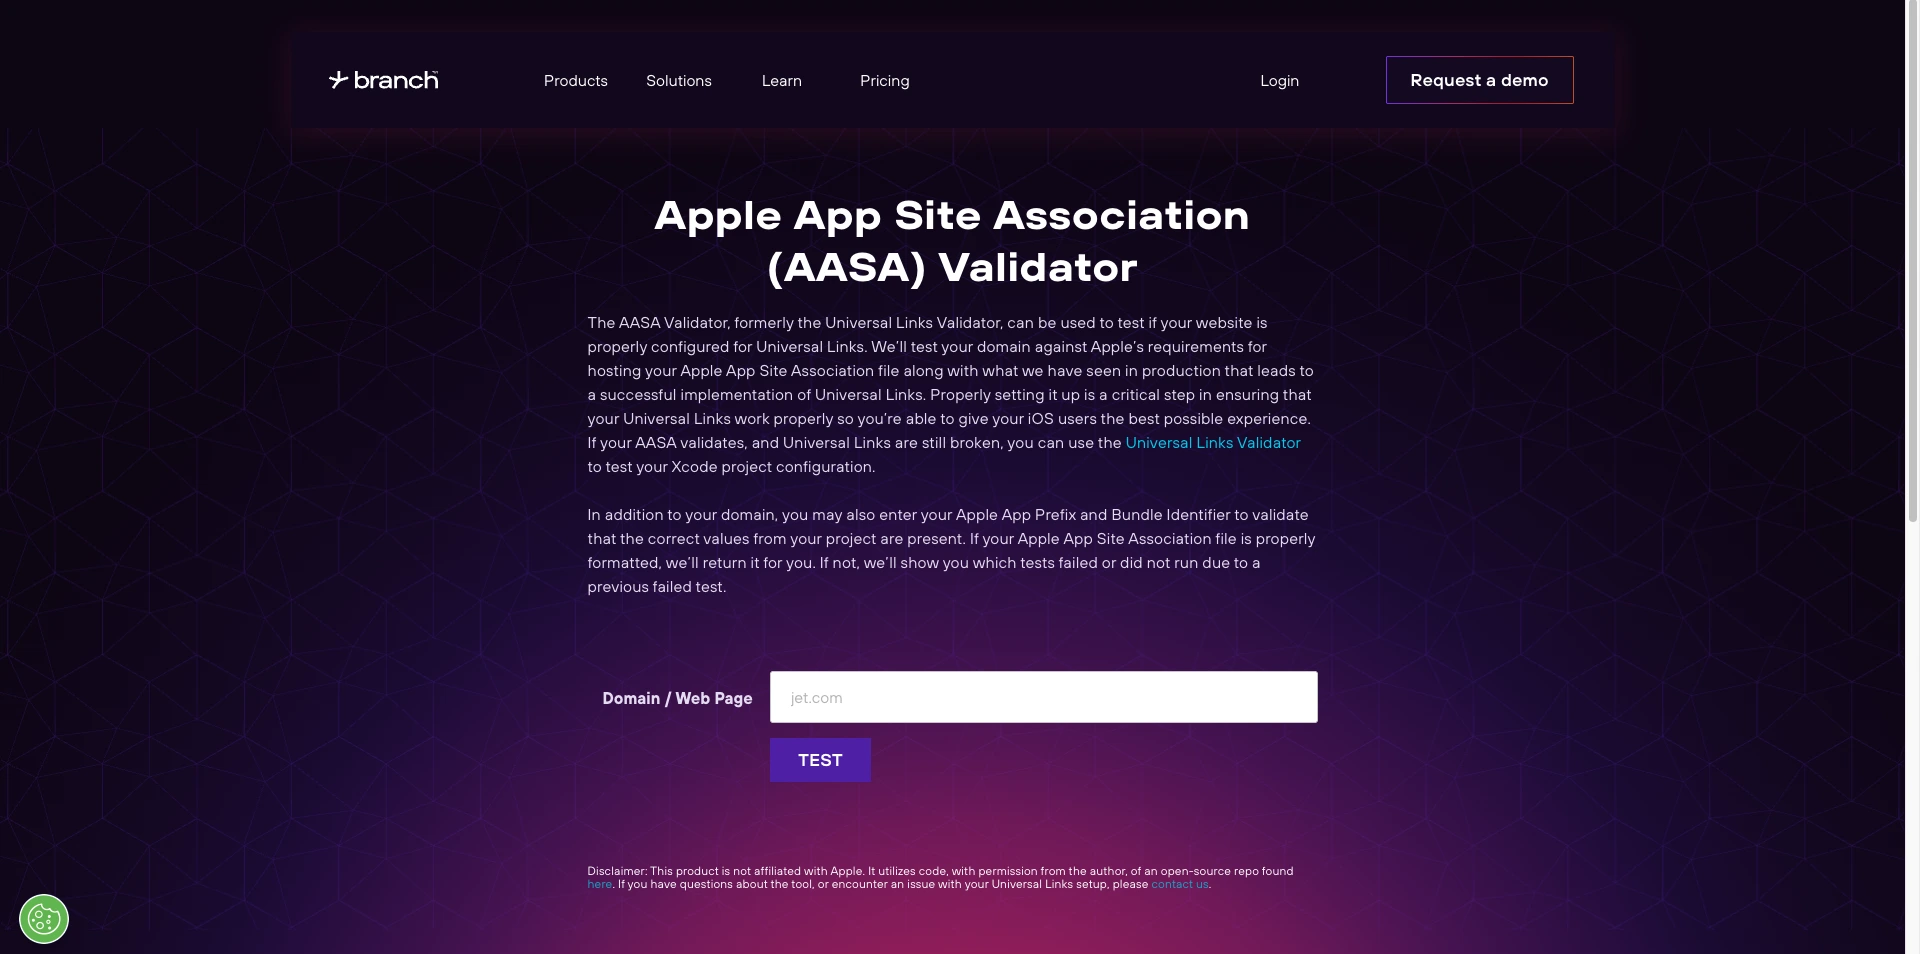
{ "applinks": { "apps": [], "details": [ { "appID": "TEAMID.com.example.yourapp", "paths": [ "/path/to/content/*" ] } ] }}2. Test Configuration:
- Test your association file using the AASA Validator (opens in a new tab).
iOS Tips
-
Path Requirement: Deep Linking can work with or without a specific path, depending on how the app links are configured. A URL like https://example.com (opens in a new tab) may work if the root domain is supported, while paths such as https://example.com/page (opens in a new tab) are used for directing users to specific content inside the app.
-
Multiple Subdomains: If your site uses multiple subdomains (e.g., example.com, www.example.com (opens in a new tab), support.example.com), each subdomain requires its own entry in the Associated Domains Entitlement and must serve its own /.well-known/apple-app-site-association file.
-
Hosting Requirements: The "/.well-known/apple-app-site-association" file must be hosted with a "Content-Type: application/json" HTTP header, use "https://: with a valid SSL certificate, and return a "200 HTTP Status Code" with no redirects.
Apple Documentation
For detailed instructions, refer to Apple's Documentation for Universal Links (opens in a new tab) and Associated Domains (opens in a new tab).