


What is a Passkey?
Think of it like a digital key built into your phone. A regular password is like a combination lock — you have to remember the numbers, type them in, and hope nobody is watching. Anyone who learns the combination can get in.
A passkey is like a physical key that's permanently embedded inside your phone. You can't copy it, you can't steal it remotely, and it only works when you are holding the phone and confirm with your fingerprint or face.
When a user taps "Sign in with passkey," the phone recognises them, generates a cryptographic proof in the background, and signs them in. No passwords. No typing. No phishing. No data breaches.
Why Use Passkeys?

No Passwords Ever
Users never create, forget, or reset a password. Eliminates your biggest support ticket category.

One-Tap Sign-In
Tap a button, confirm with fingerprint or Face ID, and you're done. The fastest sign-in experience possible.

Works Across Devices
Register once and sign in on all your Apple or Android devices via automatic cloud sync.

No SMS Codes
No waiting for a text to arrive. No delivery failures. No didn't receive it support requests.

Safer By Default
Cannot be stolen by fake websites or data breaches. The cryptographic key never leaves the device.
How Passkey Sync Works?

iPhone / iPad / Mac
Passkeys sync automatically via iCloud Keychain. Any device signed in to the same Apple ID gets the passkey instantly. Same Apple ID → all Apple devices

Android
Passkeys sync automatically via Google Password Manager. Any device signed in to the same Google account gets the passkey. Same Google account → all Android devices.
A user who sets up a passkey on their iPhone can instantly sign in on their iPad or Mac — no setup needed on the second device. The passkey travels with their Apple ID.
No cross-platform sync. An iPhone passkey does not automatically appear on Android, and vice versa. Users may need to set up a passkey on each platform separately.
Set Up Overview — 3 Steps in Order
These three steps must be completed in order. Step 1 is done by your developer — Steps 2 and 3 are done by you.

Your Backend Must Support Passkeys First
Before anything in WebToNative, your website's server must be set up to handle WebAuthn. This is a developer task. Without this, nothing else works.

Enable Passkeys in WebToNative
Turn on the toggle in Link Handling → Passkey / WebAuthn, add your domain, and rebuild the app.

Upload Two Files to Your Website
Upload the Domain Association Files so iOS and Android trust that your app and website belong together.
Backend first — this is non-negotiable. If your website's server is not set up to handle WebAuthn/passkeys, enabling this in WebToNative will have no effect. Ask your developer to implement WebAuthn on the backend before proceeding.
Steps to Set Up Passkeys
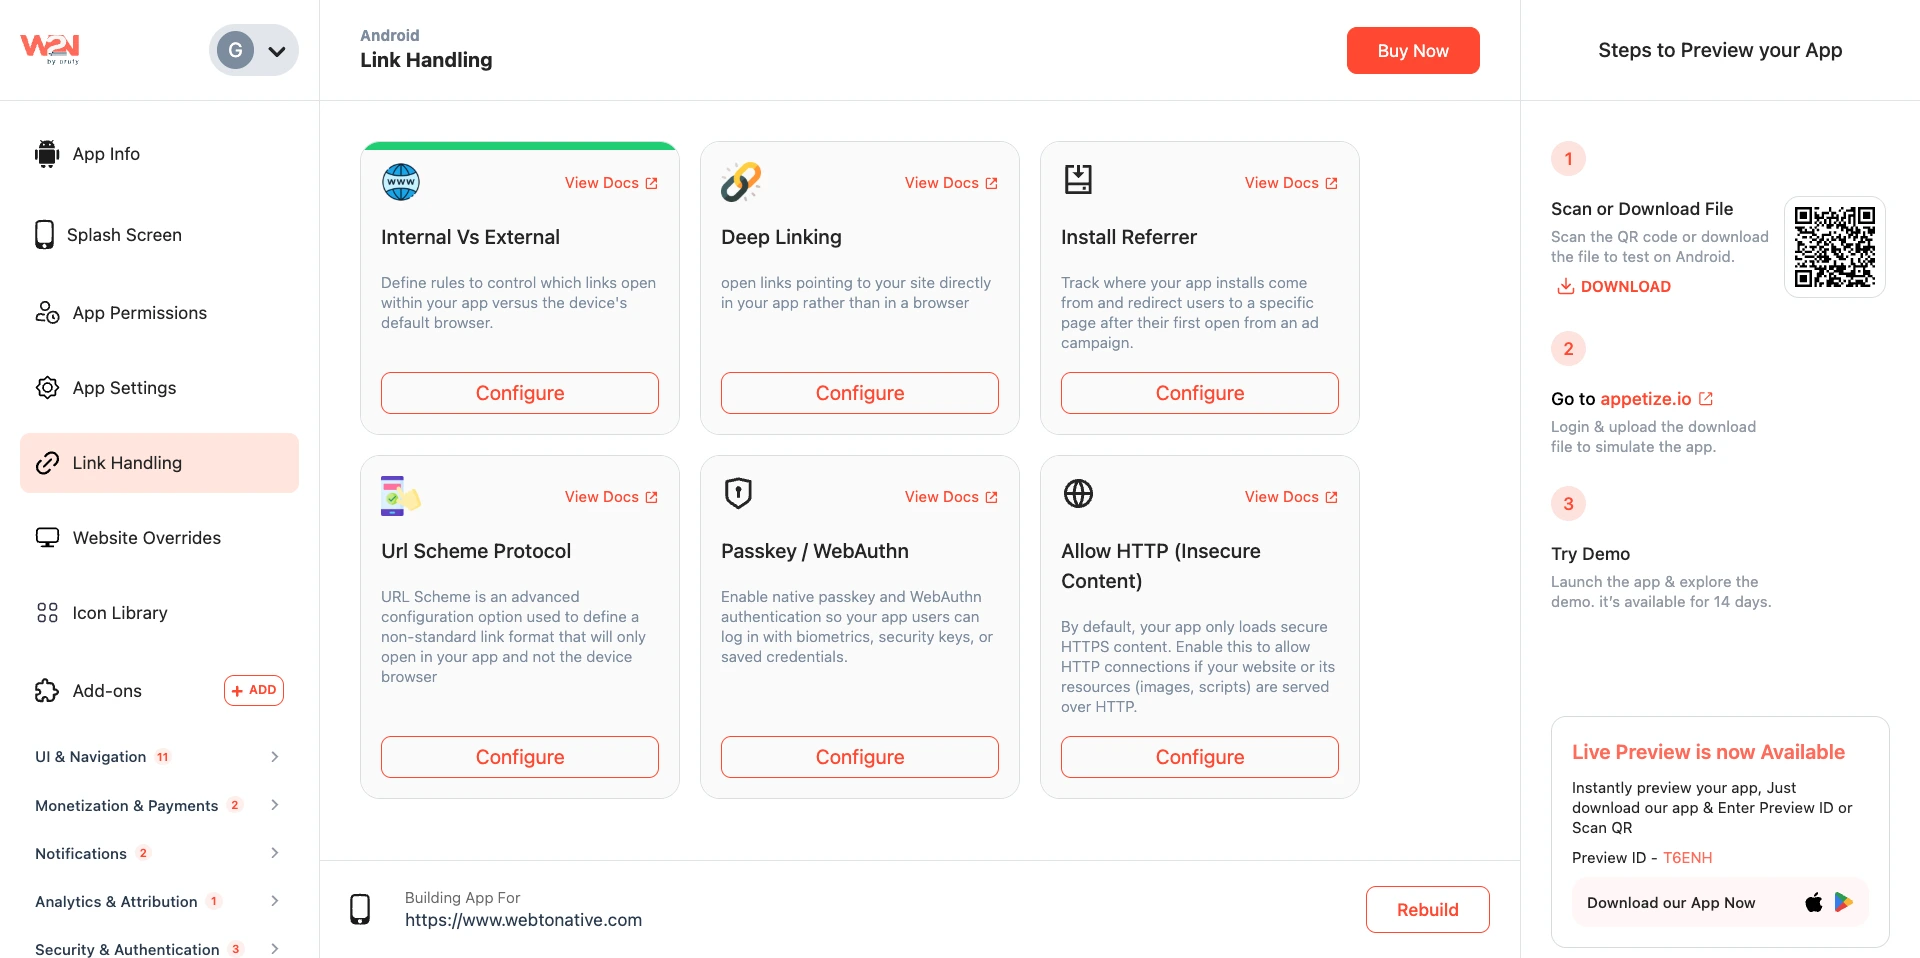
Link Handling
Locate the Passkey/WebAuthn
Configure
Click on the Configure button
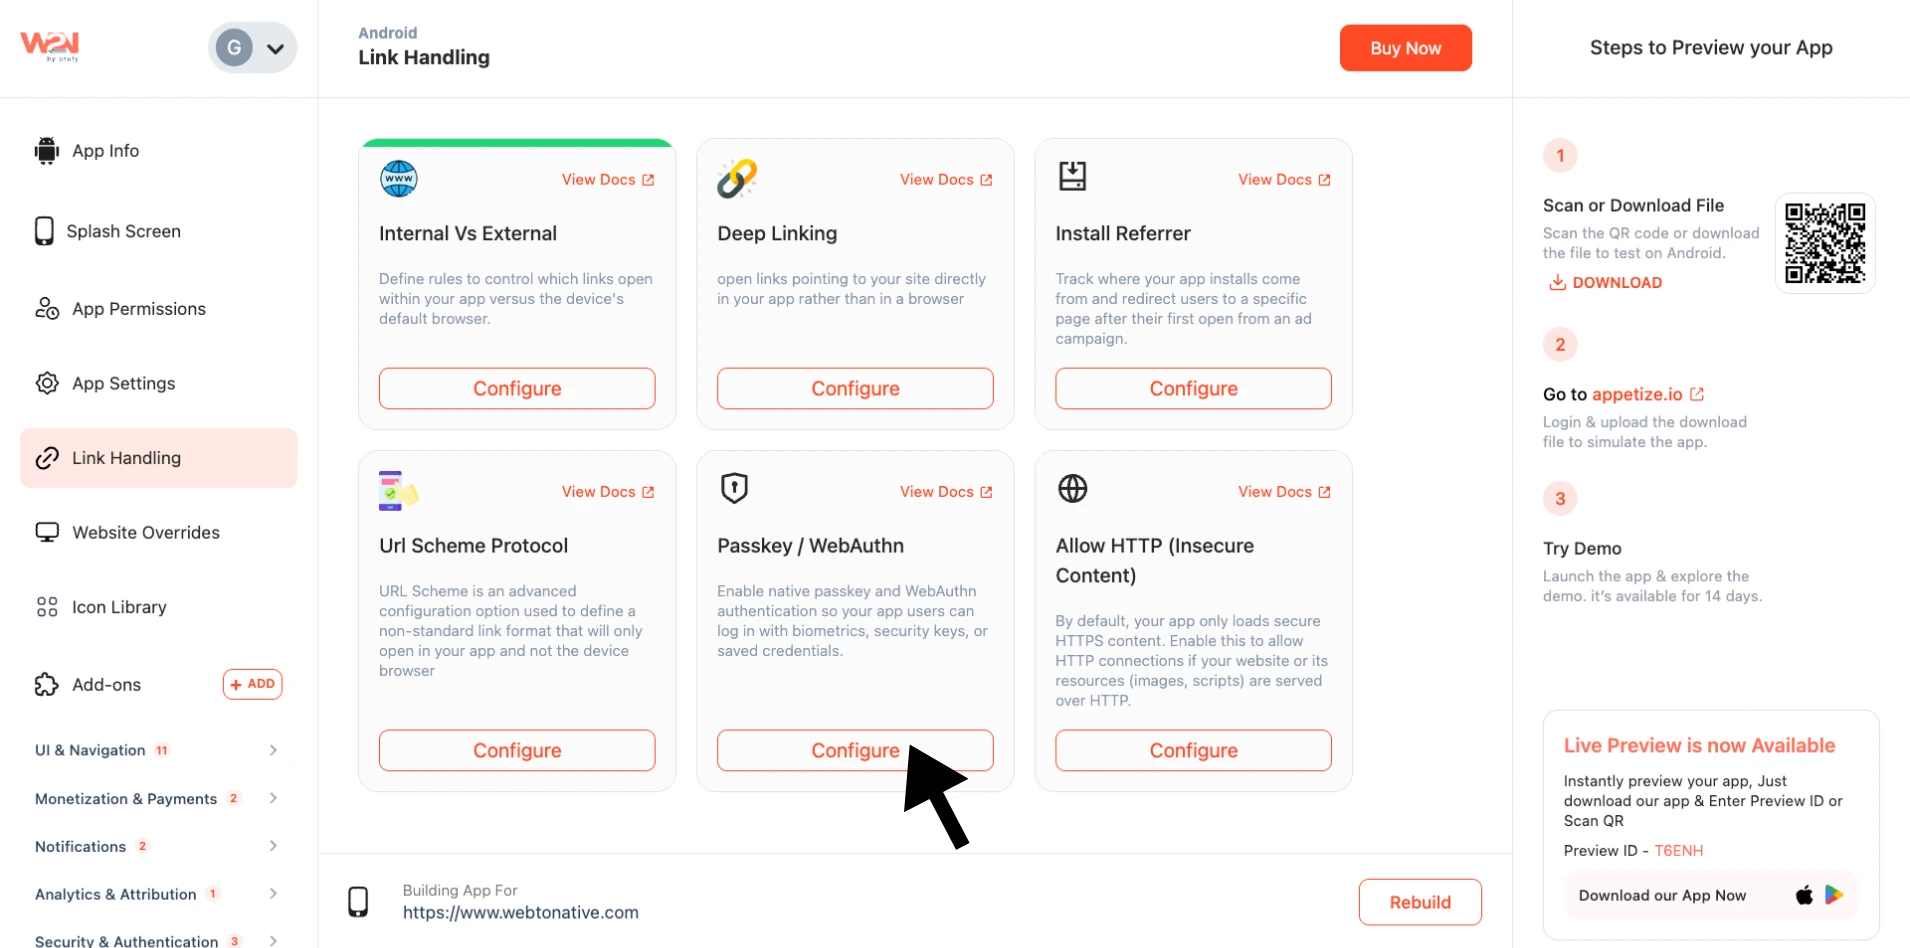
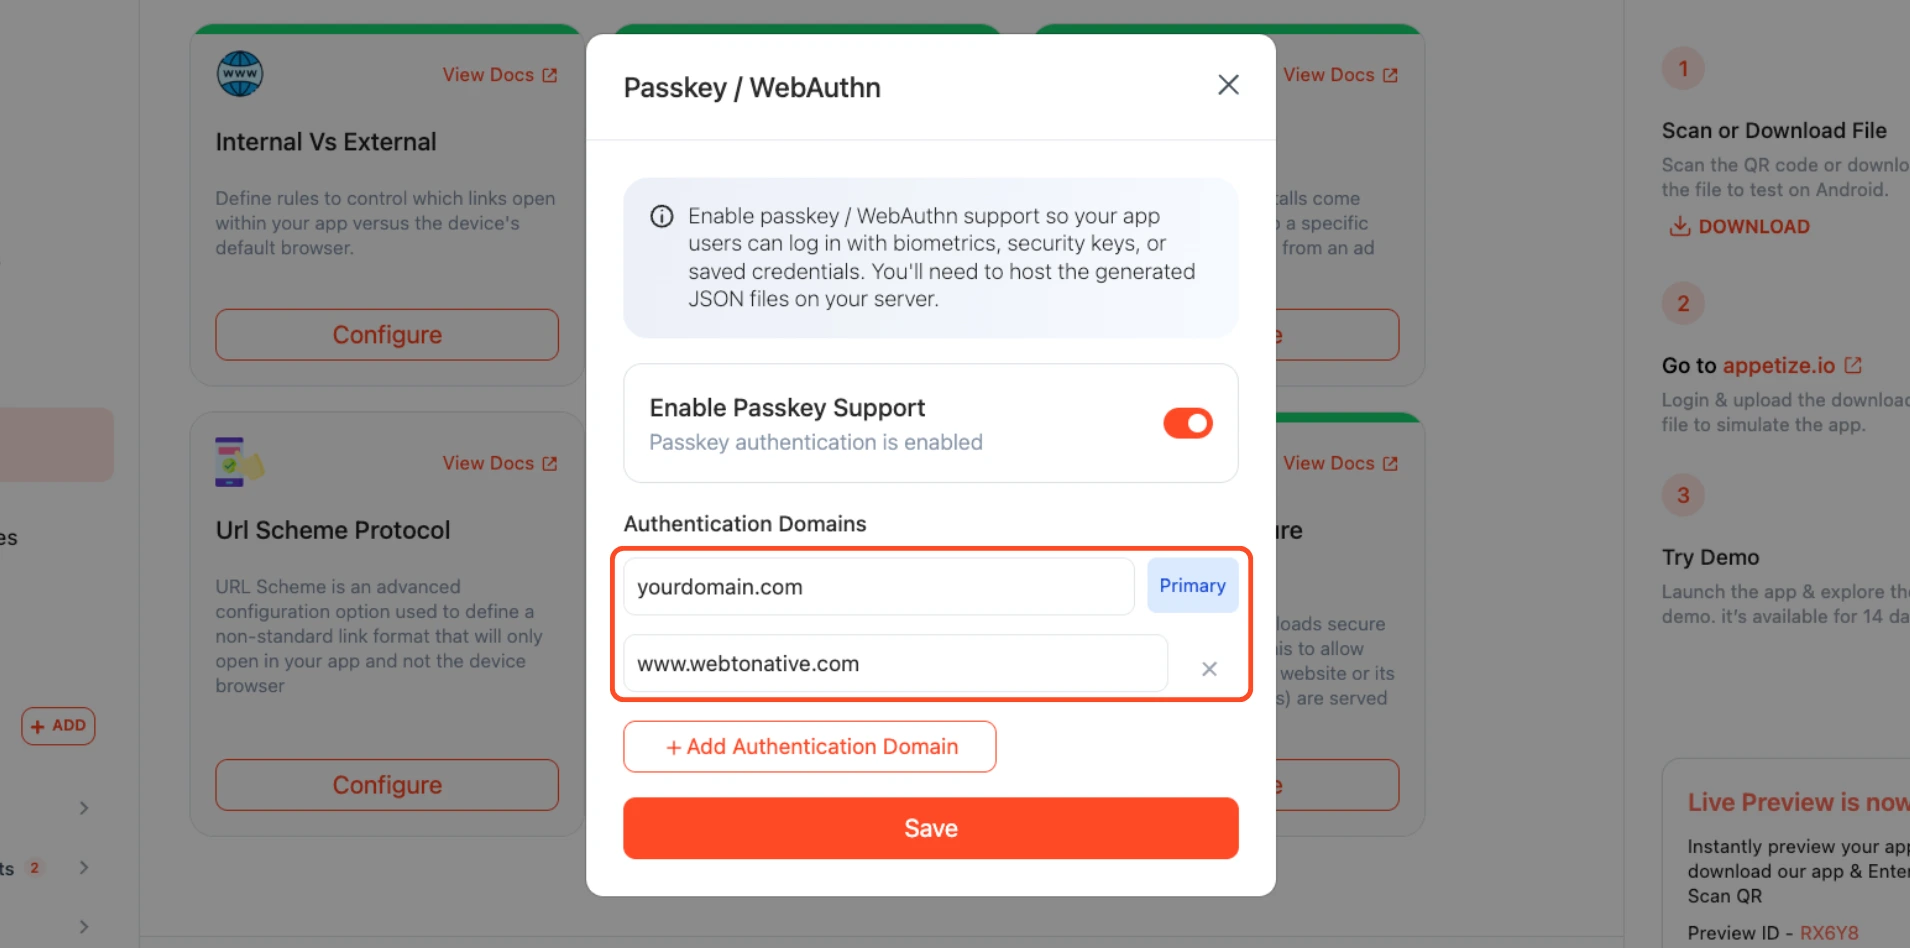
Enable Passkey Support
Enable passkey support by switching the toggle on.
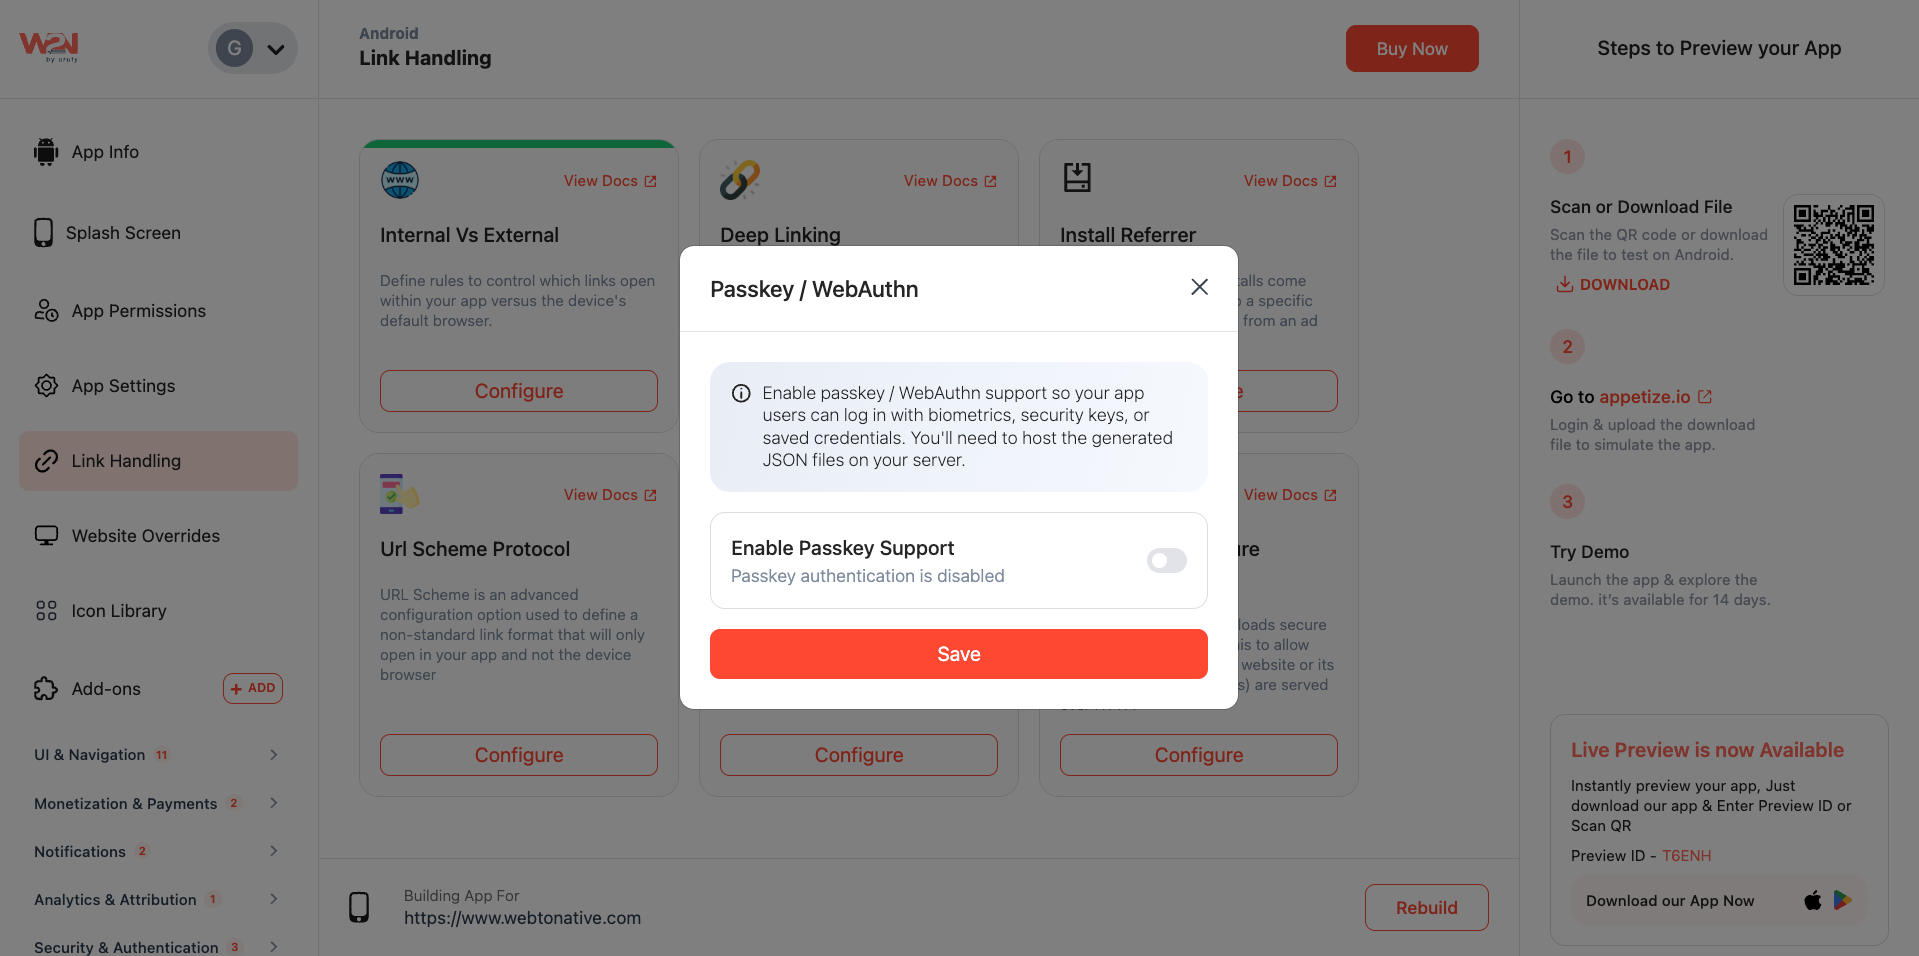
Enter Authentication Domains
Fill in your primary and secondary authentication domains for your particular platform, Android and iOS.
Domain Association Files: Think of these as a trust certificate between your app and your website. They are two small text files you upload to your website once.
Without these, passkeys may seem to work in the app, but users won’t be able to sign in.
File 1 — For iOS
File name: apple-app-site-association (no file extension)
Where to upload it to your website: https://yourdomain.com/.well-known/apple-app-site-association (opens in a new tab)
File contents: Copy this exactly and replace the highlighted parts:
{
  "webcredentials": {
    "apps": [ "TEAMID.BUNDLE_ID" ]
  }

}
What to replace:
| Placeholder | What It Is | Where To Find It |
|---|---|---|
| TEAMID | Your 10-character Apple Team ID | Apple Developer Portal → Account → Membership Details |
| BUNDLE_ID | Your app's unique identifier | WebToNative Dashboard → App → Developer Details |
Example — after filling it in, it should look like this:
{

  "webcredentials": {

    "apps": [
      "AB12CD34EF.com.yourcompany.yourapp"
    ]

  }
}
NOTE: Apple saves a copy of this file on its servers. If you make changes, it can take up to 24 hours to update. Plan accordingly before testing.
File 2 — For Android
File name: assetlinks.json
Where to upload it to your website: https://yourdomain.com/.well-known/assetlinks.json (opens in a new tab)
File contents: Copy this exactly and replace the highlighted parts:
[

  {

    "relation": [

      "delegate_permission/common.handle_all_urls",

      "delegate_permission/common.get_login_creds"

    ],

    "target": {

      "namespace": "android_app",

      "package_name": "PACKAGE_NAME",

      "sha256_cert_fingerprints": [

        "SHA256_FINGERPRINT"

      ]

    }

  }

]
What to replace:
| Placeholder | What It Is | Where To Find It |
|---|---|---|
| PACKAGE_NAME | Your app's unique ID | WebToNative Dashboard → App → App Info |
| SHA256_FINGERPRINT | Your app's security certificate | Google Play Console → Setup → App integrity → App signing key certificate → SHA-256 certificate fingerprint |
How to Upload the Files
Both files go inside a folder called .well-known at the root of your website:
1. Create a folder named .well-known in the root of the website (if it does not already exist).
2. Place both files inside that folder.
3. Make sure both files are publicly accessible via HTTPS (no login required to access them).
Quick check — paste these links in your browser after uploading:
| File | Check URL |
|---|---|
| iOS file | https://yourdomain.com/.well-known/apple-app-site-association (opens in a new tab) |
| Android file | https://yourdomain.com/.well-known/assetlinks.json (opens in a new tab) |
If the browser shows the file contents (JSON text), the upload was successful. Otherwise, an error or blank page means the file is not in the right place.
Testing
Passkeys only work on real physical devices. Passkeys cannot be tested on a computer simulator or emulator. You must use a real iPhone or Android phone.
| Android | iOS | |
|---|---|---|
| Test using | Internal Testing via Google Play | TestFlight via App Store Connect |
| Install method | Play Store internal testing link | TestFlight app |
| Real device required | Yes — no exceptions | Yes — no exceptions |
| Simulator / Emulator | Does not work | Does not work |
Android — How to test
1. Go to Google Play Console → Internal Testing.
2. Upload your app build.
3. Add your tester's Google account email to the testers list.
4. The tester opens the internal testing link on their Android phone and installs the app from the Play Store.
5. Make sure assetlinks.json is already uploaded to your website before testing.
iOS — How to test
1. Go to App Store Connect → TestFlight.
2. Upload your app build.
3. Add your tester's Apple ID to the Internal Testing group.
4. The tester installs the app using the TestFlight app on their iPhone.
5. Make sure apple-app-site-association is already uploaded to your website before testing it.