App Clip in iOS delivers an instant app experience without downloading it from the Apple App Store. When people scan the QR code, an App Clip card appears on their screen. They click, and your webpage loads automatically inside a lightweight native experience.
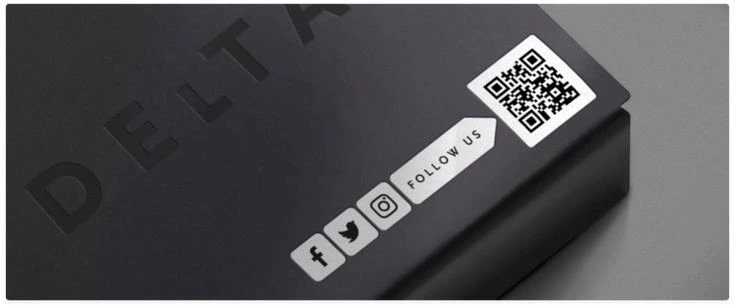
QR on packaging
Scan a product box and instantly view its manual or demo
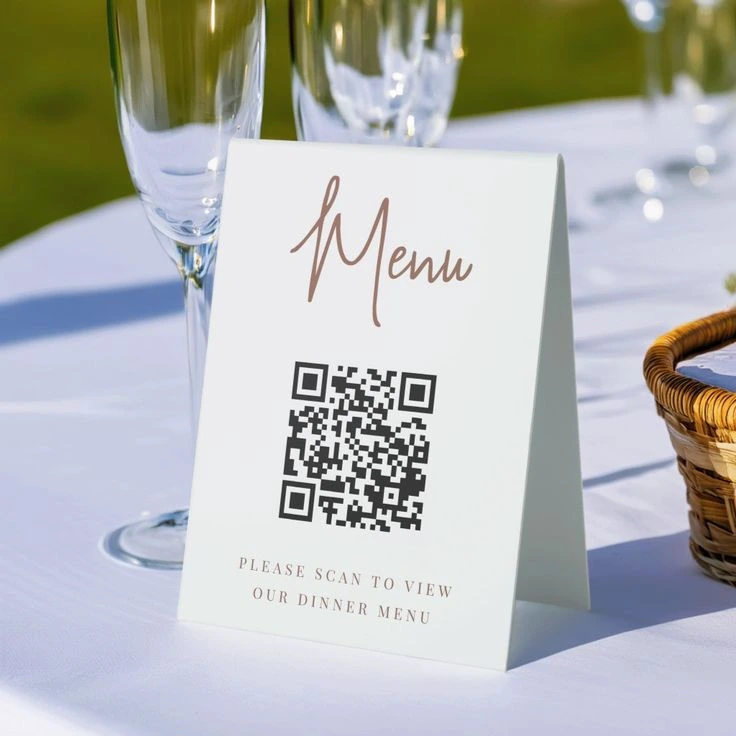
Table-side menu
Scan QR at the table — menu opens with no download
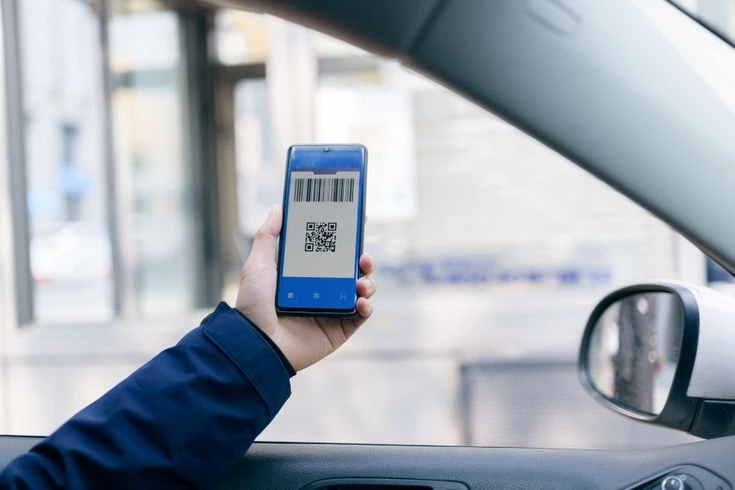
Parking / rental
Scan a bay tag and pay without installing the app
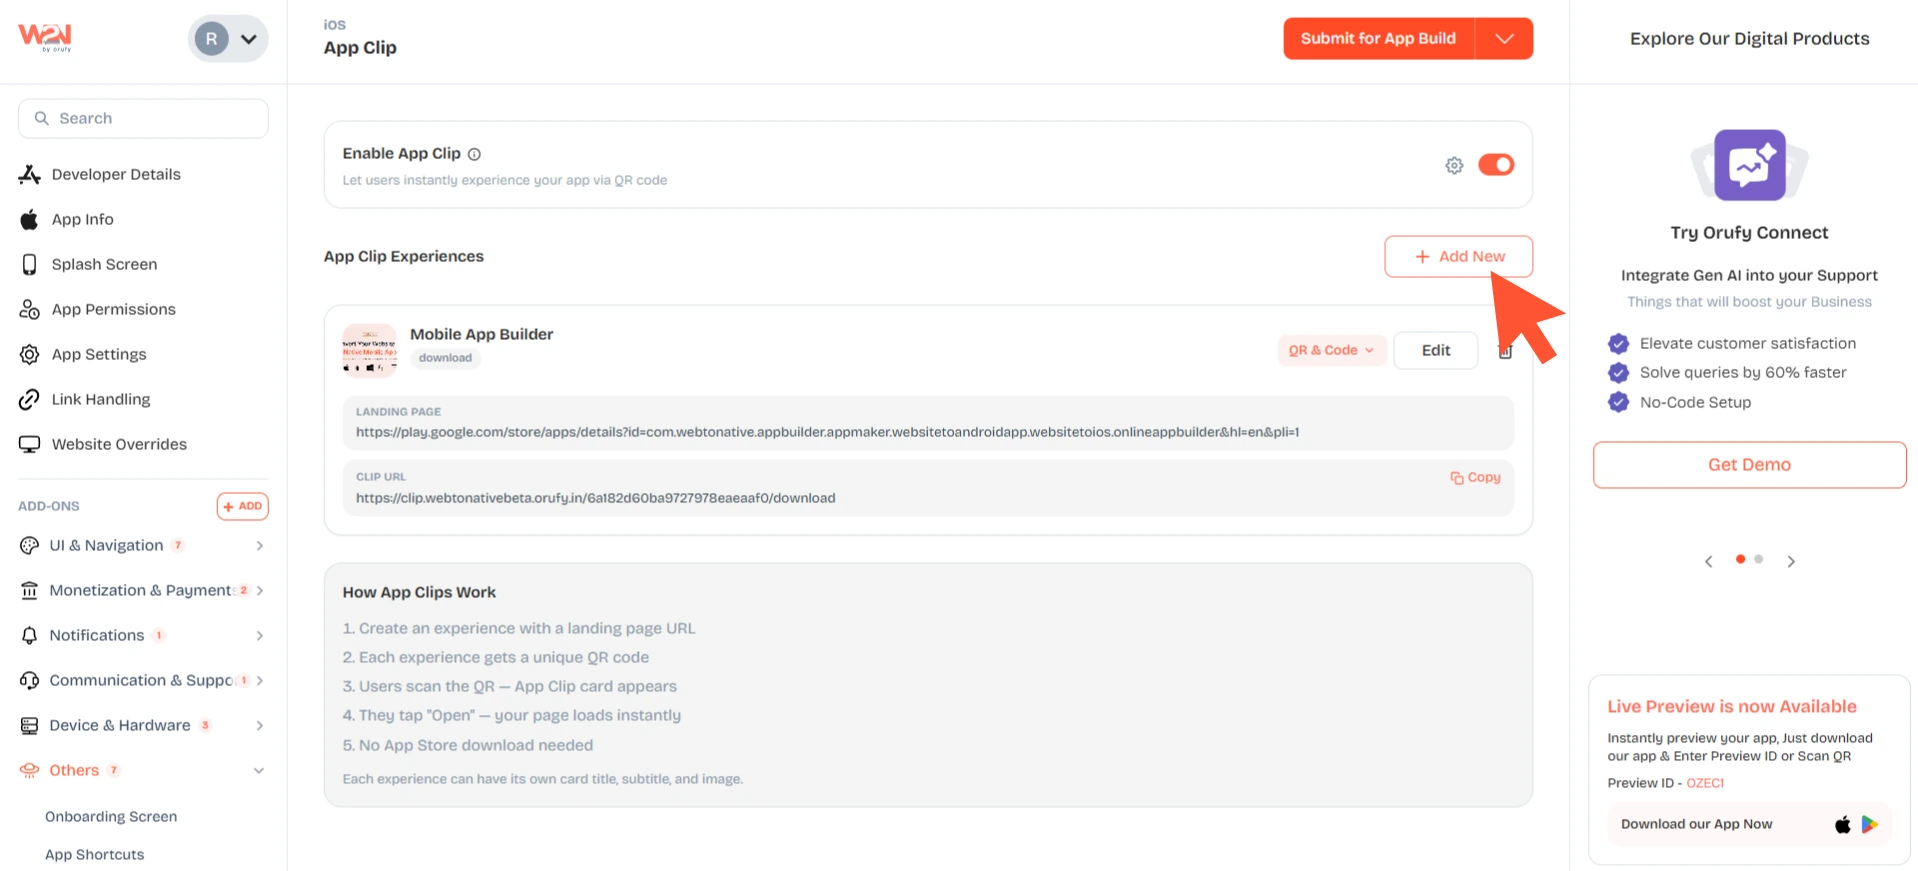
Navigate to Add-Ons → App Lifecycle → Add App Clip
Step-by-Step Process to Configure App Clip
Enable App Clip
Click on the toggle to activate the App Clip feature in your iOS mobile app.
You must register an App Clip Bundle ID in Apple Developer Portal
You should register a .Clip bundle ID in the Apple Developer Portal. It is a one-time registration process.
Pre-Requirement: Your parent app’s bundle ID must be registered in the Apple Developer Portal before you begin.
1. Navigate to the Apple Developer (opens in a new tab) page and sign in with the Apple ID linked to your Apple Developer Program membership. You must have an Account Holder or Admin Access.
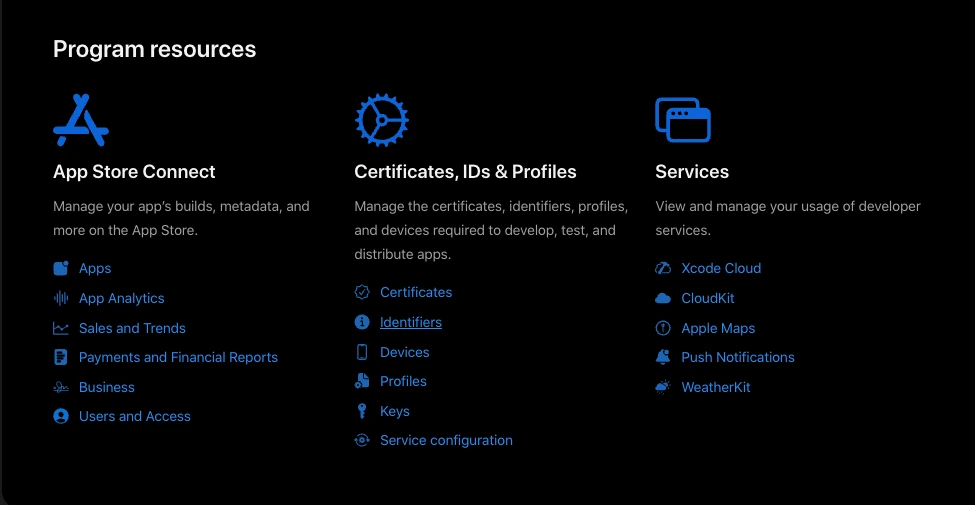
2. From the account dashboard, click on Certificates, Identifiers & Profiles.
3. Click on Identifiers from the left sidebar. You will see a list of all your registered App IDs.
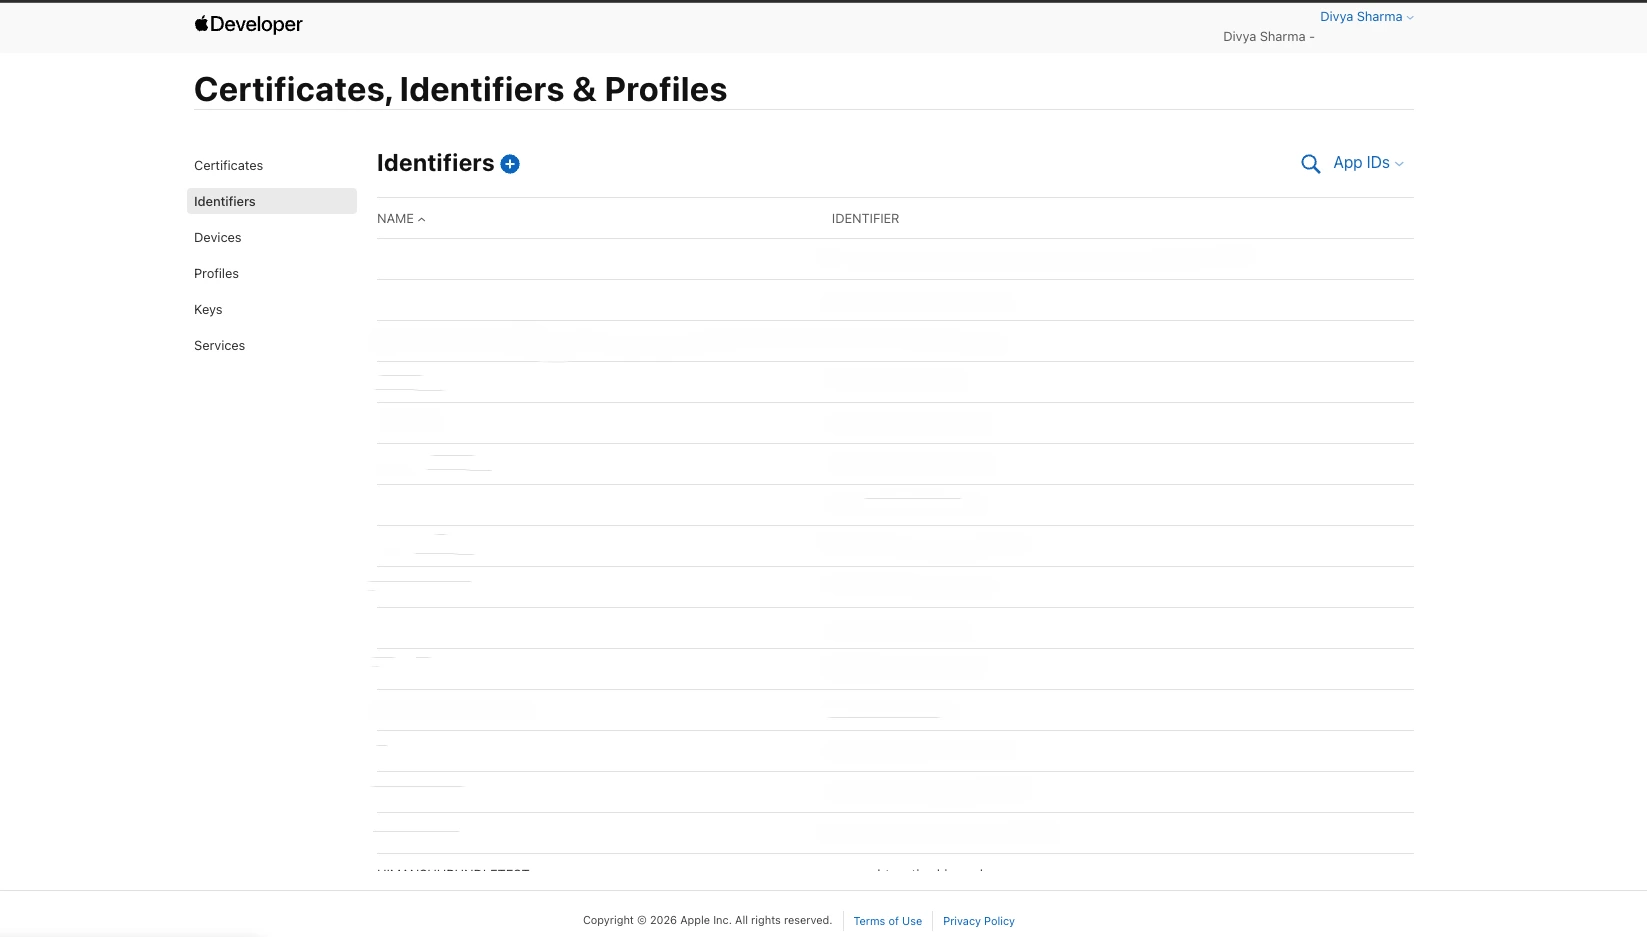
4. Click on the + Add button to register a new identifier.
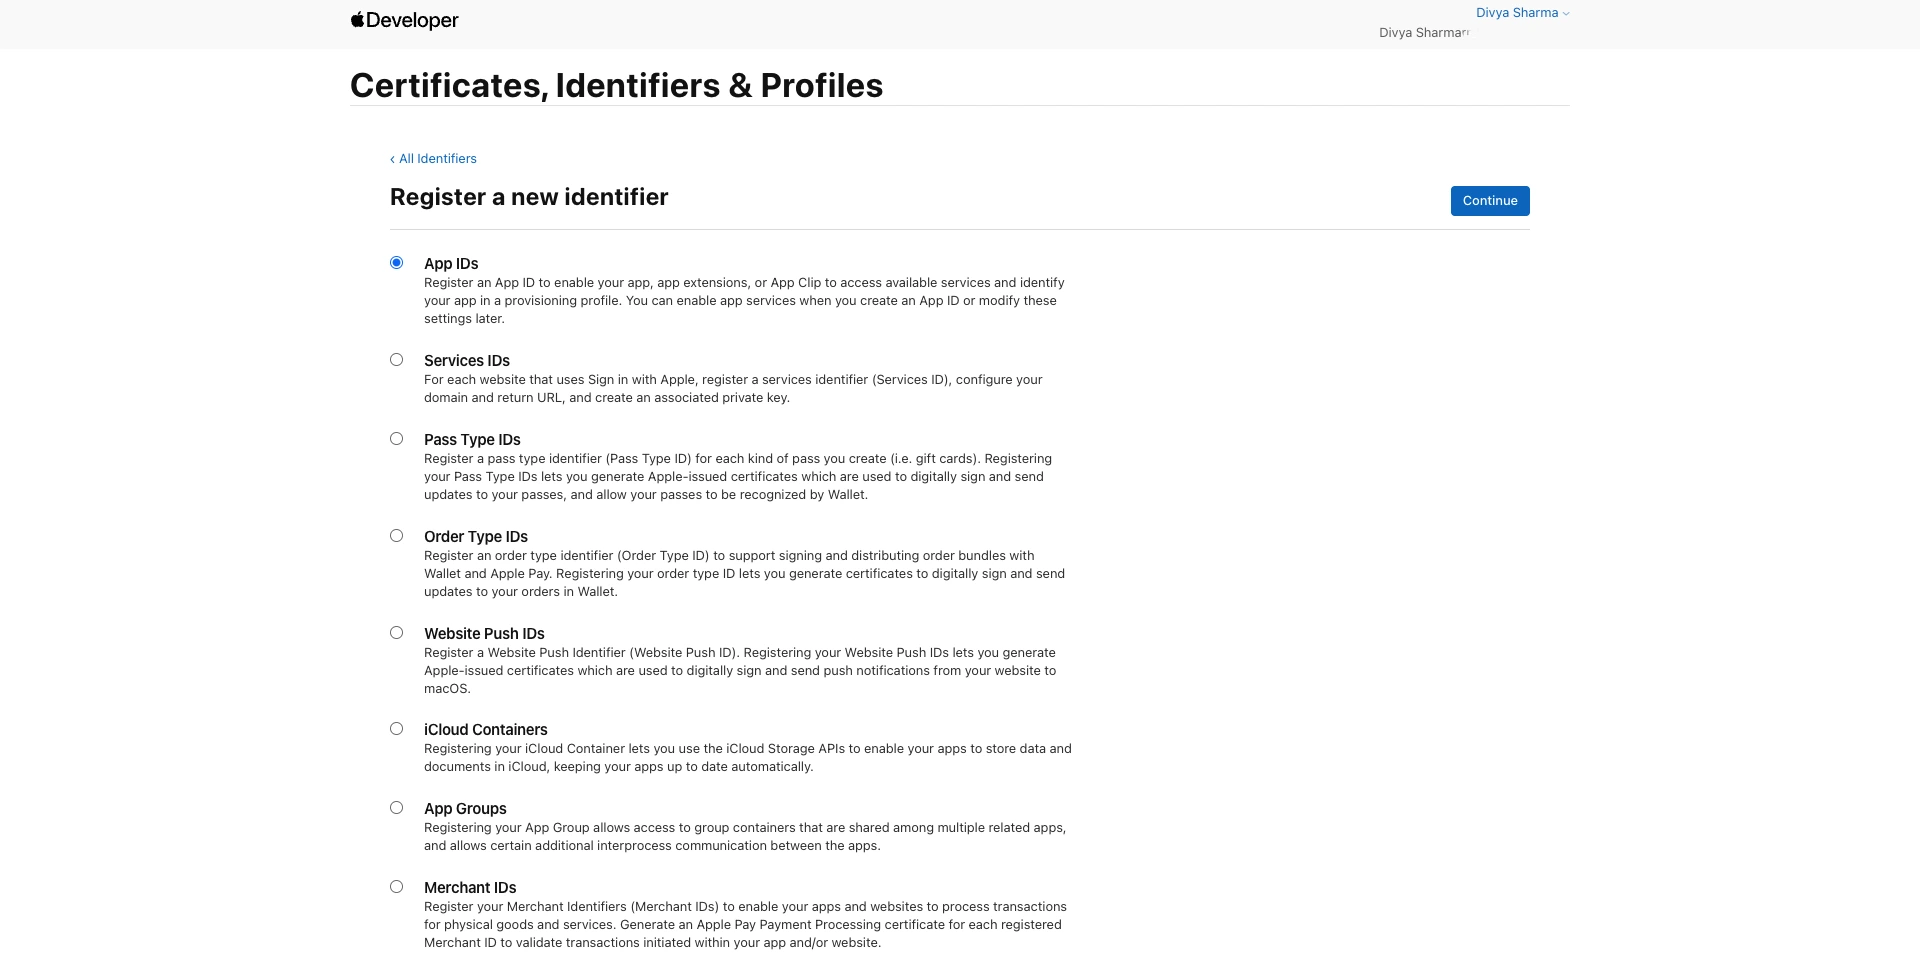
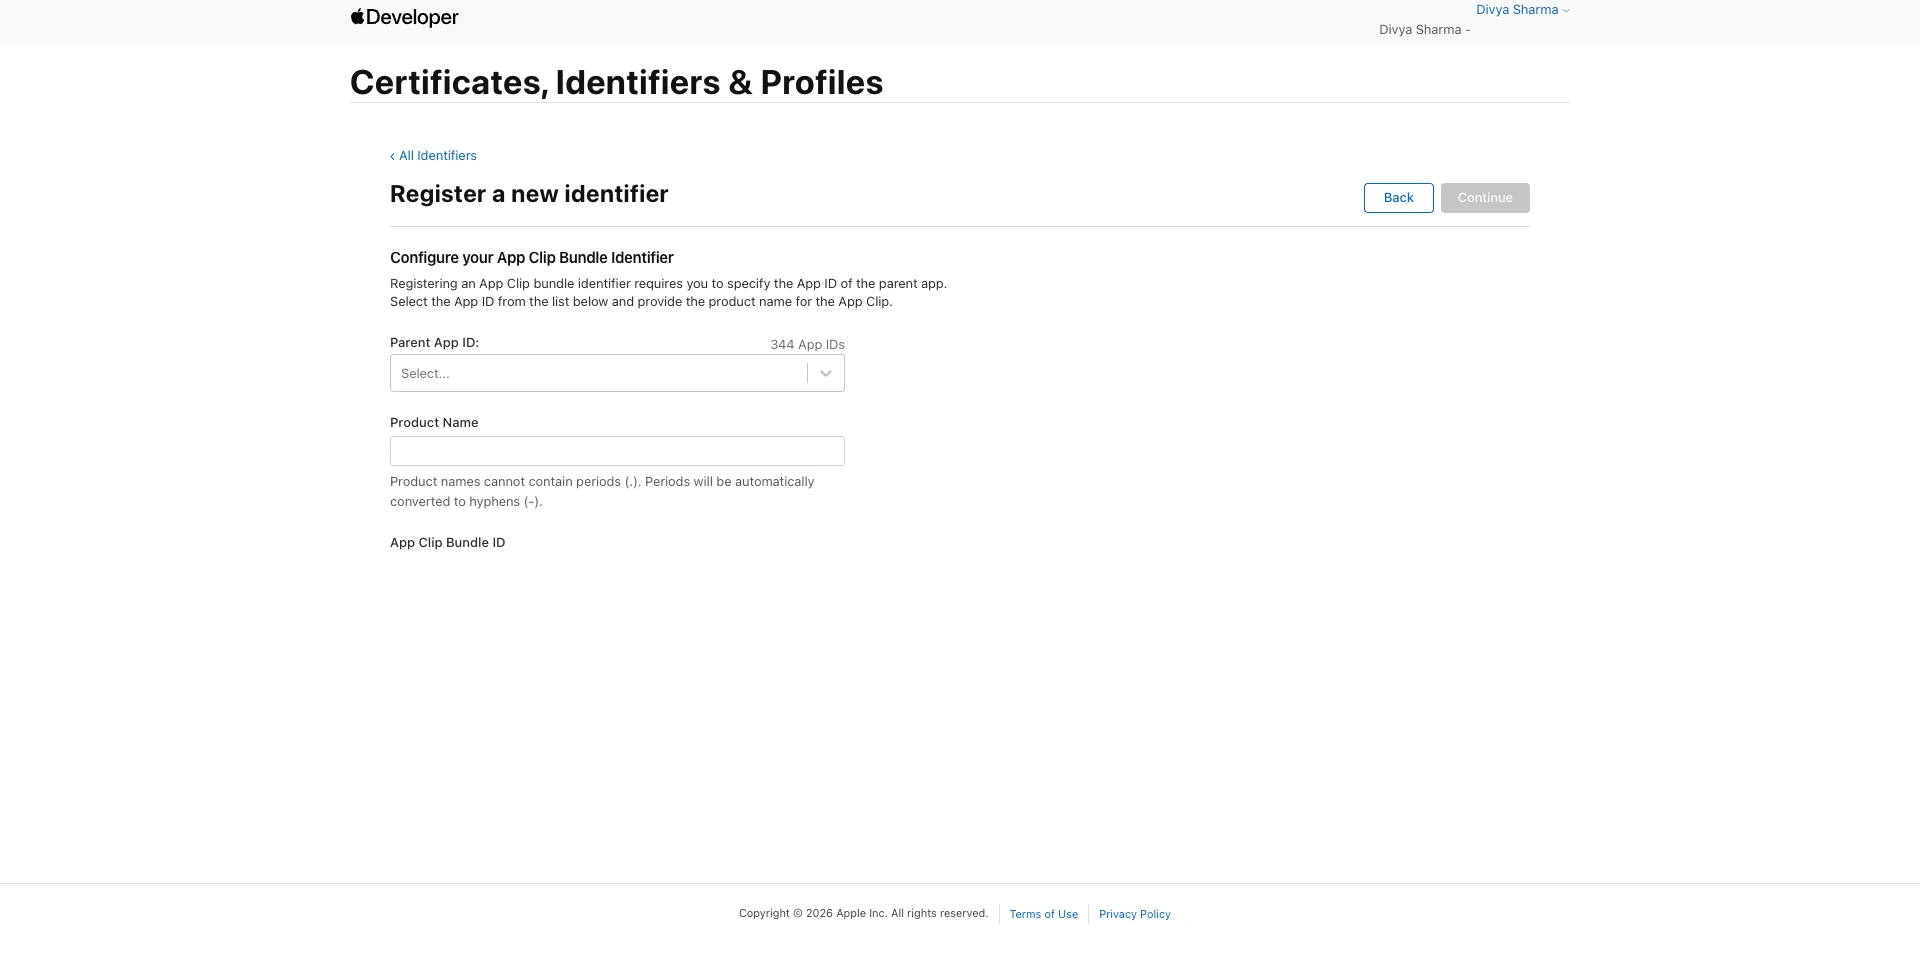
5. On the Register a New Identifier screen, choose the App ID and click on Continue.
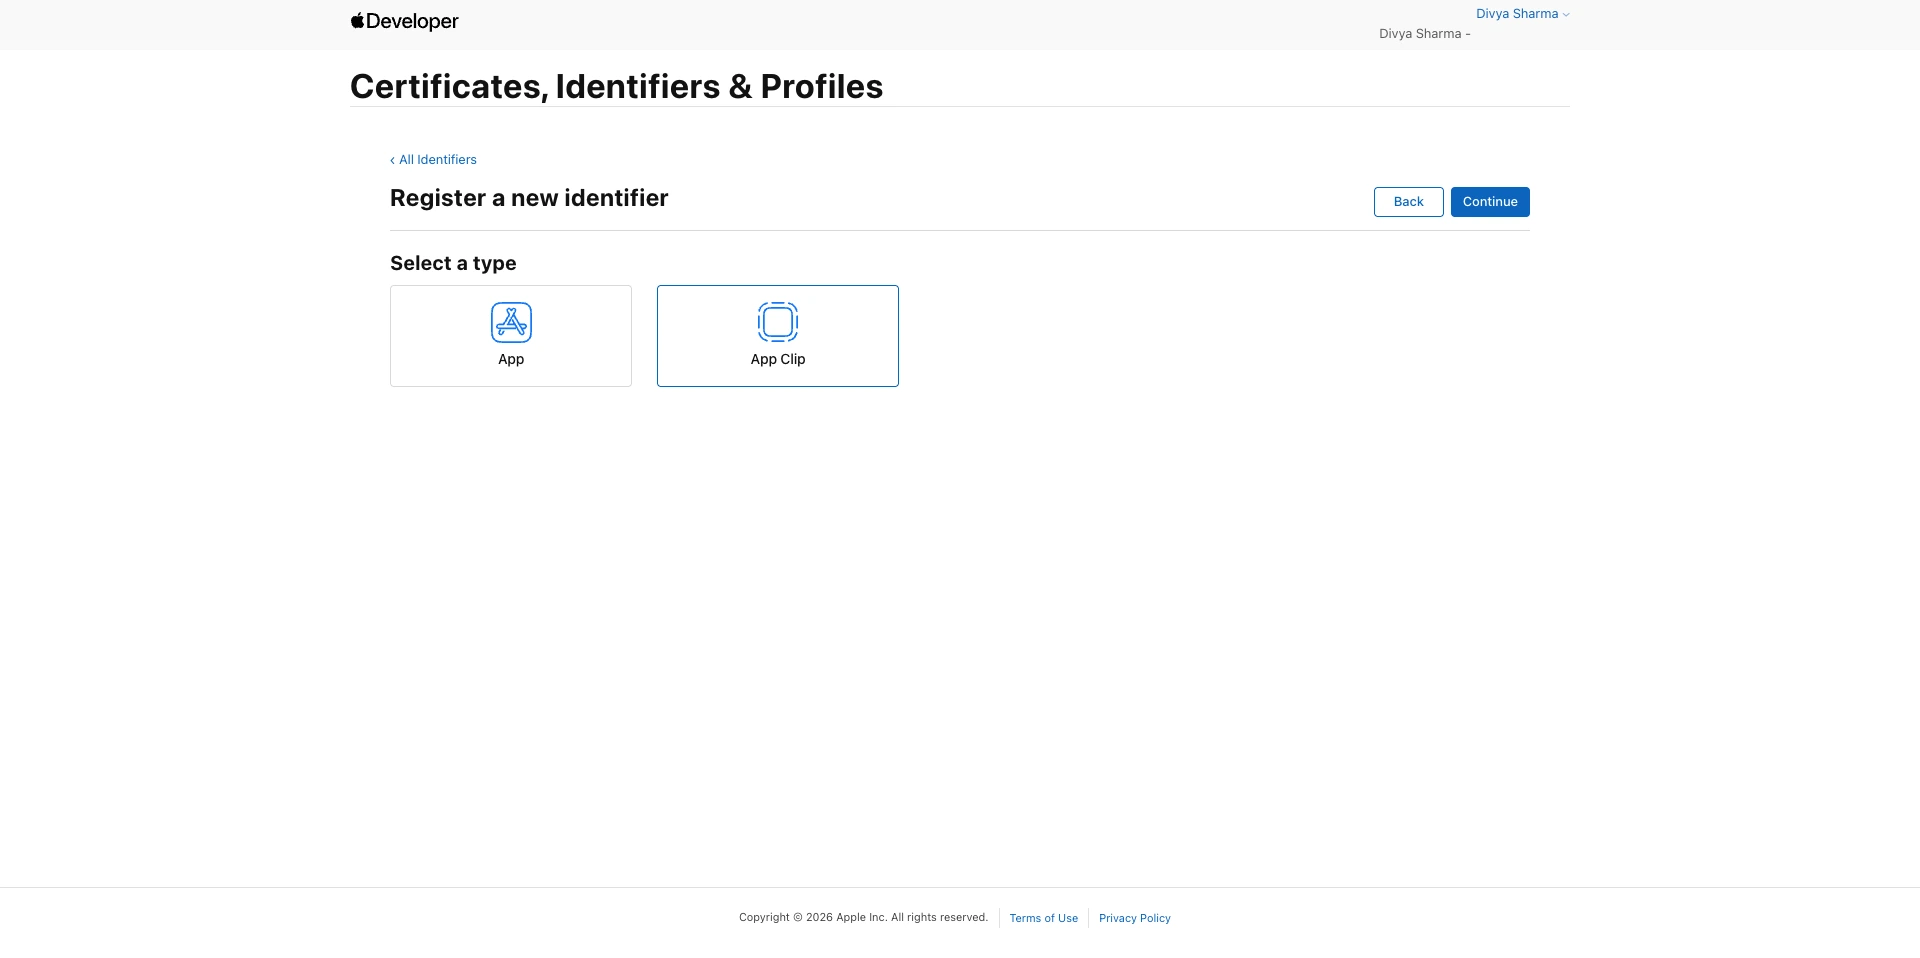
6. On the next screen, choose the App Clip as the type and click on Continue.
7. Now, configure the identifier:
-
Parent iOS App ID: Select your parent app’s bundle ID.
-
Product Name: Enter clip. The resulting bundle ID will be: com.yourcompany.yourapp.clip.
8. Activate both the capabilities, Associated Domains and App Clip.
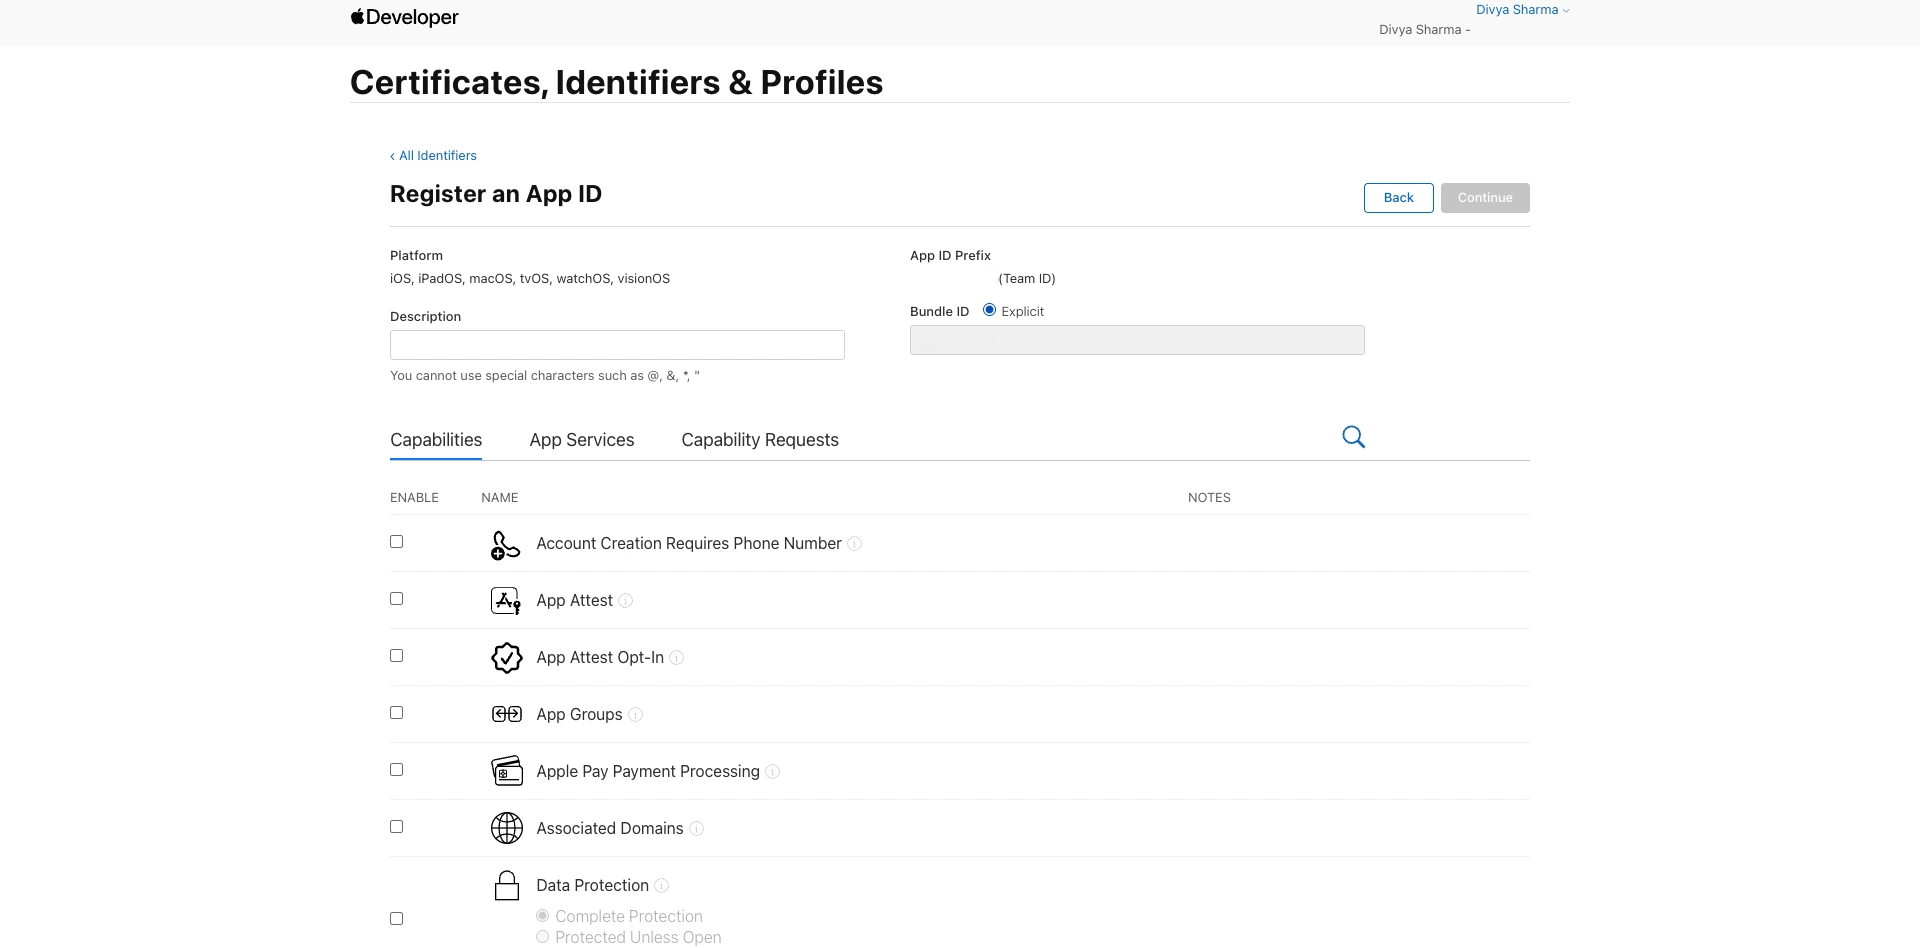
9. Review the details and click on Register to Save.
As soon as you have completed the above steps, click on I’ve Registered it — Confirm.
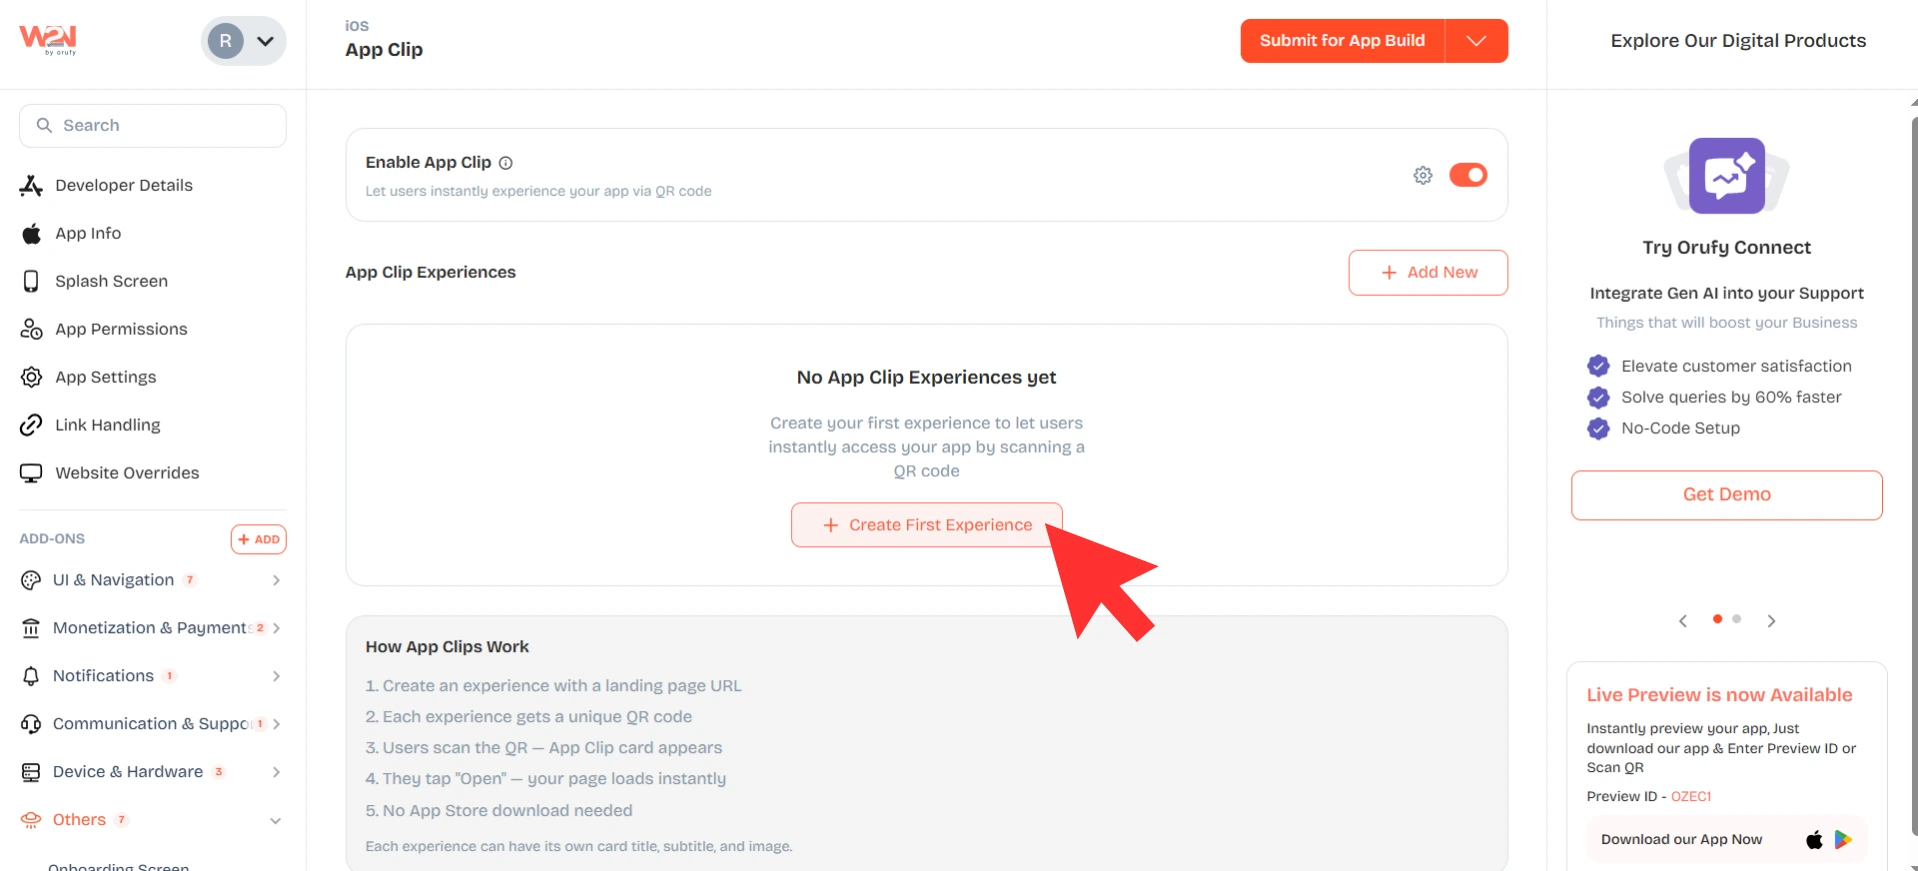
Create an App Clip Experience
As you confirmed your registration, you will have to start creating your app clip experience.
- Click on + Create First Experience.
- A modal will appear to fill in the following information;
1. Experience ID: A short and unique identifier used in the QR code URL. For example, a scan or menu. You cannot edit this field once filled.
2. Landing Page URL: The complete URL of the page that loads when the App Clip opens.
3. Card Title: The title that will appear on the App Clip card. You can write the title in 30 characters.
4. Card Subtitle: A short line that will appear below the title. You can write the subtitle in 50 characters.
5. Header Image: You must upload an image for the App Clip in the PNG or JPG file format. Keep in mind the image should be of size 1800*1200 with a ratio of 3:2.
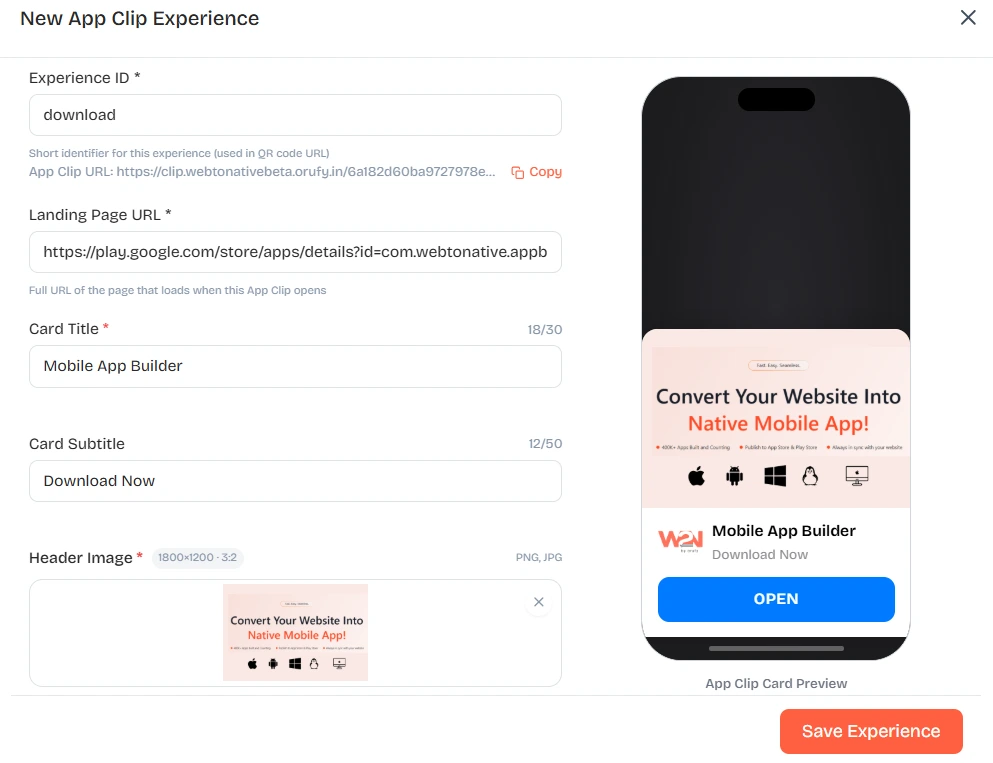
A real-time preview of your App Clip is also shown on the right as you start filling in the details.
Now, click to Save the experience.
Once the experience is created, the following details will appear for the created experience on the screen.
-
Landing Page URL for the created experience.
-
The unique and generated App Clip URL for the experience. You can copy it from the dashboard.
-
A scannable QR code for the created experience. Click Download PNG to share it anywhere.
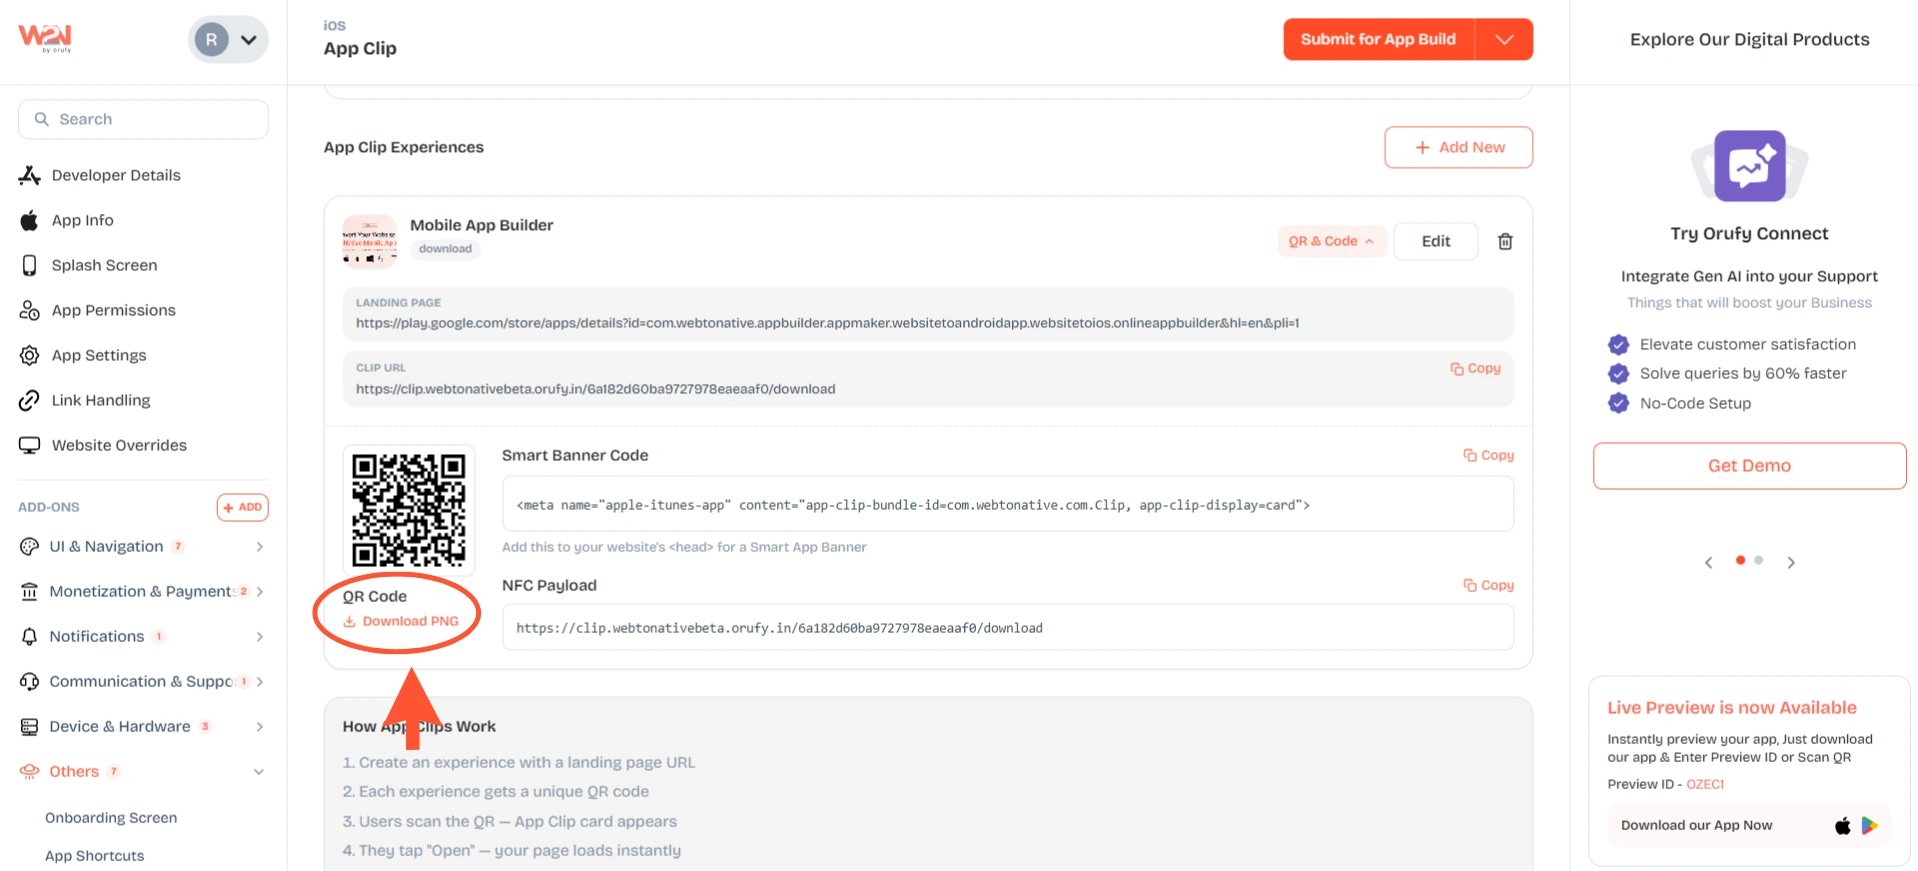
-
A smart banner code to add to your website’s head section inside the meta tag to make it visible for the user visiting the page.
-
The App Clip URL to use with the NFC Payload tags. You can program an NFC tag with this URL to trigger the App Clip experience on a tap.
You can edit or delete the app clip experience at any time. You can add multiple experiences from the + Add New button in the top right corner.